Welcome, fellow dessert lovers and aspiring bakers! Get ready to embark on a delightful culinary journey to recreate a classic comfort food that has warmed hearts for generations. We’re talking about the legendary Recipe For Shoney’S Hot Fudge Cake. If you’ve ever dreamed of sinking your spoon into that moist, rich chocolate cake smothered in warm, gooey hot fudge sauce, you’re in the right place. This isn’t just a recipe; it’s an experience designed specifically for you, whether you’re a seasoned pro or just starting your adventure with easy baking recipes. We’ll walk you through every step, sharing invaluable baking tips for beginners to ensure your first attempt is a resounding success. Prepare to impress your family and friends (or just yourself!) with this irresistible homemade treat that tastes just like you remember.
Ingredients List
Precision is key in baking, so make sure to measure your ingredients carefully!
| Ingredient | Quantity | Unit |
|---|---|---|
| For the Chocolate Cake: | ||
| All-purpose flour | 1 ¾ | cups |
| Granulated sugar | 2 | cups |
| Unsweetened cocoa powder | ¾ | cup |
| Baking soda | 1 ½ | teaspoons |
| Baking powder | 1 ½ | teaspoons |
| Salt | 1 | teaspoon |
| Large eggs | 2 | |
| Whole milk | 1 | cup |
| Vegetable oil | ½ | cup |
| Vanilla extract | 2 | teaspoons |
| Boiling water (or hot strong coffee) | 1 | cup |
| For the Hot Fudge Sauce: | ||
| Unsalted butter | ½ | cup (1 stick) |
| Unsweetened cocoa powder | ½ | cup |
| Granulated sugar | 1 ½ | cups |
| Whole milk | 1 | cup |
| Vanilla extract | 1 | teaspoon |
| For Serving (Optional): | ||
| Whipped cream | ||
| Maraschino cherries | ||
Step-by-Step Instructions
Follow these detailed steps, and you’ll be enjoying a slice of heaven in no time. Don’t worry, we’ve got plenty of tips for beginners!
Part 1: Baking the Moist Chocolate Cake
- Preheat Your Oven and Prep Your Pan:Start by preheating your oven to 350°F (175°C). This is crucial because a consistent oven temperature ensures even baking. Next, take a 9×13 inch baking pan. Lightly grease it with butter or cooking spray, then dust it with a thin layer of cocoa powder (instead of flour, to avoid white streaks on your dark cake). This helps prevent sticking and makes for a clean release. If you don’t have cocoa powder, flour is fine, but cocoa powder is a pro tip for chocolate cakes!
- Combine Dry Ingredients:In a large mixing bowl, whisk together the 1 ¾ cups all-purpose flour, 2 cups granulated sugar, ¾ cup unsweetened cocoa powder, 1 ½ teaspoons baking soda, 1 ½ teaspoons baking powder, and 1 teaspoon salt. Whisking isn’t just for mixing; it also aerates the flour and removes any lumps, which is important for a light, fluffy cake. Make sure everything is thoroughly combined.
- Combine Wet Ingredients:In a separate medium bowl, lightly beat the 2 large eggs. Then, add 1 cup whole milk, ½ cup vegetable oil, and 2 teaspoons vanilla extract. Whisk these together until they are well combined. Using **room temperature eggs and milk** is a great beginner tip! They incorporate more smoothly into the batter, leading to a more consistent texture.
- Combine Wet and Dry:Pour the wet ingredients mixture into the dry ingredients mixture. Using a rubber spatula or an electric mixer on low speed, mix until just combined. Do NOT overmix! Overmixing develops the gluten in the flour too much, which can result in a tough, dense cake instead of a tender one. A few lumps are perfectly fine at this stage.
- Add the Hot Liquid:Carefully pour 1 cup of boiling water (or hot strong coffee) into the batter. Stir gently until the batter is smooth. The batter will be quite thin, and that’s exactly what you want! The hot liquid helps to “bloom” the cocoa powder, intensifying the chocolate flavor, and also contributes to the cake’s incredible moisture. If using coffee, it doesn’t make the cake taste like coffee, but it deepens the chocolate notes beautifully.
- Bake the Cake:Pour the thin cake batter evenly into your prepared 9×13 inch baking pan. Transfer it to your preheated oven and bake for 30-35 minutes. Around the 30-minute mark, check for doneness by inserting a wooden toothpick into the center of the cake. If it comes out clean or with a few moist crumbs attached, your cake is ready! If it comes out wet, bake for a few more minutes and check again. Every oven is different, so always trust the toothpick test over the exact time.
- Cool the Cake:Once baked, remove the cake from the oven and let it cool in the pan on a wire rack for at least 15-20 minutes before attempting to serve. This allows the cake to set and firm up, preventing it from crumbling when you cut into it. For best results, let it cool completely before adding the hot fudge sauce, or at least until it’s just warm.
Part 2: Crafting the Silky Hot Fudge Sauce
This sauce is the star of the show! It’s rich, decadent, and surprisingly simple to make.
- Combine Ingredients (Except Vanilla):In a medium saucepan, combine ½ cup unsalted butter, ½ cup unsweetened cocoa powder, 1 ½ cups granulated sugar, and 1 cup whole milk. Whisk these ingredients together until smooth. Use a heavy-bottomed saucepan if you have one, as it distributes heat more evenly and reduces the risk of scorching.
- Cook the Sauce:Place the saucepan over medium heat. Bring the mixture to a gentle boil, stirring frequently to prevent sticking to the bottom. Once it begins to boil, reduce the heat to low and continue to simmer for 5-7 minutes, stirring occasionally. The sauce will thicken as it cooks. You’re looking for a consistency that coats the back of a spoon. Don’t rush this step! Simmering allows the sugar to dissolve completely and the sauce to thicken properly.
- Finish with Vanilla:Remove the saucepan from the heat. Stir in 1 teaspoon of vanilla extract. Vanilla adds depth and warmth to the chocolate flavor. The sauce will thicken a bit more as it cools.
Part 3: Assembling and Serving Your Masterpiece
- Warm the Fudge:If your cake has cooled completely, you’ll want to gently reheat the fudge sauce just before serving so it’s warm and pourable. You can do this on low heat on the stovetop or in the microwave in 30-second intervals, stirring well after each.
- Slice and Serve:Cut generous slices of the warm or room-temperature chocolate cake. Place each slice on a plate.
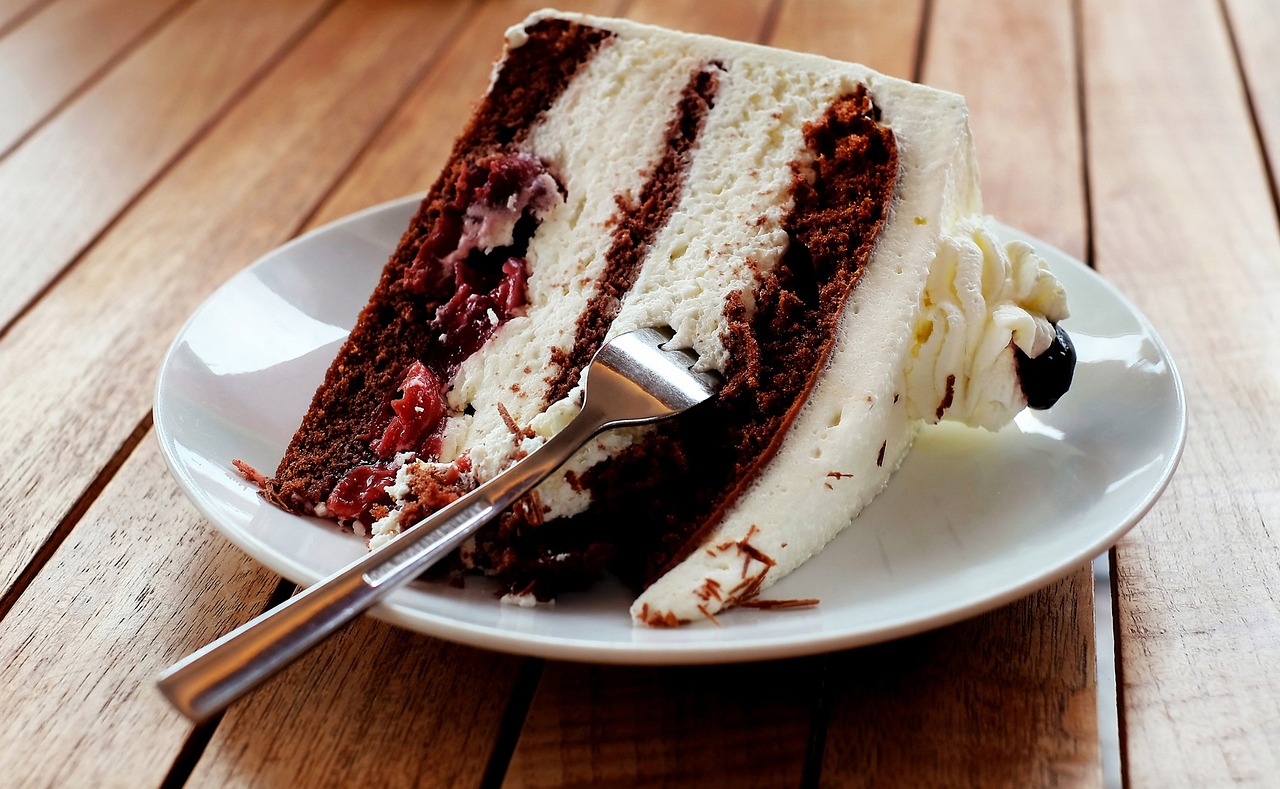
- Drizzle and Garnish:Spoon a generous amount of the warm hot fudge sauce over each slice of cake. For the ultimate Shoney’s experience, top with a dollop of fresh whipped cream and a bright red maraschino cherry. Enjoy immediately!
Tips & Tricks for Baking Success
These extra bits of advice will help you achieve perfection and avoid common baking pitfalls, especially if you’re new to the kitchen!
- Room Temperature Ingredients: Always aim to use room temperature eggs and milk for your cake batter. They emulsify (mix) better with other ingredients, creating a smoother batter and a more consistent, tender cake texture. Take them out of the fridge at least 30 minutes to an hour before you start baking.
- Measure Accurately: Baking is a science! Use proper measuring cups for dry ingredients (levelled off with a straight edge) and liquid measuring cups for wet ingredients. Too much flour is a common culprit for dry cakes.
- Don’t Overmix: We can’t stress this enough! Once you combine wet and dry ingredients, mix only until just incorporated. Overmixing develops gluten, leading to a tough, chewy cake rather than a light, fluffy one.
- Quality Cocoa Matters: For the best chocolate flavor, invest in good quality unsweetened cocoa powder. Dutch-processed cocoa will give a darker color and mellower flavor, while natural cocoa powder (like Hershey’s) is more acidic and yields a stronger chocolate taste. Both work well in this recipe.
- The Coffee Secret: Don’t skip the hot coffee! It doesn’t make your cake taste like coffee, but it significantly deepens and enhances the chocolate flavor, making it incredibly rich. If you don’t have coffee, boiling water is an acceptable substitute.
- Pan Preparation Perfection: Greasing and “flouring” your pan with cocoa powder (instead of flour) for chocolate cakes prevents white residue and makes for a beautifully dark cake all around.
- Cooling Patience: Allow your cake to cool in the pan for the recommended time before attempting to move or cut it. This crucial step allows the cake’s structure to set, preventing it from breaking apart.
- Storing Leftovers: Store leftover cake covered at room temperature for up to 2-3 days, or in the refrigerator for up to 5 days. Store leftover hot fudge sauce separately in an airtight container in the fridge and reheat gently before serving.
Essential Baking Tools
Having the right tools makes all the difference for a smooth baking experience!
- Mixing Bowl
- Whisk
- Baking Pan (9×13 inch)
- Measuring Cups
- Spatula (rubber or silicone)
- Measuring Spoons
- Saucepan (for hot fudge)
- Wire Rack (for cooling)
- Wooden Toothpicks (for testing doneness)
Nutrition Info (Estimated per serving)
Please note: These are estimated nutritional values per serving (assuming 12 servings per cake with sauce) and can vary based on exact ingredients and portion sizes. This is a rich dessert, so enjoy in moderation!
| Nutrient | Estimated Value |
|---|---|
| Calories | 480-550 kcal |
| Carbohydrates | 70-85 g |
| Protein | 5-7 g |
| Fat | 20-28 g |
| Fiber | 2-4 g |
| Sugar | 55-70 g |
Frequently Asked Questions for Beginner Bakers
Don’t worry, we’ve got answers to some common questions that pop up when you’re just starting out!
- Q1: Can I make this cake ahead of time?
- Absolutely! You can bake the cake a day in advance. Once completely cooled, wrap it tightly in plastic wrap and store it at room temperature. The hot fudge sauce can also be made a day or two ahead and stored in an airtight container in the refrigerator. Reheat the sauce gently before serving.
- Q2: My cake turned out dry. What went wrong?
- A dry cake is usually due to one of two things: overmixing the batter or overbaking. Remember to mix the batter only until just combined, and always use the toothpick test to ensure you don’t bake it longer than necessary. Also, ensure your measuring cups are accurate, especially for flour.
- Q3: Can I use regular water instead of coffee for the cake?
- Yes, you can! While hot coffee enhances the chocolate flavor beautifully without making the cake taste like coffee, boiling water works perfectly fine as a substitute. The cake will still be moist and delicious.
- Q4: My hot fudge sauce is too thin/thick. How can I fix it?
- If it’s too thin, return it to low heat and simmer for a few more minutes, stirring constantly, until it reaches your desired consistency. If it’s too thick, you can whisk in a tablespoon or two of milk or cream until it thins out. Remember, it will thicken further as it cools.
- Q5: What if I don’t have a specific baking pan size?
- This recipe is designed for a 9×13 inch pan. If you use a different size, you might need to adjust baking time. A smaller pan will result in a thicker cake that needs more time, while a larger pan will mean a thinner cake that bakes faster. Always use the toothpick test for doneness.
Your Delicious Journey Begins Now!
Congratulations, you’re now equipped to create a truly unforgettable dessert! Recreating the Recipe For Shoney’S Hot Fudge Cake at home is not just about following steps; it’s about the joy of baking, the aroma filling your kitchen, and the sheer delight on faces when this warm, chocolatey masterpiece is served. Don’t be afraid to experiment, and remember that every bake is a learning experience. Even if it’s not “perfect” the first time, it will still be delicious! So grab your apron, preheat your oven, and get ready to make some sweet memories. Happy baking!