Recipe For Sourdough Bread Bowls: Your Ultimate Beginner’s Guide

There’s nothing quite like a warm, crusty bread bowl filled with your favorite hearty soup or chili. And when that bread bowl is homemade sourdough? Pure magic! If you’ve ever dreamed of serving up a show-stopping meal that’s both delicious and incredibly satisfying, then you’ve come to the right place. This **Recipe For Sourdough Bread Bowls** is designed with the absolute beginner in mind. Forget everything you thought about complicated sourdough baking – we’re breaking it down into simple, manageable steps. We’ll walk you through everything, making this one of the most **easy baking recipes** you’ll add to your repertoire. Get ready to impress yourself and your loved ones with these incredible, edible bowls, packed with flavor and texture. With our detailed **baking tips for beginners**, you’ll be a sourdough pro in no time!
Ingredients List
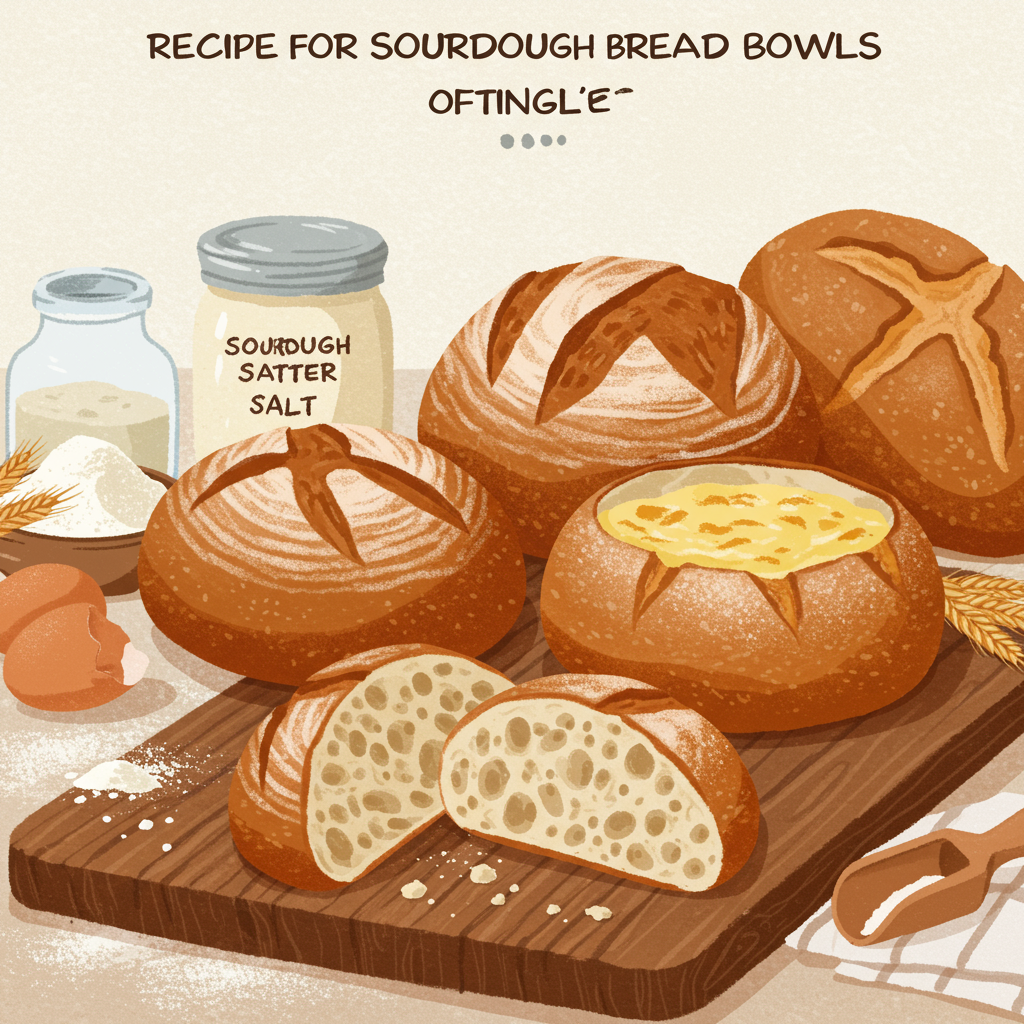
To embark on your sourdough bread bowl journey, gather these essential ingredients. Quality matters, especially for your flour and salt!
| Ingredient | Quantity | Unit |
|---|---|---|
| Active Sourdough Starter | 100 | grams |
| Warm Water (around 90-95°F / 32-35°C) | 350 | grams |
| Bread Flour (high protein content) | 500 | grams |
| Fine Sea Salt | 10 | grams |
| Olive Oil (for greasing) | 1 | teaspoon |
| Semolina Flour or Rice Flour (for dusting) | 2-3 | tablespoons |
Step-by-Step Instructions: Crafting Your Sourdough Bread Bowls
Baking sourdough can feel like a science experiment, but don’t worry! We’ve broken down each step to be as clear and straightforward as possible. Follow along, and you’ll be amazed at what you can create!
1. Activating Your Sourdough Starter (The Night Before or Morning Of Baking Day)
This is perhaps the most crucial first step for any sourdough recipe. Your starter needs to be **active and vigorous**. Feed your starter 4-12 hours before you plan to mix your dough. How do you know it’s ready? It should have:
- Doubled or even tripled in size.
- Lots of visible bubbles on the surface and throughout.
- A pleasant, slightly tangy smell, not overly sour.
- Pass the **float test**: Drop a small spoonful into a glass of water. If it floats, it’s ready! If it sinks, give it a few more hours and try again.
Beginner Tip: Don’t rush this step. An inactive starter is the most common reason for a dense, flat loaf. Patience is key!
2. The Autolyse (Pre-Hydration)
The autolyse step might sound fancy, but it’s incredibly simple and beneficial. It allows the flour to fully hydrate before you introduce the starter and salt, which helps with gluten development.
- In a large mixing bowl, combine the **warm water** and the **bread flour**.
- Mix with your hands or a sturdy spoon until no dry bits of flour remain. It will look shaggy and not very smooth – that’s perfectly normal!
- Cover the bowl with a clean kitchen towel or plastic wrap to prevent drying.
- Let it rest for **30 minutes to 1 hour** at room temperature.
Why do we do this? The flour absorbs the water, and enzymes start to break down starches into simple sugars, making them more available for the yeast in your starter. It also helps kickstart gluten development with less kneading required later.
3. Mixing in Starter and Salt
Now it’s time to incorporate your active starter and the all-important salt.
- Add your **active sourdough starter** directly on top of your autolysed dough.
- Using wet hands, gently dimple the starter into the dough, then fold the dough over itself repeatedly until the starter is fully incorporated. It might feel a bit messy, but keep going!
- Once the starter is mostly mixed in, sprinkle the **fine sea salt** over the dough.
- Continue to mix and fold for another few minutes until the salt is evenly distributed and the dough starts to feel a bit smoother and more cohesive.
- Cover the bowl again.
Common Mistake: Adding salt too early can inhibit gluten development, which is why we add it after the autolyse and sometimes after the starter has begun to integrate.
4. Bulk Fermentation (First Rise & Stretch and Folds)
This is where the magic really happens! Bulk fermentation is the first, longer rise where your dough develops flavor and strength. During this period, you’ll perform a series of “stretch and folds” to build gluten without intensive kneading.
- Let the dough rest for **30 minutes** after mixing in the salt.
- Perform your first set of Stretch and Folds: With wet hands, gently grab a portion of the dough from one side, stretch it upwards, and fold it over to the opposite side of the bowl. Rotate the bowl a quarter turn and repeat this motion 3-4 more times until you’ve gone all the way around. This helps build strength and structure.
- Cover the bowl and let it rest for another **30-45 minutes**.
- Repeat the stretch and fold process **3-4 more times**, with 30-45 minute rest periods in between each set.
- After your last set of stretch and folds, let the dough rest, covered, for the remainder of the bulk fermentation. The total bulk fermentation time will typically be **4-6 hours** at room temperature (around 70-75°F / 21-24°C). This can vary based on your starter’s activity and ambient temperature.
How to tell if Bulk Fermentation is done: Your dough should have increased in volume by **30-50%**, feel light and airy, have visible bubbles on the surface and sides, and pass the “jiggle test” (it will jiggle slightly when you gently shake the bowl). It should also feel strong and elastic, not sticky or prone to tearing.
Beginner Tip: If your kitchen is cold, find a warm spot (like near a sunny window or in an oven with just the light on). If it’s very warm, your dough will ferment faster.
5. Dividing and Preshape
Once your dough has completed its bulk fermentation, it’s time to divide it into individual portions for your bread bowls.
- Lightly flour your work surface.
- Gently pour or scrape the dough out of the bowl onto the floured surface. Try to handle it as little as possible to preserve those precious air bubbles.
- Using a dough scraper or knife, divide the dough into **4 equal pieces**. For precision, you can weigh each piece.
- Gently preshape each piece into a loose ball (boule). To do this, lightly cup your hands around the dough and use the friction against the counter to create a taut surface. Don’t worry if they aren’t perfect.
- Cover the preshaped balls with a clean kitchen towel and let them rest for **20-30 minutes**. This allows the gluten to relax, making final shaping much easier.
6. Final Shaping (Creating Your Bowls)
Now, we’ll give each dough piece its final structure, preparing it for its journey to becoming a perfect bread bowl.
- Lightly flour your work surface again.
- Take one preshaped dough ball. Gently flatten it into a rough circle.
- Starting from the top, fold the top edge down towards the center. Then take the left and right sides and fold them towards the center. Finally, roll the dough from top to bottom, tucking the seam underneath as you go. You want to create a taut “skin” on top and a well-sealed seam at the bottom. The goal is to create **surface tension**.
- Once shaped into a tight ball, place it **seam-side up** into a well-floured banneton (proofing basket) or a bowl lined with a lightly floured kitchen towel. The flour (semolina or rice flour works best) prevents sticking.
- Repeat with the remaining three dough pieces.
Why seam-side up? When you invert it into your Dutch oven, the seam will be on the bottom, and the beautifully taut surface will be on top, ready for scoring and a fantastic crust.
7. Cold Proof (The Flavor Builder)
This long, slow fermentation in the refrigerator is excellent for developing deep, complex sourdough flavor and makes the dough much easier to handle.
- Cover your bannetons/bowls with plastic wrap or a shower cap to prevent drying out.
- Place them in the refrigerator for at least **8-12 hours**, and up to 24 hours.
Beginner Tip: Don’t skip this step! It’s not just for flavor; the cold dough holds its shape better when you score it and transfer it to the hot Dutch oven, leading to better oven spring.
8. Preheat Oven & Dutch Oven
Getting your oven and Dutch oven piping hot is crucial for achieving that amazing crust and “oven spring” (the rapid rise of the dough when it first hits the heat).
- About **45-60 minutes** before you’re ready to bake, place your Dutch oven (with its lid) into your cold oven.
- Preheat your oven to **475°F (245°C)**. Make sure it’s fully preheated for the entire duration, as a cold Dutch oven will prevent good oven spring.
9. Scoring and Baking (The Big Reveal!)
This is where your dough transforms into beautiful bread bowls!
- Carefully remove the scorching hot Dutch oven from the oven using oven mitts. Place it on a heat-proof surface.
- Gently invert one of your cold-proofed dough balls from its banneton/bowl directly into the hot Dutch oven.
- Using a sharp razor blade (lame) or a very sharp knife, **score** the top of the dough. A simple “X” or a circle around the top is perfect for a bread bowl, allowing for controlled expansion.
- Place the lid back on the Dutch oven.
- Bake with the lid on for **20 minutes**. The lid traps steam, which keeps the crust soft initially, allowing the dough to expand fully.
- After 20 minutes, carefully remove the lid. Reduce the oven temperature to **450°F (230°C)**.
- Continue baking for another **25-30 minutes**, or until the crust is a deep golden brown and sounds hollow when tapped on the bottom.
- Repeat the baking process for each bread bowl, one at a time, ensuring the Dutch oven is reheated between each bake if it cools down too much.
Why score? Scoring acts as a vent, directing where the steam escapes and allowing your bread to expand in a controlled, beautiful way. Without it, your bread might burst unexpectedly.
10. Cooling and Hollowing Out
Patience, young baker! This last step is vital.
- Carefully remove the baked bread bowl from the