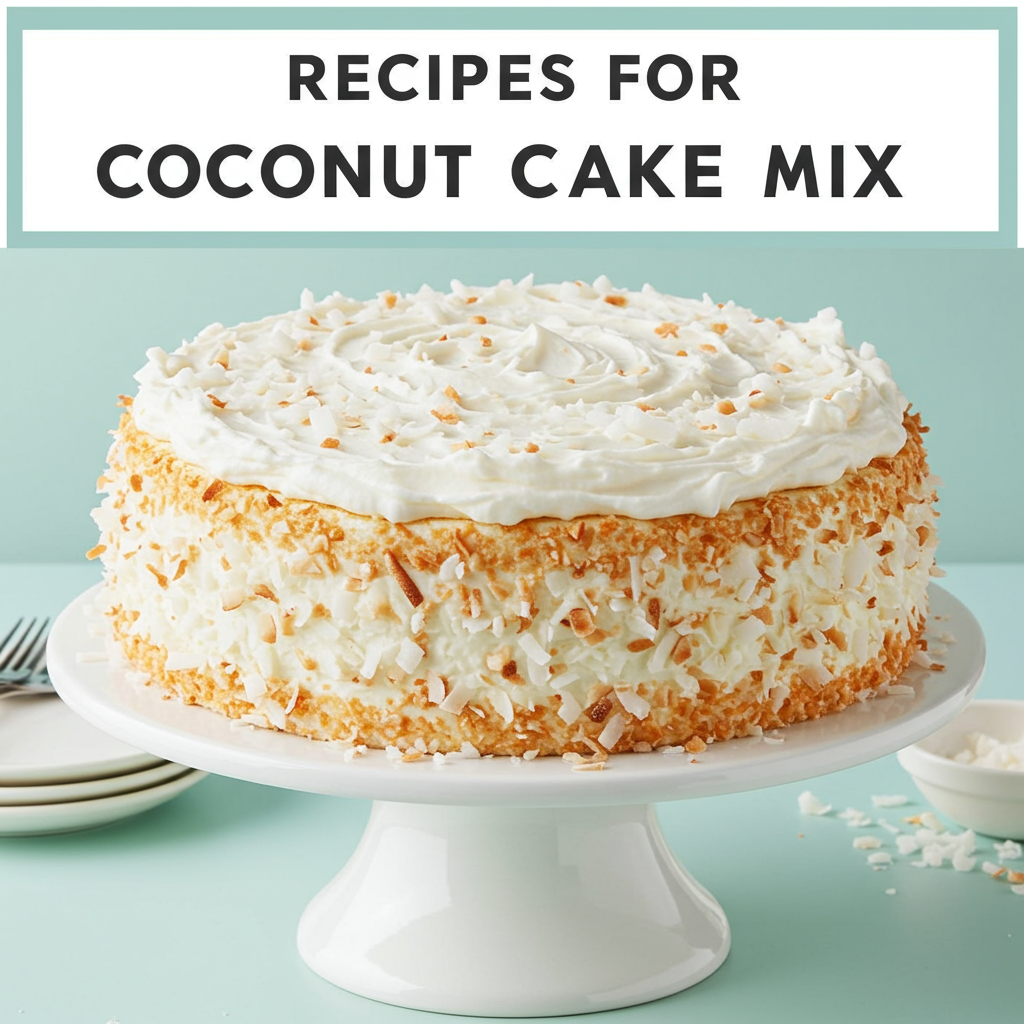
Welcome, fellow dessert lovers and aspiring bakers! If you’re craving a taste of the tropics but feel intimidated by complex baking, you’ve landed in the perfect spot. Today, we’re diving into the wonderful world of Recipes For Coconut Cake Mix.
This isn’t just about making a cake; it’s about transforming a simple box mix into an extraordinary, moist, and wonderfully coconutty treat that will impress everyone, including yourself! We believe that easy baking recipes should never compromise on flavor, and this guide is packed with baking tips for beginners to ensure your success. Get ready to create a show-stopping dessert with minimal effort and maximum deliciousness. Let’s whisk up some magic!
Ingredients You’ll Need:
This recipe takes a standard coconut cake mix and elevates it with a few simple additions for ultimate flavor and moisture. Make sure to gather all your ingredients before you start!
| Ingredient | Quantity | Unit |
|---|---|---|
| Coconut Cake Mix (standard box, 15.25 oz) | 1 | box |
| Large Eggs | 3 | |
| Full-Fat Coconut Milk (canned, unsweetened) | 1 | cup |
| Vegetable Oil or Melted Unsalted Butter | 1/2 | cup |
| Granulated Sugar | 1/4 | cup |
| Vanilla Extract | 1 | teaspoon |
| Coconut Extract (optional, for extra flavor) | 1/2 | teaspoon |
| Sweetened Shredded Coconut (for batter) | 1/2 | cup |
| For the Coconut Buttercream Frosting: | ||
| Unsalted Butter, softened | 1 | cup (2 sticks) |
| Powdered Sugar (confectioners’ sugar) | 4-5 | cups |
| Full-Fat Coconut Milk (canned) | 3-4 | tablespoons |
| Coconut Extract | 1 | teaspoon |
| Vanilla Extract | 1/2 | teaspoon |
| Pinch of Salt | ||
| Sweetened Shredded Coconut (for garnish) | 1/2 – 1 | cup |
Step-by-Step Instructions for Your Perfect Coconut Cake:
Follow these detailed steps carefully, and you’ll be enjoying a slice of heaven in no time! Remember, baking is a science, but with these tips, it’s an enjoyable one.
• Step 1: Prepare Your Baking Station
Before you even think about mixing, let’s get organized! This is a crucial **baking tip for beginners**.
- Preheat Oven: Set your oven to 350°F (175°C). It’s important to have a fully preheated oven when the cake goes in, as this helps it rise properly.
- Prepare Pans: Grease and flour two 8 or 9-inch round cake pans. You can also use baking spray with flour. For extra insurance against sticking, you can line the bottoms with parchment paper circles after greasing. This step is vital – a sticky cake is a sad cake!
- Gather Ingredients: Measure out all your ingredients. This practice, called “mise en place,” makes the baking process smoother and helps prevent you from forgetting anything. For best results, ensure your eggs and coconut milk are at room temperature. This helps them combine more smoothly with other ingredients, creating a more uniform batter and a finer crumb in your cake.
• Step 2: Mix the Dry Ingredients
- In a large mixing bowl, empty the contents of your coconut cake mix.
- Add the 1/4 cup of granulated sugar to the cake mix. While the mix already has sugar, this extra bit enhances the flavor and moisture without making it overly sweet.
- Give these dry ingredients a quick whisk together to break up any lumps and ensure they are well combined. This prevents pockets of unmixed ingredients in your final cake.
• Step 3: Combine Wet Ingredients and Introduce Coconut Goodness
- To the dry ingredients, add the 3 large eggs, 1 cup of full-fat coconut milk, 1/2 cup of vegetable oil (or melted butter), 1 teaspoon of vanilla extract, and if using, 1/2 teaspoon of coconut extract.
- Beginner Tip: Start mixing on a low speed with an electric mixer (or by hand with a whisk) until the dry ingredients are just moistened. This prevents a flour cloud from erupting in your kitchen!
- Increase the speed to medium and beat for about 2 minutes. The batter should be smooth, but don’t overmix!
- Common Mistake & Explanation: Overmixing develops the gluten in the flour too much, which can lead to a tough, dense cake. We want light and fluffy! Mix just until combined and smooth.
- Finally, gently fold in the 1/2 cup of sweetened shredded coconut. A spatula is best for this to avoid overmixing. This adds wonderful texture and bursts of coconut flavor throughout the cake.
• Step 4: Bake Your Cakes
- Divide the batter evenly between your two prepared cake pans. You can use a kitchen scale for precise division, or simply eyeball it.
- Place the pans in the preheated oven.
- Bake for 28-32 minutes, or until a wooden toothpick inserted into the center of the cakes comes out clean.
- Beginner Tip: Resist the urge to open the oven door during the first 20 minutes of baking! Sudden temperature changes can cause your cake to sink in the middle.
- Alternative: If you prefer cupcakes, line a muffin tin with paper liners, fill each about two-thirds full, and bake for 18-22 minutes.
• Step 5: Cool Down!
Patience is a virtue, especially in baking!
- Once baked, remove the cakes from the oven and let them cool in their pans on a wire rack for 10-15 minutes. This allows the cakes to firm up slightly and makes them easier to handle.
- After 10-15 minutes, carefully invert the cakes onto the wire rack to cool completely. Ensure they are **completely cool** before frosting. Frosting a warm cake will lead to a melted, messy disaster! This can take 1-2 hours.
• Step 6: Prepare the Coconut Buttercream Frosting
While your cakes are cooling, let’s make that luscious frosting!
- In a large bowl, using an electric mixer, beat the softened butter on medium speed until creamy and light in color, about 2-3 minutes.
- Gradually add the powdered sugar, about 1 cup at a time, mixing on low speed until combined, then increasing to medium. The frosting will be very thick.
- Add 3 tablespoons of full-fat coconut milk, 1 teaspoon of coconut extract, 1/2 teaspoon of vanilla extract, and a pinch of salt. Beat on medium-high speed until light and fluffy, about 2-3 minutes.
- If the frosting is too thick, add the remaining tablespoon of coconut milk, 1 teaspoon at a time, until you reach your desired consistency. If it’s too thin, add more powdered sugar.
- Beginner Tip: Softened butter should be pliable but not melted. If it’s too warm, your frosting will be runny.
• Step 7: Assemble and Decorate
The fun part!
- Once your cakes are completely cool, place one layer on your serving plate or cake stand.
- Spread about 1/2 to 3/4 cup of frosting evenly over the top of the first layer.
- Carefully place the second cake layer on top.
- Frost the top and sides of the entire cake with the remaining buttercream. Don’t worry about perfection; rustic looks charming!
- For a beautiful finish, gently press the extra sweetened shredded coconut onto the sides and top of the cake. This adds both visual appeal and an extra textural coconut punch!
- Slice, serve, and enjoy your homemade tropical delight!
Tips & Tricks for Beginner Bakers:
Baking can seem daunting, but with these simple tips, you’ll feel like a pro in no time!
- Read the Entire Recipe First: Before you even get out a bowl, read through the whole recipe. This helps you understand the process and anticipate steps, preventing surprises.
- Room Temperature Matters: For ingredients like eggs and coconut milk, having them at room temperature allows them to emulsify better with other ingredients, resulting in a smoother batter and a more uniform, tender cake crumb.
- Measure Accurately: Use proper measuring cups for dry ingredients (levelled off with a straight edge) and liquid measuring cups for liquids. Baking is precise!
- Don’t Overmix: This is crucial for tender cakes. Mix just until ingredients are combined. Overmixing develops gluten, which can lead to a tough cake.
- Grease and Flour Your Pans Well: Nothing is worse than a cake stuck to the pan! Be generous with your grease and flour, or use baking spray with flour. Parchment paper circles on the bottom are extra insurance.
- Check for Doneness Properly: The toothpick test is your best friend. Insert it into the center; if it comes out clean or with a few moist crumbs, your cake is done. If it’s wet, bake a few more minutes.
- Cool Completely: Frosting a warm cake is a recipe for a melted, sliding mess. Be patient and let your cake layers cool fully on a wire rack.
- Toast Your Coconut: For an extra layer of flavor and crunch, lightly toast some of your shredded coconut in a dry skillet over medium-low heat until golden brown. Sprinkle this over the finished cake for garnish.
- Store Properly: Store leftover cake covered at room temperature for up to 2-3 days, or in the refrigerator for up to 5 days, especially if your kitchen is warm or if you used fresh coconut.
Essential Baking Tools:
Having the right tools makes all the difference for an enjoyable baking experience.
- Mixing Bowl
- Whisk
- Baking Pan (8 or 9-inch round)
- Measuring Cups & Spoons
- Spatula (for folding and frosting)
- Electric Mixer (handheld or stand mixer)
- Wire Cooling Rack
- Parchment Paper (optional, but recommended)
Nutrition Information (per serving, approximate):
Please note that nutritional values are estimates and can vary based on specific brands and exact measurements.
| Nutrient | Amount |
|---|---|
| Calories | 420 kcal |
| Carbohydrates | 55 g |
| Protein | 4 g |
| Fat | 22 g |
| Fiber | 1.5 g |
| Sugar | 40 g |
Frequently Asked Questions (FAQs):
Q1: Can I use regular milk instead of coconut milk?
A: While you can technically use regular milk, it will significantly change the flavor profile and moisture content. For the best, most authentic coconut flavor and the rich texture this recipe aims for, we highly recommend sticking to full-fat canned coconut milk. If you must substitute, use whole milk, but be aware the cake will be less coconutty and potentially a bit drier.
Q2: How do I know when my cake is perfectly baked?
A: The most reliable method is the toothpick test! Insert a wooden toothpick into the very center of the cake. If it comes out clean (no wet batter), your cake is done. If it has wet batter, bake for another 2-3 minutes and test again. Also, the cake edges will start to pull away slightly from the pan, and the top will spring back lightly when gently pressed.
Q3: My cake sank in the middle! What went wrong?
A: This is a common issue for beginners! Possible reasons include: 1) Opening the oven door too early during baking, causing a sudden temperature drop. 2) Overmixing the batter, which incorporates too much air initially, then collapses. 3) The oven temperature being too low, causing slow baking and insufficient structure. 4) The cake being underbaked in the center. Make sure your oven temperature is accurate (an oven thermometer can help!), don’t open the door early, and mix just until combined.
Q4: Can I turn this into cupcakes?
A: Absolutely! This recipe works beautifully for cupcakes. Line a muffin tin with paper liners. Fill each liner about two-thirds full with batter. Bake for approximately 18-22 minutes, or until a toothpick inserted into the center of a cupcake comes out clean. The yield will be around 24 cupcakes.
Q5: How long does this coconut cake last, and how should I store it?
A: This cake is best enjoyed within 2-3 days at room temperature, covered loosely or in an airtight container. If your kitchen is warm, or for longer storage, you can refrigerate it for up to 5 days. Just bring it to room temperature for about 30 minutes before serving for the best texture and flavor. You can also freeze individual slices, well-wrapped, for up to 1-2 months.
Your Tropical Baking Adventure Awaits!
There you have it – a comprehensive guide to creating a truly delightful coconut cake from a simple mix. We hope these Recipes For Coconut Cake Mix, along with our detailed baking tips for beginners, have inspired you to tie on an apron and get baking. Remember,
every great baker started somewhere, and the joy of creating something delicious with your own hands is truly rewarding. Don’t be afraid to experiment, have fun, and most importantly, enjoy every single bite of your homemade tropical masterpiece. We can’t wait to hear about your baking success! Happy baking!