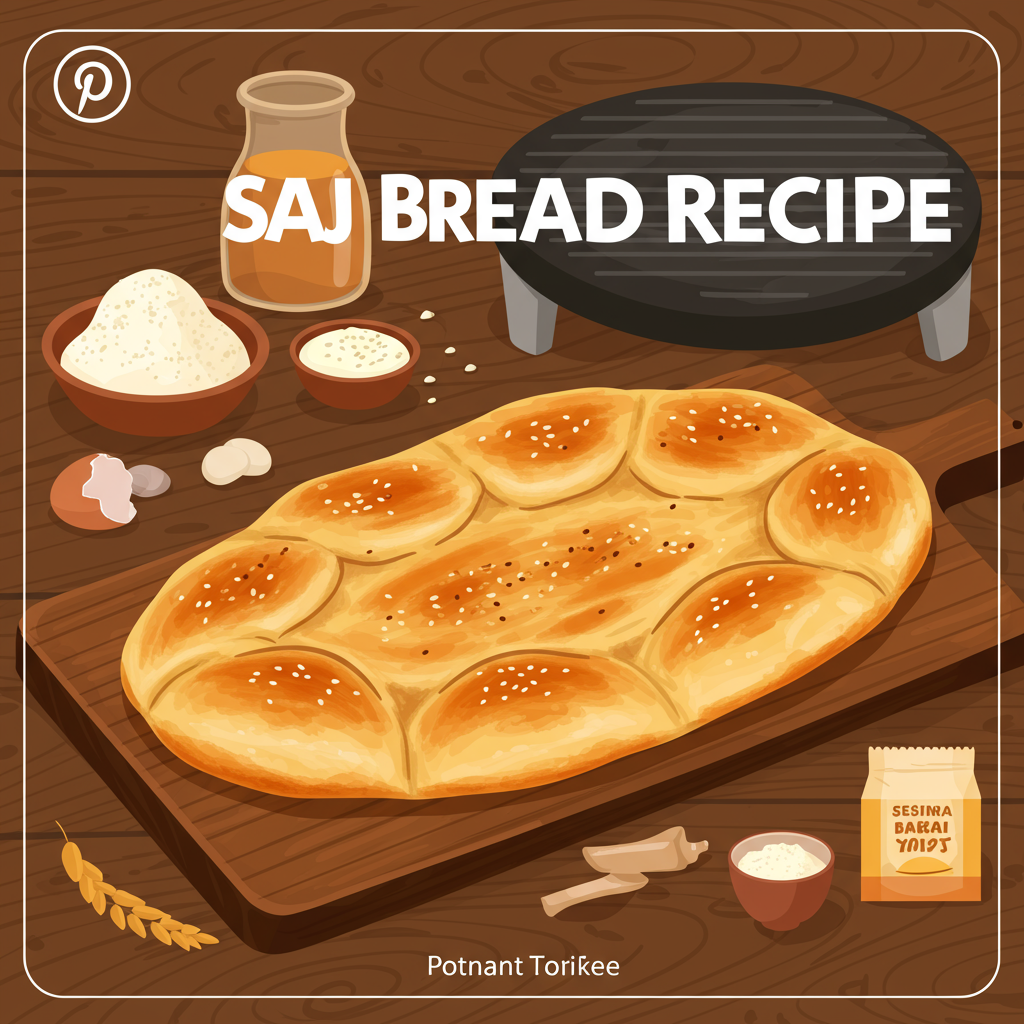
Welcome, fellow food lovers and aspiring bakers! There’s something uniquely satisfying about the smell of freshly baked bread filling your home, and today, we’re diving into one of the simplest yet most rewarding bread recipes you can master: the Saj Bread Recipe.
If you’re new to the world of dough and ovens, don’t fret! This post is designed to be your ultimate guide to easy baking recipes, packed with practical baking tips for beginners. Saj bread, a staple flatbread from the Middle East, is wonderfully thin, versatile, and incredibly quick to cook. Forget complicated techniques; we’re going to break down every step, ensuring your first homemade Saj bread is a resounding success. Get ready to impress yourself (and your taste buds!) with this delightful, airy flatbread.
Ingredients List
Gathering your ingredients is the first step to any successful bake. For this delightful Saj bread, you’ll need just a few pantry staples. We recommend using a kitchen scale for precision, but standard measuring cups work perfectly too!
| Ingredient | Quantity | Unit |
|---|---|---|
| All-purpose flour | 3 | cups |
| Warm water (105-115°F or 40-46°C) | 1 | cup |
| Active dry yeast | 1 | teaspoon |
| Granulated sugar | 1 | teaspoon |
| Fine sea salt | 1 | teaspoon |
| Olive oil (plus extra for greasing) | 2 | tablespoons |
| Extra flour | for dusting |
Step-by-Step Instructions: Your Beginner-Friendly Guide to Saj Bread
Baking bread might seem intimidating, but with these detailed steps, you’ll be a Saj bread pro in no time! Read through each step carefully before you begin.
Step 1: Activate Your Yeast – The Foundation of Fluffy Bread
In a small bowl, combine the **warm water** (make sure it’s not too hot, or it will kill the yeast, and not too cold, or it won’t activate), **granulated sugar**, and **active dry yeast**. Give it a gentle stir. Now, here’s a crucial **baking tip for beginners**: let this mixture sit for 5-10 minutes. You’re looking for a foamy, bubbly layer to form on top. This indicates that your yeast is alive and active, ready to make your bread light and airy. If it doesn’t foam, your yeast might be old or the water temperature was off – it’s best to start again with fresh yeast and correctly tempered water.
Step 2: Combine Dry Ingredients
In a large mixing bowl, whisk together the **all-purpose flour** and **fine sea salt**. Whisking isn’t just for mixing; it also aerates the flour, helping to create a lighter dough. Make sure the salt is evenly distributed, as direct contact with yeast can sometimes inhibit its activity.
Step 3: Bring Wet and Dry Together
Once your yeast mixture is foamy, pour it into the bowl with your dry ingredients. Add the **2 tablespoons of olive oil**. Using a sturdy spoon or a spatula, start mixing from the center outwards, gradually incorporating the flour. It will look shaggy and a bit sticky at first – this is completely normal! Continue mixing until a rough ball of dough forms and most of the flour has been absorbed. Don’t worry about it being perfectly smooth yet.
Step 4: Knead the Dough – Building Structure
Turn the shaggy dough out onto a lightly floured surface. Now comes the fun part: kneading! This develops the gluten, which gives your bread its structure and chew. Push the dough away from you with the heels of your hands, fold it back towards you, and then rotate it a quarter turn. Repeat this motion for about 5-7 minutes. **Beginner’s tip**: Avoid adding too much extra flour during kneading unless the dough is excessively sticky. A slightly tacky dough is good! You’ll know it’s ready when it’s smooth, elastic, and springs back slowly when you gently poke it with your finger. If you have a stand mixer with a dough hook, you can use it on low speed for 5 minutes.
Step 5: First Rise – Letting the Yeast Do Its Work
Lightly grease a clean large bowl with a little olive oil. Place your kneaded dough ball into the bowl, turning it once to coat all sides with oil. This prevents it from drying out. Cover the bowl tightly with plastic wrap or a clean kitchen towel. Place it in a warm, draft-free spot. A slightly warm oven (turned off, or just for a few minutes on its lowest setting then turned off) or simply a warm corner of your kitchen works great. Let the dough rise for 1 to 1.5 hours, or until it has roughly doubled in size. This is called the ‘first proof’ or ‘bulk fermentation’ and is vital for flavor and texture.
Step 6: Divide and Shape
Once the dough has doubled, gently punch it down to release the air. Turn the dough out onto a lightly floured surface. Divide the dough into 8 equal pieces. The easiest way to do this is to cut it in half, then cut each half in half, and then each quarter in half again. Roll each piece into a smooth, tight ball. This helps create an even surface for rolling.
Step 7: Second Rest (Optional but Recommended)
Cover the dough balls with a clean kitchen towel and let them rest for another 15-20 minutes. This short rest allows the gluten to relax, making the dough much easier to roll out thinly in the next step. Don’t skip this if you can, it makes a big difference!
Step 8: Roll Out the Dough – The Signature Thinness
Lightly flour your work surface and a rolling pin. Take one dough ball and flatten it slightly with your hand. Now, roll it out as thinly as you possibly can. The thinner, the better for authentic Saj bread! Aim for a diameter of about 10-12 inches, making it almost translucent. **Common mistake**: not rolling thin enough. Saj bread is known for its delicate, almost see-through quality. Use a little extra flour if needed to prevent sticking, but don’t overdo it. Repeat with the remaining dough balls, stacking the rolled-out breads with parchment paper in between to prevent sticking, and keep them covered.
Step 9: Cook the Bread – Quick and Hot!
Traditionally, Saj bread is cooked on a domed metal griddle called a ‘Saj’. Since most of us don’t have one, here are great alternatives:
Alternative 1 (Best for home): Inverted Wok or Large Bowl: Turn a large wok or a sturdy, heat-safe stainless steel mixing bowl upside down on your stovetop burner. Heat it over medium-high heat until it’s very hot (a drop of water should sizzle and evaporate immediately).
Alternative 2: Large Cast Iron Skillet or Griddle: Heat a large cast iron skillet or a flat griddle over medium-high heat until extremely hot.
Carefully drape one of your thinly rolled dough rounds over the hot surface. It will cook very quickly! Watch for bubbles to form on the surface, and the edges to slightly crisp. This usually takes only 30-60 seconds. Using tongs, flip the bread over and cook the other side for another 30-60 seconds, until it’s lightly golden and cooked through. **Common mistake**: overcooking. This will make your Saj bread crispy instead of soft and pliable. You want it soft enough to fold!
Step 10: Serve and Store
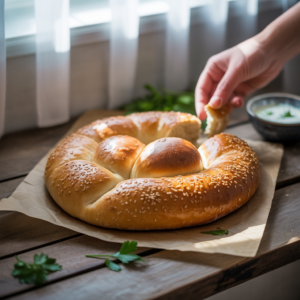
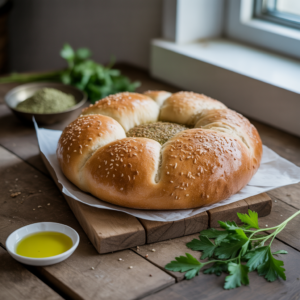
As each bread cooks, stack them on a plate and cover them with a clean kitchen towel. This traps the steam and keeps the bread soft and pliable. Serve your warm Saj bread immediately with your favorite dips, spreads, or as a wrap. Leftovers can be stored in an airtight container or zip-top bag at room temperature for up to 2-3 days. Reheat briefly on a dry skillet or in the microwave to soften.
Tips & Tricks for Perfect Saj Bread Every Time
Achieving bakery-quality Saj bread at home is totally possible with a few insider secrets:
- Water Temperature is Key: For yeast activation, aim for water that feels like a warm bath (105-115°F or 40-46°C). Too hot will kill the yeast, too cold won’t activate it. A kitchen thermometer is a great investment for baking!
- Don’t Be Afraid to Knead: Kneading develops gluten, which gives your bread its elasticity and chew. If you’re hand-kneading, aim for 5-7 minutes until the dough is smooth and springs back.
- Go Thin, Thinner, Thinnest! The hallmark of authentic Saj bread is its incredibly thin consistency. Don’t be shy with your rolling pin. The more translucent, the better, as this results in a delicate, quick-cooking bread.
- Hot Surface, Quick Cook: Make sure your cooking surface (inverted wok, griddle, cast iron pan) is very hot before you place the dough on it. The high heat cooks the bread rapidly, creating those characteristic bubbles and keeping it soft.
- Stack and Cover: As soon as each bread comes off the heat, stack it on a plate and cover it with a clean kitchen towel. This traps steam and prevents the bread from drying out and becoming brittle.
- Flour Quality Matters: While all-purpose flour works, a good quality unbleached all-purpose or even bread flour can provide a slightly better texture.
- Experiment with Toppings: Once you’ve mastered the basic recipe, try brushing your warm Saj bread with olive oil and za’atar, or a sprinkle of fresh herbs. It’s incredibly versatile!
Essential Baking Tools
Having the right tools makes all the difference, especially when you’re just starting out. Here are some essentials that will make your Saj bread baking experience smooth and enjoyable:
- Mixing Bowl
- Whisk
- Baking Pan (or a large cast iron skillet/griddle for cooking)
- Measuring Cups
- Spatula (or tongs for flipping bread)
- Rolling Pin (essential for getting that perfect thinness!)
Nutrition Info (Approximate per serving)
Here’s a general nutritional breakdown for one serving (approximately 1/8 of the recipe). These are approximate values and can vary based on exact ingredient quantities and brands.
| Nutrient | Quantity |
|---|---|
| Calories | 180 kcal |
| Carbohydrates | 35 g |
| Protein | 6 g |
| Fat | 2 g |
| Fiber | 1 g |
| Sugar | 1 g |
Frequently Asked Questions (FAQs)
Q1: My dough isn’t rising, what went wrong?
The most common culprit is inactive yeast. This can happen if your water was too hot (killing the yeast) or too cold (not activating it), or if your yeast is old and no longer potent. Ensure your water is between 105-115°F and your yeast is fresh. Also, make sure your rising spot is warm and draft-free.
Q2: Can I make this Saj Bread gluten-free?
While it’s possible to adapt many recipes to be gluten-free, traditional Saj bread relies heavily on the gluten development for its thin, pliable texture. A simple 1:1 gluten-free flour blend might not yield the same results without additional binders or specific gluten-free bread techniques. It would likely require significant adjustments and experimentation.
Q3: How do I store leftover Saj bread, and how can I reheat it?
Store cooled Saj bread in an airtight container or a large zip-top bag at room temperature for up to 2-3 days. For longer storage, you can freeze it for up to 1 month. To reheat, simply place it on a dry, hot skillet for 15-30 seconds per side until warm and pliable, or microwave briefly (10-15 seconds) until soft.
Q4: What if I don’t have an inverted wok or a cast iron skillet?
No problem! The goal is a very hot, flat cooking surface. You can use a heavy-bottomed non-stick pan, a griddle pan, or even a baking stone in a very hot oven (around 500°F/260°C) – just make sure to preheat it for a good 30 minutes. The key is high, consistent heat for quick cooking.
Q5: Why is my Saj bread crispy instead of soft and flexible?
Crispy Saj bread is usually a sign of overcooking or not rolling the dough thin enough. The bread cooks very quickly on a hot surface, so keep a close eye on it. It should be lightly golden and just cooked through, not browned to a crisp. Also, remember to stack and cover the cooked breads immediately to trap steam and keep them soft.
Q6: Can I prepare the dough ahead of time?
Absolutely! After the first rise (Step 5), you can punch down the dough, place it in a lightly oiled airtight container, and refrigerate it for up to 24 hours. When you’re ready to bake, take the dough out, let it come to room temperature for about 30-60 minutes, and then proceed with dividing and shaping (Step 6) as usual.
Conclusion
Congratulations, budding baker! You’ve just embarked on a delicious journey to master the art of homemade Saj bread. This easy baking recipe is not just about making a delicious flatbread; it’s about building confidence in the kitchen and discovering the joy of creating something wonderful from scratch.
Don’t worry if your first few attempts aren’t picture-perfect – every bake is a learning experience. With a little practice and these **baking tips for beginners**, you’ll be rolling out thin, bubbly Saj bread like a pro. Enjoy your warm, versatile bread with family and friends, and don’t hesitate to experiment with different dips and fillings. Happy baking!
“`