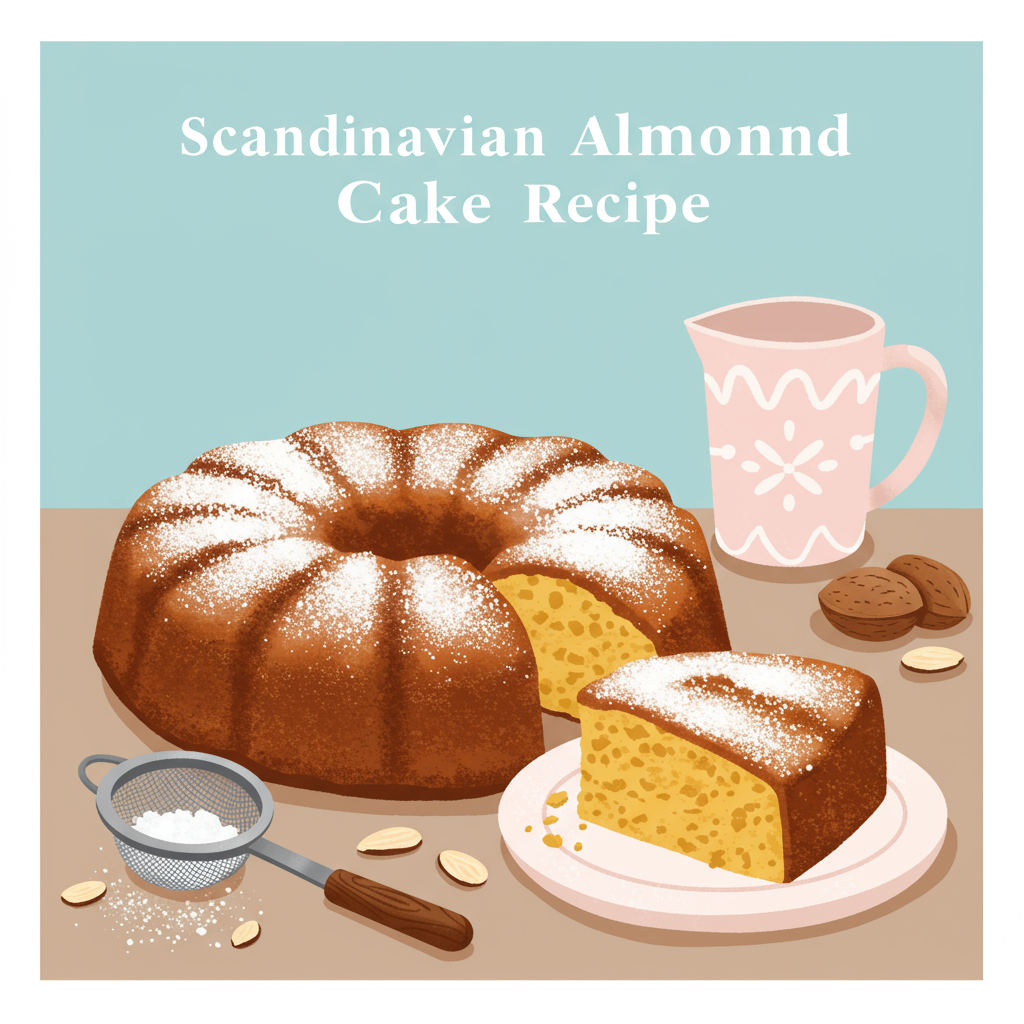
Welcome, fellow baking enthusiasts! Are you ready to embark on a delightful culinary journey to the Nordic countries without leaving your kitchen? Today, we’re diving into a classic and utterly charming treat: the Scandinavian Almond Cake Recipe. This cake isn’t just a dessert; it’s a comforting hug, a slice of simplicity that pairs perfectly with your morning coffee or afternoon tea. If you’ve been searching for easy baking recipes that deliver on flavor and tradition, you’ve found your next favorite. Don’t worry if you’re new to baking; this post is packed with helpful baking tips for beginners to ensure your first Scandinavian Almond Cake is a resounding success. Get ready to fill your home with the inviting aroma of sweet almond goodness!
Ingredients List: What You’ll Need
Gathering your ingredients is the first step to baking success. Accuracy is key, so make sure to measure everything carefully. Here’s what you’ll need for this delightful cake:

| Ingredient | Quantity | Unit |
|---|---|---|
| Unsalted Butter, softened | 1 | cup (2 sticks) |
| Granulated Sugar | 1 ½ | cups |
| Large Eggs | 3 | |
| All-Purpose Flour | 2 | cups |
| Baking Powder | 2 | teaspoons |
| Salt | ½ | teaspoon |
| Whole Milk | ½ | cup |
| Almond Extract | 2 | teaspoons |
| Sliced Almonds (for topping, optional) | ¼ | cup |
| For the Glaze (Optional) | ||
| Powdered Sugar (Confectioners’ Sugar) | 1 | cup |
| Milk or Water | 2-3 | tablespoons |
| Almond Extract | ¼ | teaspoon |
Step-by-Step Instructions: Baking Your Scandinavian Almond Cake
Follow these detailed steps, and you’ll be enjoying a perfect, moist almond cake in no time. Remember, baking is a science, but it’s also a lot of fun! Take your time, read through the steps first, and enjoy the process.
Step 1: Prepare Your Oven and Pan (The Foundation of a Good Cake!)
- Preheat your oven: Adjust your oven rack to the middle position. Preheat your oven to 350°F (175°C). Giving your oven enough time to reach and stabilize its temperature is crucial for even baking.
- Prepare your baking pan: You’ll need a 9-inch round cake pan or a 9-inch springform pan for this recipe.
- For a round cake pan: Lightly grease the bottom and sides of the pan with butter or non-stick spray. Then, lightly flour the greased pan, tapping out any excess. This creates a non-stick barrier. Alternatively, you can line the bottom with a circle of parchment paper for extra assurance, then grease and flour the sides.
- For a springform pan: Grease the bottom and sides, then line the bottom with parchment paper. The parchment helps prevent any leaks from the springform’s removable bottom.
Beginner Tip: Proper pan preparation prevents your beautiful cake from sticking, making for easy removal and presentation!
Step 2: Combine Your Dry Ingredients (The Flavor Base)
- In a medium bowl, whisk together the 2 cups of all-purpose flour, 2 teaspoons of baking powder, and ½ teaspoon of salt.
- Why this step is important: Whisking ensures that the baking powder and salt are evenly distributed throughout the flour. This means your cake will rise uniformly, and every bite will have balanced flavor. Set this bowl aside for now.
Step 3: Cream Butter and Sugar (Creating Lightness and Air)
- In a large mixing bowl (the one you’ll use for the main batter), using an electric mixer (handheld or stand mixer with paddle attachment), beat the 1 cup (2 sticks) of softened unsalted butter and 1 ½ cups of granulated sugar together.
- Beat on medium speed for about 3-5 minutes, or until the mixture is light, fluffy, and pale yellow.
- Beginner Tip: Make sure your butter is truly softened to room temperature. If it’s too cold, it won’t cream properly, and if it’s melted, your cake will be dense. You should be able to press a finger into it easily, but it shouldn’t be greasy. Creaming incorporates air, which is essential for a light and tender cake texture.
- Scrape down the sides of the bowl with a spatula occasionally to ensure everything is evenly mixed.
Step 4: Add the Eggs (Binding and Enriching)
- Add the 3 large eggs to the butter and sugar mixture, one at a time. Beat well after each addition.
- Why one at a time? Adding eggs gradually allows them to emulsify better with the butter and sugar, creating a stable batter. If you add them all at once, the mixture might curdle.
- After adding all eggs, beat for another minute until the mixture is smooth and well combined. Again, scrape down the sides of the bowl.
Step 5: Alternate Dry and Wet Ingredients (The Art of Mixing)
- Now it’s time to incorporate your dry ingredients and milk. You’ll do this in stages to maintain the batter’s structure.
- First addition (dry): Add about one-third of your dry flour mixture to the wet ingredients. Mix on low speed just until combined – do not overmix!
- Second addition (wet): Pour in half of the ½ cup of whole milk. Mix on low speed until just incorporated.
- Third addition (dry): Add another third of the dry mixture. Mix on low speed.
- Fourth addition (wet): Add the remaining milk. Mix on low speed.
- Fifth addition (dry): Add the final third of the dry mixture. Mix on low speed just until no streaks of flour remain.
- Add the flavor: Stir in the 2 teaspoons of almond extract.
- Beginner Tip: Do not overmix your batter! Overmixing develops the gluten in the flour too much, resulting in a tough, dry cake. Mix just until the ingredients are combined. A few small lumps are okay.
Step 6: Fill the Pan and Bake (The Magic Happens!)
- Pour the cake batter evenly into your prepared 9-inch pan.
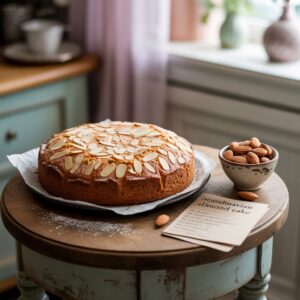
- If using, sprinkle the ¼ cup of sliced almonds evenly over the top of the batter. These will toast beautifully in the oven, adding a lovely crunch and visual appeal.
- Place the pan in your preheated oven.
- Bake for 35-45 minutes.
- How to tell if it’s done: The cake is ready when a wooden skewer or toothpick inserted into the center comes out clean (without wet batter attached). The top should be golden brown and spring back lightly when gently touched.
- Beginner Tip: Ovens can vary! Start checking your cake at the 35-minute mark. If the top is browning too quickly, you can loosely tent it with aluminum foil for the remaining baking time.
Step 7: Cool the Cake (Patience is a Virtue)
- Once baked, remove the cake from the oven.
- Let the cake cool in the pan on a wire rack for 10-15 minutes. This allows the cake to set and prevents it from breaking when you remove it.
- After 10-15 minutes, carefully invert the cake onto the wire rack to remove it from the pan. If using a springform, simply release the sides and lift the cake off the base.
- Allow the cake to cool completely on the wire rack before glazing or serving. This can take 1-2 hours.
- Why complete cooling is important: Glazing or cutting a warm cake will cause the glaze to melt into the cake and the cake itself might crumble.
Step 8: Prepare the Glaze (Optional Finishing Touch)
- Once the cake is completely cool, you can prepare the simple almond glaze.
- In a small bowl, whisk together the 1 cup of powdered sugar, 2-3 tablespoons of milk or water, and ¼ teaspoon of almond extract.
- Start with 2 tablespoons of liquid and add more slowly, half a teaspoon at a time, until you reach a smooth, pourable but not too thin consistency. You want it to drizzle nicely and set without being transparent.
- Drizzle the glaze over the cooled cake. Let the glaze set for about 15-20 minutes before slicing and serving.
Tips & Tricks for Baking Success
Even with a detailed recipe, a few extra pointers can elevate your baking game. Here are some actionable tips to ensure your Scandinavian Almond Cake turns out perfectly every time:
- Room Temperature Ingredients are Key: This is probably the most crucial tip for cakes. Butter, eggs, and milk should all be at room temperature. This allows them to emulsify properly, creating a smooth, cohesive batter that traps air for a light and fluffy texture. Forget to take them out? For eggs, place them in a bowl of warm water for 5-10 minutes. For butter, cut it into small pieces and let it sit for 15-20 minutes.
- Measure Accurately: Baking is a science! Use proper measuring cups and spoons. For flour, spoon it into the measuring cup and level off with a straight edge (the “spoon and level” method) rather than scooping directly from the bag, which can compact the flour and lead to too much.
- Don’t Overmix: We can’t stress this enough! Once you add the flour, mix only until just combined. Overmixing develops gluten, leading to a tough, dry cake.
- Know Your Oven: Oven temperatures can vary significantly. An oven thermometer is an inexpensive tool that can save many baking disasters. If your cake is browning too quickly, consider reducing the temperature slightly or tenting with foil.
- Patience with Cooling: Resist the urge to cut into your cake too soon. Cooling allows the cake’s structure to set, preventing it from crumbling and ensuring a moist texture.
- Scrape the Bowl: Regularly scrape down the sides and bottom of your mixing bowl with a rubber spatula. This ensures all ingredients are fully incorporated, preventing pockets of unmixed butter or flour.
Essential Baking Tools
Having the right tools makes all the difference in your baking journey. Here are some essentials you might need, with links to help you find them:
- Mixing Bowl
- Whisk
- Baking Pan (9-inch round or springform)
- Measuring Cups
- Spatula
- Electric Mixer (handheld or stand mixer)
- Parchment Paper
- Wire Rack
- Oven Thermometer (highly recommended!)
Nutrition Information (Estimated per serving, 1 of 12 slices)
Please note that these values are estimates and can vary based on specific ingredients and portion sizes.
| Nutrient | Amount |
|---|---|
| Calories | 380 kcal |
| Carbohydrates | 55 g |
| Protein | 5 g |
| Fat | 17 g |
| Fiber | 1 g |
| Sugar | 38 g |
Frequently Asked Questions (FAQs)
Q1: Can I use almond flour instead of all-purpose flour?
A1: While you can, it will significantly change the texture of the cake. This recipe is designed for all-purpose flour, which provides structure. Almond flour is gluten-free and much denser, resulting in a more delicate, crumbly cake. If you want to use it, you might need to adjust liquid amounts and add an additional binding agent like an extra egg, and the texture will be closer to a frangipane or macaron cake rather than a traditional sponge.
Q2: My cake sank in the middle! What went wrong?
A2: This is a common issue! It’s usually due to one of a few reasons: the oven door was opened too early (before the cake’s structure set), the oven temperature was too low, the cake was underbaked, or there was too much leavening agent (baking powder) for the amount of flour. Ensure your oven temperature is accurate with a thermometer and resist opening the door until the final 10-15 minutes of baking.
Q3: How long can I store this cake, and how?
A3: This Scandinavian Almond Cake can be stored at room temperature, covered tightly, for up to 3-4 days. If you live in a warm or humid climate, or if it’s glazed with a milk-based glaze, refrigerating it might be better. Bring it to room temperature before serving for the best flavor and texture.
Q4: Can I freeze the Scandinavian Almond Cake?
A4: Yes, absolutely! This cake freezes beautifully. Once completely cooled, wrap it tightly in plastic wrap, then an additional layer of aluminum foil. You can freeze it whole or in individual slices for up to 2-3 months. Thaw at room temperature before serving.
Q5: What if I don’t have almond extract?
A5: While almond extract is key to its signature flavor, you can substitute it with an equal amount of vanilla extract for a delicious vanilla cake, or even a combination of vanilla and a tiny dash of orange zest for a different citrus note. The cake will still be tasty, just not distinctively “almond.”
Q6: Do I need a special pan for this recipe?
A6: No, not necessarily! A standard 9-inch round cake pan works perfectly. A springform pan (the kind with a removable bottom) is also excellent, especially if you’re worried about inverting the cake, but it’s not essential. Just ensure your pan is properly greased and floured.
Conclusion: Enjoy Your Homemade Scandinavian Delight!
Congratulations, you’ve just created a beautiful and delicious Scandinavian Almond Cake! We hope this detailed guide, filled with easy baking recipes tips and baking tips for beginners, has made your baking experience enjoyable and stress-free.
There’s truly nothing quite like the satisfaction of pulling a warm, fragrant cake out of your own oven. This classic Nordic treat is perfect for sharing with loved ones or simply enjoying a quiet moment with a cup of coffee. Don’t hesitate to experiment with toppings or glazes next time, but for now, savor the simple, comforting goodness of your homemade masterpiece. Happy baking, and we can’t wait to hear how your cake turned out!