Embrace Comfort and Flavor with Our Seeded Miso Sweet Potato Bread Recipe!

Introduction: Your New Favorite Easy Baking Adventure!
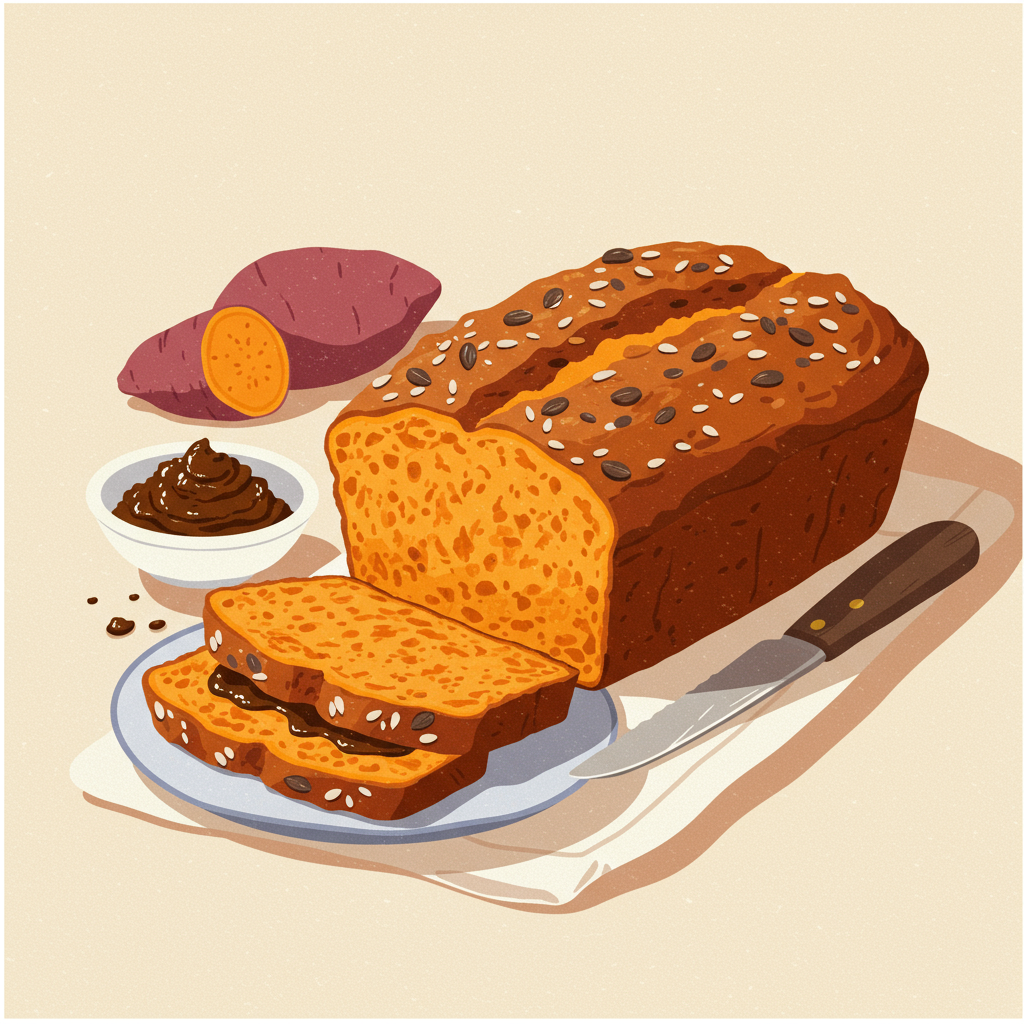
Are you ready to dive into the delightful world of baking with a recipe that’s as unique as it is comforting? Get ready to fall in love with our Seeded Miso Sweet Potato Bread Recipe! This isn’t just any quick bread; it’s a harmonious blend of earthy sweet potato, savory umami from miso, and a delightful crunch from mixed seeds. Whether you’re a seasoned baker or just starting your journey with easy baking recipes, this loaf is designed for success. We’ve packed this guide with comprehensive baking tips for beginners, ensuring every step is clear, achievable, and fun. Prepare to fill your home with an irresistible aroma and bake a bread that’s perfect for breakfast, a snack, or even a unique dessert. Let’s get baking!
Ingredients List
Gathering your ingredients is the first step to baking success. Here’s everything you’ll need for this delicious Seeded Miso Sweet Potato Bread:
| Ingredient | Quantity | Unit |
|---|---|---|
| All-Purpose Flour | 1 ½ | cups |
| Granulated Sugar | ½ | cup |
| Baking Powder | 1 ½ | teaspoons |
| Baking Soda | ½ | teaspoon |
| Ground Cinnamon | 1 | teaspoon |
| Salt | ½ | teaspoon |
| Large Egg | 1 | |
| Mashed Cooked Sweet Potato | 1 | cup (about 1 medium sweet potato) |
| White Miso Paste | 2 | tablespoons |
| Milk (any kind) | ¼ | cup |
| Vegetable Oil (or melted unsalted butter) | ¼ | cup |
| Vanilla Extract | 1 | teaspoon |
| Mixed Seeds (e.g., pumpkin, sunflower, sesame, chia) | ¼ | cup (+ extra for topping) |
Step-by-Step Instructions: Bake Your Best Loaf Yet!
Follow these detailed steps carefully, and you’ll be enjoying a perfect loaf in no time. We’ve included plenty of tips to guide you!
Step 1: Prep Your Sweet Potato & Oven
- Cook the Sweet Potato: First things first, you need mashed sweet potato. You can do this by baking a medium sweet potato in its skin at 400°F (200°C) for 45-60 minutes until very tender. Alternatively, you can peel and dice it, then boil or steam until soft (about 15-20 minutes). Once cooked, let it cool slightly, then scoop out the flesh (if baked) or drain well (if boiled/steamed) and mash it thoroughly with a fork or potato masher until smooth. You’ll need about 1 cup of mashed sweet potato.
- Preheat Your Oven: Set your oven to 350°F (175°C). It’s crucial for quick breads that the oven is fully preheated before your batter goes in. This helps activate the leavening agents properly, ensuring a good rise.
- Prepare Your Loaf Pan: Grease a 9×5 inch loaf pan with butter or cooking spray. For easy removal, I highly recommend lining the bottom and two long sides with a strip of parchment paper, leaving an overhang to lift the bread out later.
Step 2: Whisk the Dry Ingredients
- Combine Dry Ingredients: In a large mixing bowl, add your all-purpose flour, granulated sugar, baking powder, baking soda, ground cinnamon, and salt.
- Whisk Thoroughly: Use a whisk to combine these ingredients well. This step is important because it evenly distributes the leavening agents (baking powder and soda) and spices throughout the flour, preventing pockets of unmixed ingredients in your final bread.
- Beginner Tip: Measuring Flour: For accurate measuring, use the “spoon and level” method. Spoon flour into your measuring cup until it’s overflowing, then use the back of a straight edge (like a knife) to level off the excess. Don’t pack the flour down or scoop directly from the bag, as this can lead to too much flour and a dry, dense bread.
Step 3: Mix the Wet Ingredients
- Combine Wet Ingredients: In a separate medium mixing bowl, add your mashed sweet potato, white miso paste, egg, milk, vegetable oil (or melted butter), and vanilla extract.
- Whisk Until Smooth: Whisk these wet ingredients together until they are well combined and smooth. The miso paste might take a little effort to fully incorporate, so keep whisking until there are no large clumps.
- Understanding Miso: White miso (shiro miso) is a milder, sweeter miso, perfect for baking. It adds a subtle savory depth and umami that enhances the sweetness of the sweet potato without being overpowering. If you only have red miso, use half the amount as it’s much stronger in flavor.
Step 4: Combine Wet and Dry Mixtures
- Pour Wet into Dry: Pour the wet ingredient mixture into the bowl with your dry ingredients.
- Gentle Mixing is Key: Using a spatula or wooden spoon, gently fold the ingredients together until *just* combined. You should still see a few streaks of flour – that’s perfectly fine!
- Avoid Overmixing – The Golden Rule: This is one of the most crucial baking tips for beginners. Overmixing develops the gluten in the flour too much, leading to a tough, dense, and chewy bread instead of a soft, tender crumb. Mix only until the flour is incorporated.
Step 5: Fold in the Seeds & Bake
- Add Mixed Seeds: Gently fold in ¼ cup of your mixed seeds. This adds a lovely texture and nutty flavor to the bread.
- Transfer to Pan: Pour the batter evenly into your prepared 9×5 inch loaf pan.
- Add Topping (Optional but Recommended): Sprinkle a few extra mixed seeds over the top of the batter. This adds visual appeal and a delightful crunchy crust.
- Bake: Place the loaf pan in your preheated oven and bake for 50-65 minutes.
- Check for Doneness: The bread is ready when a wooden skewer or toothpick inserted into the center comes out clean or with just a few moist crumbs attached. If the top is browning too quickly, you can loosely tent it with aluminum foil for the last 15-20 minutes of baking.
- Common Mistake: Undercooked Center: If your toothpick comes out with wet batter, it’s not done! Continue baking in 5-10 minute increments, checking each time. Ovens vary, so don’t be afraid to adjust baking time.
Step 6: Cool and Enjoy!
- Cool in Pan: Once baked, remove the loaf pan from the oven and let the bread cool in the pan for 10-15 minutes. This allows the bread to set and firm up, preventing it from crumbling when you remove it.
- Transfer to Wire Rack: After cooling in the pan, carefully use the parchment paper overhang (if you used it) or a knife around the edges to remove the bread from the pan. Transfer it to a wire cooling rack to cool completely before slicing.
- Why Cool Completely? Slicing warm quick bread can make it gummy and difficult to cut neatly. Letting it cool completely (at least an hour, but preferably longer) improves its texture and flavor, allowing the crumb to fully set. Patience is a virtue here!
- Slice and Serve: Once cooled, slice your beautiful Seeded Miso Sweet Potato Bread and enjoy! It’s fantastic on its own, toasted, or with a smear of butter or cream cheese.
Tips & Tricks for Baking Success
Here are some extra nuggets of wisdom to make your baking experience even smoother and more enjoyable:
- Room Temperature Ingredients: For a smooth, evenly mixed batter, try to use room temperature egg and milk. This helps them emulsify better with the other ingredients, leading to a more consistent crumb.
- Don’t Peek Too Soon: Resist the urge to open the oven door frequently, especially during the first 30-40 minutes of baking. Sudden temperature changes can cause your bread to sink in the middle.
- Customizable Seeds: Feel free to experiment with your favorite seeds! Poppy seeds, flax seeds, or even a sprinkle of sesame seeds can all work wonderfully. You can also add chopped nuts like walnuts or pecans for extra crunch.
- Miso Variation: While white miso is recommended for its mildness, you can experiment with awase miso (a blend of red and white) for a slightly bolder flavor. Just reduce the quantity slightly if using a stronger miso.
- Storage: Once completely cooled, store your bread in an airtight container at room temperature for up to 3-4 days. For longer storage, you can slice it and freeze individual slices in an airtight bag for up to 2-3 months. Thaw at room temperature or pop directly into a toaster.
- Make Ahead Sweet Potato: You can cook and mash your sweet potato a day or two in advance and store it in the refrigerator. Just bring it to room temperature before mixing your batter.
Essential Baking Tools
Having the right tools makes all the difference! Here are some essential items you’ll need for this recipe, with convenient links to find them:
- Mixing Bowl
- Whisk
- Baking Pan (9×5 inch loaf pan)
- Measuring Cups
- Spatula
- Measuring Spoons
- Wire Cooling Rack
- Parchment Paper (optional, but highly recommended)
Nutrition Info (per slice, approx. 1/12th of loaf)
Please note: These are estimated nutritional values and can vary based on exact ingredients and portion sizes.
| Nutrient | Amount |
|---|---|
| Calories | ~220-250 kcal |
| Carbohydrates | ~35-40 g |
| Protein | ~5-7 g |
| Fat | ~8-12 g |
| Fiber | ~2-4 g |
| Sugar | ~12-18 g |
Frequently Asked Questions (FAQs)
Q1: Can I use whole wheat flour instead of all-purpose flour?
A: Yes, you can! For a heartier loaf, you can substitute up to half of the all-purpose flour with whole wheat flour. Using 100% whole wheat flour might result in a denser texture, so a 50/50 blend is often a good starting point for beginners to still maintain a tender crumb.
Q2: What if I don’t have miso paste?
A: While miso paste adds a unique depth, if you don’t have it, you can omit it. The bread will still be delicious! You might want to add an extra pinch of salt (⅛ teaspoon) to compensate for the savory notes miso provides. The texture will be slightly different, but the sweet potato and spices will still shine.
Q3: How do I know if my sweet potato bread is baked through?
A: The best way is to insert a wooden skewer or toothpick into the very center of the loaf. If it comes out clean or with only a few moist crumbs attached (not wet batter), your bread is done. If it comes out wet, continue baking for another 5-10 minutes and test again.
Q4: Can I make this recipe gluten-free?
A: Yes, you can! Substitute the all-purpose flour with an equal amount of a good quality 1:1 gluten-free baking flour blend that contains xanthan gum. The texture might be slightly different, but it should still yield a delicious loaf.
Q5: How should I store leftover Seeded Miso Sweet Potato Bread?
A: Once completely cooled, store the bread in an airtight container or wrapped tightly in plastic wrap at room temperature for up to 3-4 days. For longer storage, slice the bread and freeze the slices in a freezer-safe bag for up to 2-3 months. You can toast frozen slices directly from the freezer.
Q6: Can I add other mix-ins to this bread?
A: Absolutely! This recipe is very versatile. Consider adding ½ cup of chopped nuts (like walnuts or pecans), chocolate chips, or even dried cranberries for different flavor and texture combinations. Just gently fold them in with the seeds.
Conclusion: Your Baking Journey Starts Now!
Congratulations, future baking pro! You’ve just learned how to create a truly special loaf of Seeded Miso Sweet Potato Bread. This recipe is more than just a treat; it’s an invitation to explore new flavors and build confidence in your kitchen. We hope our detailed steps and helpful baking tips for beginners have made this a truly enjoyable and successful experience for you.
Don’t be afraid to experiment, tweak, and make this recipe your own. The best part of baking is the joy of creation and sharing delicious food with loved ones. So go ahead, slice into your magnificent loaf, share it with pride, and let us know how it turned out in the comments below! Happy baking!
“`