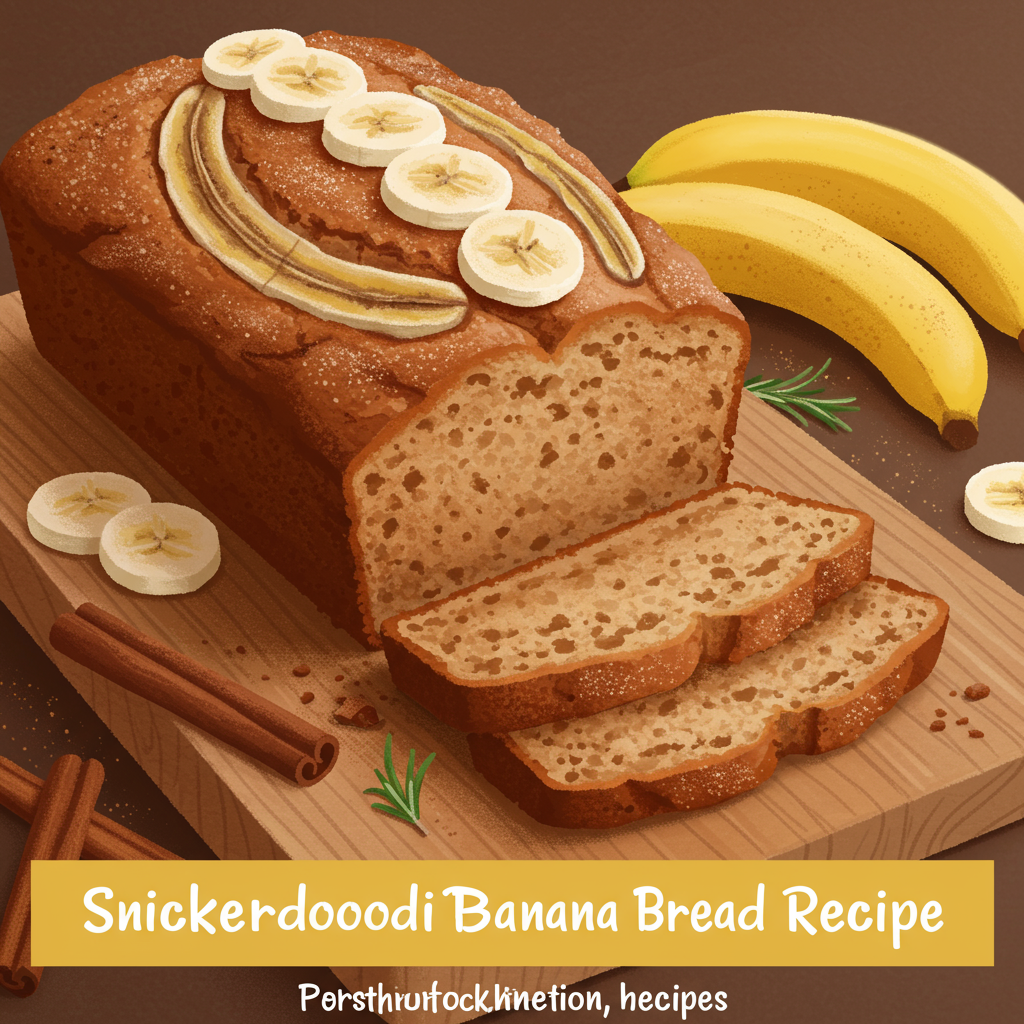
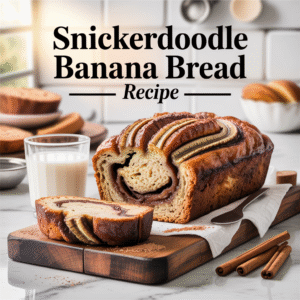
Snickerdoodle Banana Bread Recipe: Your New Favorite Easy Bake!
Welcome, baking enthusiasts and total beginners alike! If you’re looking for an incredibly cozy, comforting, and utterly delicious treat that’s also remarkably simple to make, you’ve landed in the right place. Today, we’re diving into the wonderful world of our Snickerdoodle Banana Bread Recipe. This isn’t just any banana bread; it’s a delightful fusion of classic, moist banana bread with the irresistible cinnamon-sugar swirl and crunchy topping of a snickerdoodle cookie. It’s one of those easy baking recipes that delivers huge flavor with minimal fuss, perfect for even those just starting their culinary journey. Get ready to impress yourself and everyone around you with these essential baking tips for beginners woven into every step! This recipe is designed to be straightforward, forgiving, and utterly delicious. Whether you’re a seasoned baker or just pulling out your mixing bowl for the first time, you’ll find joy in creating this aromatic, tender loaf. Let’s transform those overripe bananas into something truly magical!
Why You’ll Love This Snickerdoodle Banana Bread Recipe
- Beginner-friendly: Clear, step-by-step instructions make it perfect for new bakers.
- Delicious flavor: The comforting taste of banana bread meets the spiced sweetness of snickerdoodle cookies.
- Uses ripe bananas: The best way to utilize those spotty, overripe bananas sitting on your counter.
- Incredible aroma: Your kitchen will smell absolutely heavenly while this bakes!
Ingredients for Snickerdoodle Banana Bread
Gathering all your ingredients before you start is a great baking habit, especially for beginners. This is called “mise en place” and it makes the whole process smoother!
| Ingredient | Quantity | Unit |
|---|---|---|
| All-purpose flour | 2 | cups |
| Granulated sugar | ½ | cup |
| Brown sugar (packed) | ¼ | cup |
| Baking soda | 1 | teaspoon |
| Salt | ½ | teaspoon |
| Ground cinnamon | ½ | teaspoon |
| Large eggs | 2 | |
| Vegetable oil (or melted unsalted butter) | ½ | cup |
| Very ripe mashed bananas (about 3 medium) | 1½ | cups |
| Vanilla extract | 1 | teaspoon |
| For the Snickerdoodle Swirl & Topping: | ||
| Granulated sugar | 2 | tablespoons |
| Ground cinnamon | 1 | teaspoon |
Step-by-Step Instructions: Baking Your Snickerdoodle Banana Bread
Follow these detailed steps carefully, and you’ll be enjoying a perfect loaf in no time!

Step 1: Preheat & Prep Your Pan
- Preheat your oven: Set your oven to 350°F (175°C). Giving your oven time to fully heat up is important for even baking.
- Prepare your loaf pan: Take a standard 9×5-inch loaf pan. You’ll want to either grease it thoroughly with butter or non-stick spray, or line it with parchment paper, leaving an overhang on the sides. The parchment paper method makes it super easy to lift the baked bread out later, which is a great trick for beginners!
Step 2: Combine Dry Ingredients
- In a large mixing bowl, whisk together the all-purpose flour, granulated sugar (½ cup), brown sugar, baking soda, salt, and ½ teaspoon ground cinnamon.
- Beginner Tip: Whisking these dry ingredients together ensures they are evenly distributed throughout the batter. This prevents pockets of baking soda (which tastes bitter!) and ensures your bread rises beautifully.
Step 3: Mix Wet Ingredients
- In a separate medium-sized bowl, use a fork or potato masher to mash your very ripe bananas. Don’t worry if there are a few small lumps; they add character!
- Add the eggs, vegetable oil (or melted butter), and vanilla extract to the mashed bananas. Whisk everything together until well combined.
- Beginner Tip: Using very ripe bananas (the ones with lots of brown spots) is key! They are much sweeter and more flavorful than yellow bananas.
Step 4: Gently Combine Wet and Dry
- Pour the wet ingredient mixture into the bowl with the dry ingredients.
- Using a spatula or a wooden spoon, gently fold the ingredients together until just combined.
- Beginner Alert: Do NOT overmix! This is one of the most common mistakes in baking. Overmixing develops gluten in the flour, which will make your banana bread tough and dense instead of moist and tender. A few streaks of flour are perfectly fine and will disappear during baking.
Step 5: Create the Snickerdoodle Swirl & Topping
- In a small bowl, combine the 2 tablespoons of granulated sugar and 1 teaspoon of ground cinnamon for the snickerdoodle topping. Stir them together well.
- Pour about half of your banana bread batter into the prepared loaf pan.
- Sprinkle half of the cinnamon-sugar mixture evenly over the batter in the pan.
- Carefully spoon the remaining banana bread batter over the cinnamon-sugar layer.
- Sprinkle the rest of the cinnamon-sugar mixture evenly over the top of the batter in the pan.
- Optional (for a swirl): Using a butter knife, gently swirl through the top layer of batter a few times to create a marbled effect, being careful not to overmix. This creates beautiful pockets of cinnamon-sugar goodness!
Step 6: Bake to Golden Perfection
- Place your loaf pan in the preheated oven.
- Bake for 55-70 minutes. Baking times can vary depending on your oven, so keep an eye on it.
- How to check for doneness: Insert a wooden skewer or toothpick into the center of the loaf. It should come out with moist crumbs attached, but no wet batter. If it comes out wet, continue baking for another 5-10 minutes and check again.
- Beginner Troubleshooting: If the top of your banana bread is browning too quickly before the inside is fully cooked, you can loosely tent it with a piece of aluminum foil for the remaining baking time.
Step 7: Cool and Enjoy!
- Once baked, remove the loaf pan from the oven.
- Let the banana bread cool in the pan for about 10-15 minutes. This allows the bread to set up and prevents it from crumbling when you remove it.
- After 10-15 minutes, carefully lift the banana bread out of the pan (using the parchment paper overhang if you used it) and transfer it to a wire rack to cool completely.
- Patience is Key: While it’s tempting to slice into a warm loaf, completely cooling your banana bread on a wire rack allows the internal structure to fully set and enhances its moist texture. Slicing too early can result in a gummy texture.
- Once cooled (or just slightly warm!), slice, serve, and savor your delicious homemade Snickerdoodle Banana Bread!
Tips & Tricks for Perfect Banana Bread Every Time
Becoming a great baker means understanding a few fundamental principles. Here are some actionable tips to help you master this and other baking recipes:
- The Power of Ripe Bananas: Don’t underestimate the importance of very ripe bananas! The browner and spottier they are, the sweeter and more flavorful your banana bread will be. Green or yellow bananas simply won’t yield the same delicious results.
- Measuring Flour Accurately: For most baking, avoid scooping flour directly from the bag with your measuring cup, as this compacts it and you’ll end up with too much. Instead, spoon the flour into your measuring cup until it’s overflowing, then level it off with the back of a knife or a straight edge. This is called the “spoon and level” method.
- Avoid Overmixing at All Costs: We mentioned it in the steps, but it bears repeating! Overmixing is the enemy of tender baked goods. Mix your wet and dry ingredients just until they are combined. Lumps are okay; over-developed gluten is not.
- Invest in an Oven Thermometer: Oven temperatures can be notoriously inaccurate, often varying by 25-50°F (15-28°C) from what the dial says. An inexpensive oven thermometer will ensure your oven is consistently at the correct temperature, leading to more predictable and successful baking.
- Don’t Rush the Cooling Process: It’s hard to wait, but allowing your banana bread to cool completely on a wire rack is essential. This allows the internal moisture to redistribute and the structure to set, resulting in a perfectly moist texture that holds together when sliced.
- Storage Savvy: Store leftover Snickerdoodle Banana Bread tightly wrapped in plastic wrap or in an airtight container at room temperature for up to 3 days, or in the refrigerator for up to a week. It also freezes beautifully for up to 3 months! Wrap individual slices or the whole loaf in plastic wrap, then aluminum foil, before freezing.
Essential Baking Tools You’ll Need
Having the right tools makes all the difference, especially when you’re starting out. Here are the basics you’ll want to have on hand:
- Mixing Bowls (various sizes)
- Whisk
- 9×5 Inch Loaf Pan
- Measuring Cups and Spoons
- Rubber Spatula
- Wire Rack (for cooling)
- Parchment Paper (optional, but highly recommended for easy removal)
Snickerdoodle Banana Bread Nutrition Information (Estimated)
Here’s an estimated nutritional breakdown for one slice, assuming the loaf is cut into 12 equal slices. Please note that these are estimates and can vary based on specific brands, exact quantities, and preparation methods.
| Nutrient | Amount (per slice) |
|---|---|
| Calories | ~320 kcal |
| Total Carbohydrates | ~48 g |
| Sugars | ~28 g |
| Protein | ~4 g |
| Total Fat | ~13 g |
| Saturated Fat | ~2 g |
| Fiber | ~1 g |
*Disclaimer: Nutritional information is an estimate and can vary based on specific ingredients, portion sizes, and preparation methods. This is provided for informational purposes only.
FAQs: Your Snickerdoodle Banana Bread Questions Answered
Got questions? We’ve got answers, especially for our beginner bakers!
Q1: What if my bananas aren’t ripe enough (still mostly yellow)?
A: If your bananas are still too yellow, they won’t have developed enough sweetness or moisture. You can try a quick ripening trick: bake them on a baking sheet at 300°F (150°C) for 15-30 minutes until their skins are completely black. Let them cool, then scoop out the softened pulp. If you’re really in a pinch, you can use less ripe bananas, but you might want to add an extra tablespoon or two of sugar to compensate for the lack of natural sweetness.
Q2: Can I use frozen bananas for this recipe?
A: Absolutely! Frozen ripe bananas are excellent for banana bread. Just make sure to thaw them completely before mashing. They will release a lot of liquid, so drain off any excess water before adding them to your wet ingredients to avoid a watery batter.
Q3: Why is my banana bread dry or gummy?
A: A dry banana bread is usually a sign of overbaking or using too much flour (often from not measuring correctly, see our “spoon and level” tip!). A gummy texture, on the other hand, often means it was underbaked or, more commonly, overmixed. Remember: mix just until combined, and check for doneness with a toothpick!
Q4: How do I store leftover Snickerdoodle Banana Bread to keep it fresh?
A: For optimal freshness, wrap your cooled banana bread tightly in plastic wrap, then place it in an airtight container or a large Ziploc bag. It will stay fresh at room temperature for 3-4 days. For longer storage, refrigerate it for up to a week, or freeze it for up to 3 months. Thaw frozen bread at room temperature or gently warm slices in the microwave.
Q5: Can I add other mix-ins to this recipe?
A: Yes, absolutely! This recipe is very adaptable. Feel free to fold in ½ to 1 cup of your favorite mix-ins with the dry ingredients before combining with the wet. Great options include chocolate chips (milk, dark, or white), chopped nuts (walnuts or pecans), or even shredded coconut. Just be mindful that adding too many mix-ins can alter the baking time slightly.
Conclusion: Happy Baking!
There you have it – a truly delightful and incredibly simple recipe for Snickerdoodle Banana Bread that’s perfect for bakers of all skill levels. This isn’t just a recipe; it’s an invitation to fill your home with the intoxicating aroma of cinnamon and ripe bananas, creating a comforting treat that everyone will adore. We hope our detailed steps and beginner-friendly tips empower you to bake with confidence and joy.
So, grab those spotty bananas, preheat your oven, and get ready to create something truly special. Don’t be afraid to experiment and make this recipe your own! Happy baking, and we can’t wait to hear how your Snickerdoodle Banana Bread turns out!
“`