We’re going to create a loaf with a beautifully soft, airy crumb and a delightfully chewy crust none of that super dense, hard-to-chew stuff. Forget everything you’ve heard about sourdough being difficult. with our detailed easy baking recipes approach and practical baking tips for beginners, you’ll be pulling warm, fragrant loaves from your oven in no time. Get ready to impress yourself and your loved ones with this incredibly rewarding baking journey!
Ingredients List
Precision is key in baking, especially with sourdough. Using a kitchen scale for flour and water is highly recommended for the best results, though cup measurements are provided as a guide.
| Ingredient | Quantity (Metric) | Quantity (US Customary) |
|---|---|---|
| Active Sourdough Starter (fed & bubbly) | 100g | ½ cup |
| Warm Water (90-95°F / 32-35°C) | 350g | 1 ½ cups |
| Bread Flour (high protein content) | 500g | 4 cups (spooned & leveled) |
| Fine Sea Salt | 10g | 2 teaspoons |
| Olive Oil (extra virgin, for softness – optional but recommended) | 15g | 1 tablespoon |
Step-by-Step Instructions
Step 1: Activate Your Sourdough Starter (Evening before baking day)
This is crucial! Your starter needs to be active and bubbly, usually at its “peak” — meaning it has doubled or tripled in size after feeding, and passes the float test (a small spoonful floats in water). Feed your starter 4-12 hours before you plan to mix your dough, depending on its usual activity level and your kitchen temperature. Aim for it to be at its peak when you’re ready to start.
- Beginner Tip: If your starter is sluggish, feed it twice within 24 hours before using, or place it in a warmer spot (like an oven with just the light on) to encourage activity.
Step 2: Autolyse (30-60 minutes)
Autolyse is a fancy word for a simple step: mixing flour and water. This allows the flour to fully hydrate and gluten to begin developing without any effort from you!
- In a large mixing bowl, combine the bread flour and warm water. Mix with a sturdy spoon or your hands until no dry spots of flour remain. It will be a shaggy, rough dough.
- Cover the bowl with a damp cloth or plastic wrap to prevent drying.
- Let it rest at room temperature for 30-60 minutes. This is a great time to clean up or relax!
- Common Mistake & Fix: If your dough feels too dry after mixing, don’t worry! Hydration will improve during autolyse. If it’s still very stiff after 30 minutes, you can add an extra tablespoon of water, but this recipe is designed to be well-hydrated.
Step 3: Mix in Starter, Salt, and Olive Oil (10-15 minutes)
Now it’s time to introduce the magic ingredients!
- Add your active sourdough starter, fine sea salt, and olive oil (if using) to the autolysed dough.
- With wet hands, gently incorporate these ingredients into the dough. Pinch and fold the dough repeatedly for about 5-10 minutes until the new ingredients are fully integrated and the dough starts to feel a bit smoother and more cohesive.
- Cover the bowl again and let it rest for 30 minutes. This short rest allows the gluten to relax before the next step.
- Alternative: If you prefer to use a stand mixer, use the dough hook attachment on low speed for 5-7 minutes until the ingredients are combined and the dough starts to pull away from the sides of the bowl.
Step 4: Bulk Fermentation with Stretch & Folds (3-5 hours, depending on temperature)
This is where the dough develops flavor and strength. We’ll use a technique called “stretch and fold” to build gluten without intensive kneading.
- Over the next 3-5 hours, perform 3-4 sets of “stretch and folds” every 30-45 minutes.
- How to do a Stretch & Fold:
- Wet your hands slightly to prevent sticking.
- Gently grab a portion of the dough from one side, stretch it upwards, and fold it over the center of the dough.
- Rotate the bowl a quarter turn and repeat this action 3 more times, effectively stretching and folding all four “sides” of the dough.
- After each set, the dough will feel stronger and smoother.
- Cover the bowl between sets.
- When is it ready? The dough should increase in volume by about 30-50%, feel light and airy, and have a domed surface with some visible bubbles. A small piece should be able to stretch thin enough to see light through it (the “windowpane test”) without tearing.
- Common Mistake & Fix: If your kitchen is cold, bulk fermentation will take longer. Consider placing the bowl in a slightly warmer spot (like a turned-off oven with the light on). If it’s too warm, it will ferment faster. Watch the dough, not just the clock!
Step 5: Pre-Shaping (20 minutes)
Pre-shaping helps organize the gluten structure and makes final shaping easier.
- Lightly flour your work surface.
- Gently scrape the dough out of the bowl onto the floured surface. Avoid deflating it too much.
- Gently form the dough into a loose round (a “boule”) or oval (a “batard”) by tucking the edges under itself. Use a bench scraper if needed.
- Cover the dough with the bowl or a damp cloth and let it rest for 20 minutes. This allows the gluten to relax.
Step 6: Final Shaping
This is where you give your bread its final form. Aim for a tight surface tension to help it hold its shape during proofing and baking.
- Lightly flour your work surface again.
- Gently flip the pre-shaped dough over so the seam side is up.
- For a Boule (Round Loaf):
- Take the top edge of the dough and fold it down towards the middle.
- Take the left edge and fold it towards the middle, then the right edge.
- Take the bottom edge and fold it up and over, tucking it in firmly.
- Using your hands or a bench scraper, gently cup the dough and rotate it on the counter, building surface tension until it forms a tight, smooth ball.
- For a Batard (Oval Loaf):
- Gently stretch the dough into a rectangle.
- Fold the top third down towards the middle, then the bottom third up and over the top, creating a log.
- Pinch the seam closed tightly.
- Gently roll the log back and forth, tapering the ends slightly, to create an even oval shape with good surface tension.
- Prepare your proofing basket (banneton) by dusting it generously with rice flour (or a 50/50 mix of all-purpose and rice flour) to prevent sticking.
- Carefully transfer the shaped dough, seam-up, into the floured banneton.
- Beginner Tip: Don’t be afraid to experiment with shaping. It takes practice! The goal is a taut surface on the outside and a good seam on the bottom.
Step 7: Cold Proofing (Overnight, 8-12 hours)
Cold proofing in the refrigerator slows down fermentation, develops deeper flavor, and makes the dough easier to handle and score.
- Cover the banneton with a plastic bag or plastic wrap to prevent the dough from drying out.
- Place the banneton in the refrigerator for 8-12 hours, or even up to 24 hours.
- Alternative: If you want to bake the same day, you can do a shorter room temperature proof for 1-2 hours until the dough feels puffy and springs back slowly when poked. However, cold proofing is highly recommended for flavor and ease of handling.
Step 8: Preheat Oven & Dutch Oven (1 hour before baking)
Baking in a preheated Dutch oven creates a steamy environment, mimicking a professional bakery oven, which results in a fantastic crust.
- About 1 hour before you’re ready to bake, place your Dutch oven (with its lid) into your cold oven.
- Preheat your oven to 475°F (245°C) with the Dutch oven inside. Allow it to heat for a full hour to ensure the Dutch oven is scorching hot.
Step 9: Score & Bake! (45-50 minutes)
The moment of truth!
- Carefully remove the hot Dutch oven from the oven (use thick oven mitts!).
- Gently invert your cold proofed dough from the banneton directly into the hot Dutch oven. The dough should slide out easily.
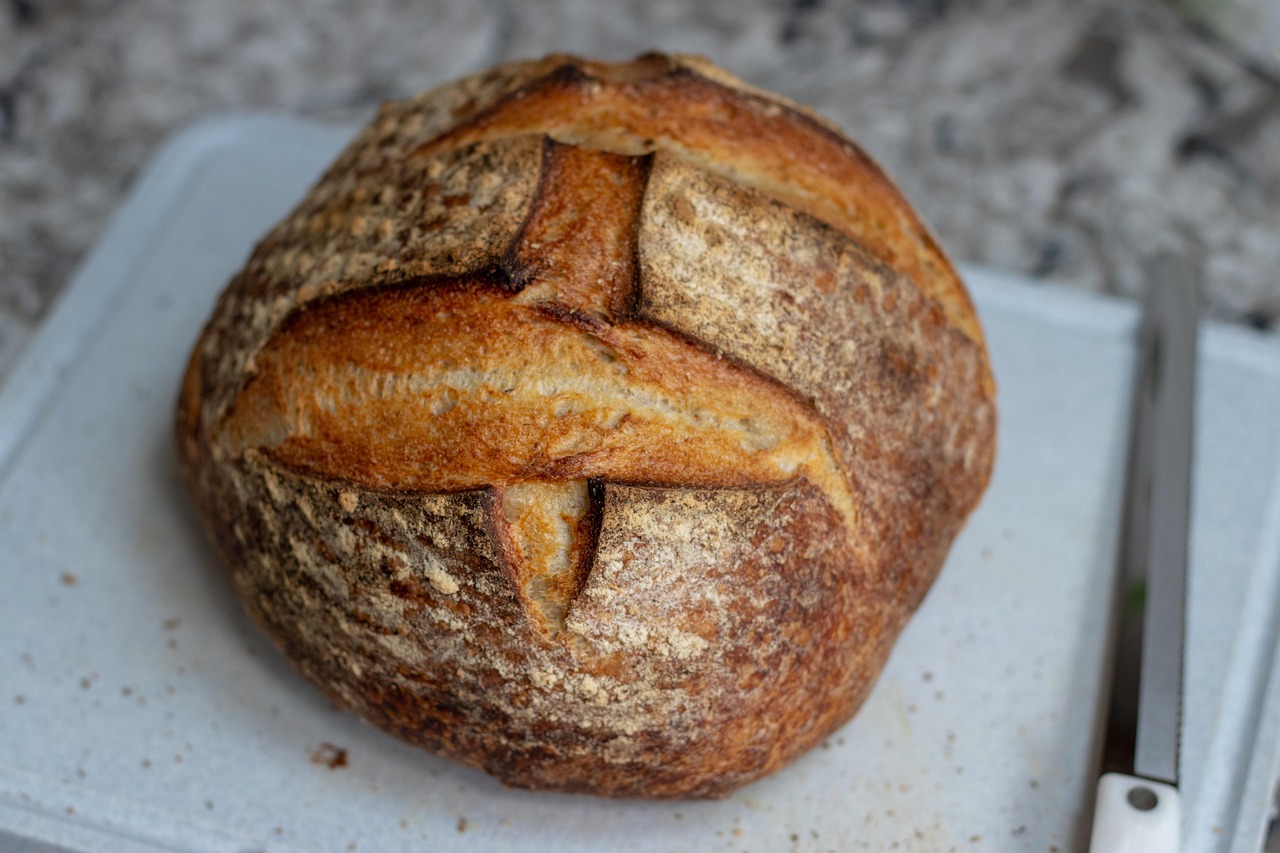
- Using a sharp razor blade (lame) or a very sharp knife, quickly score the top of your dough. A simple deep slash down the middle is perfect for beginners, allowing the bread to expand beautifully.
- Place the lid back on the Dutch oven.
- Carefully place the Dutch oven back into the preheated oven.
- Bake for 30 minutes with the lid on.
- After 30 minutes, carefully remove the lid from the Dutch oven. The bread should look pale but expanded.
- Continue to bake for another 15-20 minutes, or until the crust is a deep golden brown and the internal temperature reaches 200-210°F (93-99°C).
- Common Mistake & Fix: If your bread isn’t browning, it might be due to a lower oven temperature or not enough time uncovered. Give it a few extra minutes, watching closely. If it’s browning too quickly, you can reduce the oven temperature slightly for the last 10 minutes.
Step 10: Cool (Minimum 1 hour)
This is the hardest part – waiting! But it’s essential for the crumb to set and for the flavors to fully develop.
- Carefully remove the hot loaf from the Dutch oven and place it on a wire rack to cool completely.
- Resist the urge to cut into it for at least 1 hour, or ideally 2-3 hours. Slicing too early can result in a gummy texture.
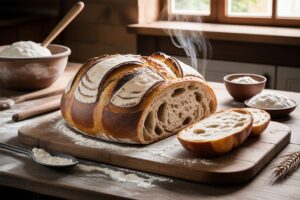
- Enjoy your homemade Soft Sourdough Bread!
Tips & Tricks for Soft Sourdough Bread
- Starter Health is Key: A strong, active starter is the foundation of good sourdough. Make sure it’s consistently fed and bubbly. If it’s sluggish, it won’t give your bread the lift it needs.
- Don’t Rush Bulk Fermentation: This is the most critical stage for flavor and structure. Pay attention to the dough’s feel and appearance (volume increase, bubbles) rather than just the clock. Kitchen temperature greatly affects this; warmer means faster, cooler means slower.
- Handle Gently: Sourdough dough is delicate. During stretch and folds and shaping, use wet hands and a light touch to avoid tearing the gluten network you’ve worked so hard to build.
- Use Rice Flour for Banneton: Rice flour is excellent for dusting your proofing basket because it doesn’t contain gluten, so it won’t absorb moisture from the dough and stick.
- Embrace the Cold Proof: While optional, cold proofing significantly improves flavor, makes shaping and scoring easier, and fits baking into your schedule.
- Don’t Skip Cooling: It’s tempting to cut into a warm loaf, but cooling allows the starches to set, resulting in a superior crumb texture and preventing gumminess.
- Invest in a Scale: While cup measurements are provided, a digital kitchen scale offers much greater accuracy, which is vital for consistent sourdough results.
Essential Baking Tools
Having the right tools makes the sourdough journey much smoother:
- Large Mixing Bowl
- Whisk (optional, for initial flour/water mix if not using hands)
- Dutch Oven (5-7 quart)
- Wire Cooling Rack (essential for proper cooling)
- Digital Kitchen Scale (highly recommended over measuring cups)
- Dough Scraper / Bench Scraper
- Banneton (proofing basket)
- Lame or very sharp razor blade for scoring
- Oven Mitts (heavy duty!)
Nutrition Information (per slice, estimated)
This is an approximate nutritional breakdown for a typical slice (around 50g) of this sourdough bread. Actual values may vary based on exact ingredients and slice size.
| Nutrient | Amount |
|---|---|
| Calories | 130-150 kcal |
| Carbohydrates | 25-30g |
| Protein | 5-6g |
| Fat | 0.5-1.5g |
| Fiber | 1-2g |
| Sugar | 0-1g |
Frequently Asked Questions (FAQs)
Q: How do I know if my sourdough starter is active enough?
A: Your starter is ready when it has doubled or tripled in size after feeding, looks bubbly throughout, and passes the “float test.” To perform the float test, drop a small spoonful of starter into a glass of water; if it floats, it’s ready to use!
Q: Why is my sourdough bread dense?
A: A dense loaf is usually due to insufficient gluten development, an inactive starter, or under-proofing. Ensure your starter is very active, perform enough stretch and folds during bulk fermentation, and allow the dough to adequately rise before baking.
Q: My dough is very sticky, is that normal?
A: Sourdough dough, especially with higher hydration, can be sticky. This is often normal! Use wet hands during stretch and folds, and a lightly floured surface for shaping. Resist adding too much extra flour, as this can change the hydration ratio.
Q: Can I use different types of flour?
A: Yes, but with caution for beginners. This recipe uses bread flour for its high protein content, which helps with gluten development and structure. You can experiment with a small percentage of whole wheat or rye flour once you’re comfortable, but it will affect hydration and dough handling.
Q: How should I store my homemade sourdough bread?
A: Store your cooled loaf at room temperature. For short-term (1-2 days), a bread box or simply wrapped in a clean kitchen towel works well. For longer storage (up to a week), keep it in a sealed plastic bag or airtight container. For extended storage, slice the bread and freeze it, then toast slices as needed.
Q: Can I skip the cold proof?
A: While a cold proof (retardation) is highly recommended for flavor development and easier handling, you can do a shorter room-temperature proof (1-2 hours) until the dough is visibly puffy and springs back slowly when gently poked.
Conclusion
Congratulations, you’ve reached the end of your first (or hundredth!) sourdough journey! Baking your own Soft Sourdough Bread is an incredibly rewarding experience, filling your home with an aroma that store-bought bread simply can’t match. Don’t worry if your first loaf isn’t perfect; every bake is a learning opportunity. The beauty of sourdough lies in its organic process and the connection you build with your starter. Keep practicing, keep experimenting, and most importantly, keep enjoying the delicious results of your hard work. Happy baking, and we can’t wait to hear about your sourdough successes!