Whether you’re celebrating a small victory, enjoying a quiet afternoon, or just need a sweet pick-me-up, this recipe delivers. We’ll walk you through every step, offering essential baking tips for beginners so you can bake with confidence and achieve a tender, moist, and flavorful cake every single time. Get ready to impress yourself!
Ingredients for Your Solo Almond Cake
Gathering your ingredients is the first step to baking success. Accuracy matters, especially in small-batch recipes, so make sure to level your measuring cups and spoons!
Dry Ingredients:
| Ingredient | Quantity | Unit |
|---|---|---|
| All-purpose flour | 1/4 | cup |
| Granulated sugar | 1/4 | cup |
| Baking powder | 1/4 | tsp |
| Salt | Pinch |
Wet Ingredients:
| Ingredient | Quantity | Unit |
|---|---|---|
| Large egg | 1 | whole |
| Milk (any kind: dairy, almond, soy) | 2 | tbsp |
| Vegetable oil (or melted unsalted butter) | 1 | tbsp |
| Almond extract | 1/2 | tsp |
For Garnish (Optional):
| Ingredient | Quantity | Unit |
|---|---|---|
| Powdered sugar | As needed | |
| Sliced almonds | 1 tbsp |
Step-by-Step Instructions: Bake Your Solo Almond Cake!
Follow these detailed steps carefully, and you’ll have a delightful almond cake ready in no time. Remember, baking is a science, so precision helps, but don’t be afraid to have fun!
Step 1: Preheat and Prepare Your Pan
- Preheat your oven: Set your oven to 350°F (175°C). This is crucial! A properly preheated oven ensures your cake bakes evenly from the start and rises correctly.
- Prepare your baking pan: You’ll want a small, oven-safe dish. A 4-inch round cake pan, a 6-ounce ramekin, or even a large, oven-safe mug will work perfectly.
- Beginner Tip: Lightly grease the inside of your chosen pan with butter or cooking spray. For extra non-stick insurance, especially with a cake pan, you can also dust it with a little flour after greasing. Just add a tablespoon of flour, tilt the pan to coat all surfaces, and tap out any excess. This helps prevent sticking and ensures a clean release.
Step 2: Whisk Your Dry Ingredients
- Combine the dry ingredients: In a small mixing bowl, add the 1/4 cup all-purpose flour, 1/4 cup granulated sugar, 1/4 teaspoon baking powder, and a pinch of salt.
- Whisk well: Use a whisk to gently mix these ingredients together for about 30 seconds.
- Beginner Tip: Whisking dry ingredients together ensures that the baking powder and salt are evenly distributed throughout the flour. This prevents lumps and helps your cake rise uniformly. Don’t skip this step!
Step 3: Mix Your Wet Ingredients
- Prepare the wet ingredients: In a separate, even smaller bowl or a measuring cup, crack the large egg. Add the 2 tablespoons of milk, 1 tablespoon of vegetable oil (or melted butter), and 1/2 teaspoon of almond extract.
- Lightly beat: Whisk these wet ingredients together until they are just combined. You don’t need to create a foam, just ensure the egg yolk and white are fully incorporated with the liquids.
- Ingredient Alternative: If you don’t have almond extract, you can use vanilla extract for a delicious vanilla cake, or even a mix of half almond, half vanilla for a more complex flavor.
- Common Mistake: Ensure your egg is at room temperature if possible, as it incorporates better into the batter. If not, a cold egg is fine for this recipe, but room temperature is always preferred in baking.
Step 4: Combine Wet and Dry Ingredients
- Add wet to dry: Pour the wet ingredient mixture into the bowl with your dry ingredients.
- Gently mix: Using a spatula or a spoon, mix the batter until just combined.
- Crucial Beginner Tip: This is where many beginners go wrong! Do NOT overmix! Overmixing develops the gluten in the flour too much, leading to a tough, dense, and dry cake. Mix just until you no longer see streaks of dry flour. A few small lumps are perfectly fine and even desirable.
- Visual Cue: The batter should be smooth but still look slightly lumpy. Stop mixing as soon as the flour is incorporated.
Step 5: Bake Your Solo Almond Cake
- Pour into the pan: Carefully pour the cake batter into your prepared 4-inch pan or ramekin.
- Bake: Place the pan in your preheated oven and bake for 20-25 minutes.
- Doneness Test: The cake is done when a wooden skewer or toothpick inserted into the center comes out clean or with a few moist crumbs attached (but no wet batter). The top should be golden brown and spring back lightly when gently touched.
- Common Mistake: Resist the urge to open the oven door during the first 15-20 minutes of baking. The sudden temperature drop can cause your cake to sink in the middle.
Step 6: Cool and Serve
- Cool in the pan: Once baked, remove the cake from the oven and let it cool in its pan for about 5-10 minutes. This allows the cake to set and prevents it from breaking when you try to remove it.
- Remove from pan: After the initial cooling, carefully invert the cake onto a wire rack to cool completely. If using a ramekin or mug, you might just serve it directly from there!
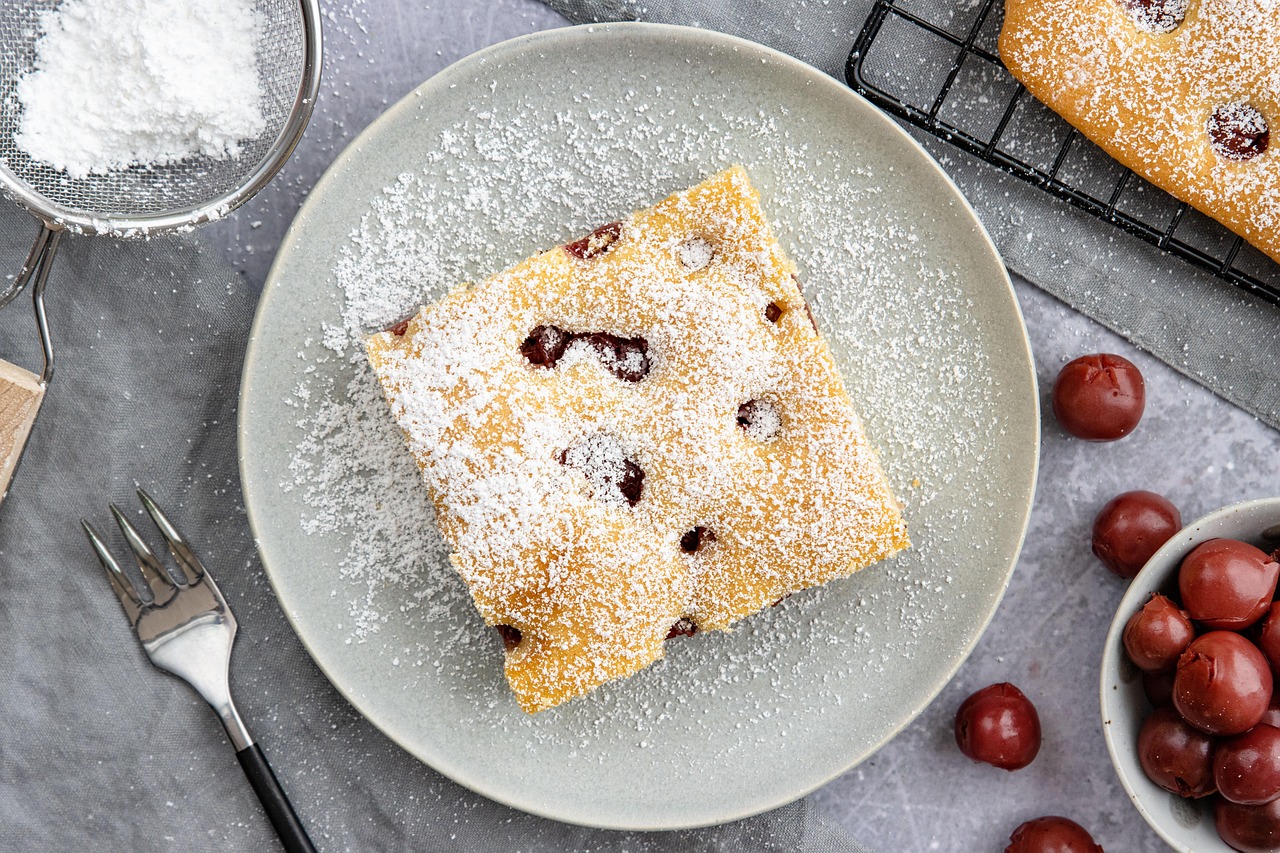
- Garnish and enjoy: Once cooled (or still slightly warm, if you prefer!), dust your Solo Almond Cake with a sprinkle of powdered sugar and/or some toasted sliced almonds. Serve plain, with a dollop of whipped cream, or a scoop of vanilla ice cream.
Tips & Tricks for Beginner Bakers
Baking is an art and a science, but with a few simple guidelines, you’ll be baking like a pro in no time!
- Measure Accurately: Especially with flour, spoon it into your measuring cup and then level it off with the back of a knife. Scooping directly into the flour bag can compact it, leading to too much flour and a dry cake.
- Room Temperature Ingredients: While not strictly necessary for this small cake, using room temperature eggs and milk helps them emulsify better with other ingredients, creating a smoother, more uniform batter.
- Don’t Overmix: We can’t stress this enough! Overmixing develops gluten, which leads to a tough, chewy texture. Mix only until the ingredients are just combined.
- Trust Your Oven (and a Thermometer): Oven temperatures can vary widely. An inexpensive oven thermometer can be a great investment to ensure your oven is truly at the temperature you set.
- Patience is a Virtue (Especially for Cooling): Let your cake cool for the recommended time. Trying to frost or slice a warm cake can lead to crumbling and a sticky mess.
- Read the Recipe First: Before you even get out a single ingredient, read the entire recipe from start to finish. This helps you understand the process and ensures you have everything you need.
- Embrace Imperfection: Your first few attempts might not be picture-perfect, and that’s okay! Every bake is a learning experience. The important thing is to enjoy the process and the delicious result.
Essential Baking Tools for Your Kitchen
Having the right tools makes baking much easier and more enjoyable. Here are a few basics you’ll want to have on hand:
- Mixing Bowl
- Whisk
- Baking Pan (a small 4-inch round pan or ramekin)
- Measuring Cups
- Spatula
- Measuring Spoons
- Wire Rack (for cooling)
Estimated Nutrition Information (per Solo Almond Cake)
Please note: This is an estimation and can vary based on specific brands and exact measurements. This information is for one complete cake as prepared.
| Nutrient | Amount |
|---|---|
| Calories | 380 |
| Total Carbohydrates | 55g |
| Protein | 7g |
| Total Fat | 18g |
| Dietary Fiber | 1g |
| Total Sugar | 35g |
Frequently Asked Questions (FAQs)
Q1: Can I make this Solo Almond Cake gluten-free?
A: Yes! You can absolutely substitute the all-purpose flour with a 1:1 gluten-free baking flour blend (one that contains xanthan gum). The baking time should remain similar, but always perform the toothpick test to ensure it’s fully baked.
Q2: What if I don’t have almond extract?
A: No problem! You can use pure vanilla extract for a delicious vanilla cake. You could also try a different extract like lemon or coconut if you want to experiment with other flavors.
Q3: How do I know when my cake is perfectly baked?
A: The best way is the toothpick test! Insert a wooden skewer or toothpick into the very center of the cake. If it comes out clean (no wet batter), your cake is done. If it comes out with wet batter, bake for another 2-3 minutes and test again. The top should also be golden brown and spring back slightly when gently touched.
Q4: My cake sank in the middle! What went wrong?
A: Common reasons for a cake sinking include opening the oven door too early (which causes a sudden temperature drop), overmixing the batter (which creates too much air that then collapses), or underbaking. Make sure your oven is preheated properly, don’t open the door during baking, and always do the toothpick test!
Q5: How long can I store this Solo Almond Cake?
A: This cake is best enjoyed fresh on the day it’s baked. However, you can store it in an airtight container at room temperature for up to 2 days. For optimal freshness and moisture, wrap it tightly in plastic wrap before placing it in the container.
Q6: Can I double or triple this recipe?
A: While you can technically multiply the ingredients, baking in a larger pan might require adjusting the baking time and potentially the ingredient ratios slightly for best results. For example, a double recipe might fit into a 6-inch round cake pan and bake for 25-30 minutes. It’s often easier to just make two separate “solo” cakes if you need more!
Your Sweet Solo Adventure Awaits!
There you have it! Your complete guide to baking a delightful Solo Almond Cake Recipe. This isn’t just a recipe; it’s an invitation to find joy in baking, even if you’re just starting out. The simplicity, the incredible almond flavor, and the perfect single serving make this cake truly special.
Don’t be afraid to get your hands a little floury. With these detailed steps and baking tips for beginners, you’re well-equipped to create something truly delicious. So, preheat that oven, gather your ingredients, and embark on your sweet baking adventure. We promise, the aroma alone will be worth it!
Happy baking, and enjoy your perfectly portioned almond treat!