Hello, fellow baking enthusiasts and welcome to a truly special recipe that will elevate your dessert game! If you’re looking to create a show-stopping cake that tastes even better than it looks, you’ve come to the right place. Today, we’re diving into the delightful world of our Sour Cream Coconut Cake Recipe 3 Day. This isn’t just any cake; it’s a labor of love spread over three days, designed to maximize flavor, moisture, and ease of assembly. Don’t let the “3 Day” intimidate you – it actually makes the process more relaxed and ensures a deeply flavorful cake. Perfect for those exploring easy baking recipes and wanting to master some foundational baking tips for beginners, this guide will walk you through every step to achieve a moist, tender, and incredibly delicious coconut cake that will have everyone asking for more!
The Ultimate Sour Cream Coconut Cake Recipe (3 Day Method)
This recipe is broken down into manageable steps over three days, allowing flavors to meld beautifully and making the baking process stress-free. Trust us, the wait is absolutely worth it!
Ingredients List
For the Sour Cream Coconut Cake
| Ingredient | Quantity | Unit |
|---|---|---|
| All-Purpose Flour | 3 | cups |
| Baking Powder | 1 | tablespoon |
| Baking Soda | 1/2 | teaspoon |
| Salt | 1/2 | teaspoon |
| Unsalted Butter (softened) | 1 | cup (2 sticks) |
| Granulated Sugar | 2 | cups |
| Large Eggs | 4 | |
| Vanilla Extract | 2 | teaspoons |
| Sour Cream | 1 | cup |
| Buttermilk | 1/2 | cup |
For the Coconut Filling
| Ingredient | Quantity | Unit |
|---|---|---|
| Sweetened Shredded Coconut | 2 | cups |
| Granulated Sugar | 1/2 | cup |
| Large Egg Yolks | 3 | |
| Whole Milk | 1/2 | cup |
| Unsalted Butter | 1/4 | cup (1/2 stick) |
| Vanilla Extract | 1 | teaspoon |
For the Cream Cheese Frosting
| Ingredient | Quantity | Unit |
|---|---|---|
| Cream Cheese (softened) | 16 | ounces (2 blocks) |
| Unsalted Butter (softened) | 1/2 | cup (1 stick) |
| Powdered Sugar (confectioners’ sugar) | 4-5 | cups |
| Vanilla Extract | 1 | tablespoon |
| Milk or Heavy Cream (optional, for consistency) | 1-2 | tablespoons |
| Extra Sweetened Shredded Coconut (for decorating) | 1-2 | cups |
Step-by-Step Instructions (The 3-Day Method for Perfection)
Day 1: Bake the Cake Layers
- Prepare Your Pans: Preheat your oven to 350°F (175°C). Grease and flour three 9-inch round cake pans. For extra insurance against sticking, you can line the bottoms with parchment paper circles. This is a crucial step for beginners – nothing is more frustrating than a cake stuck to the pan!
- Whisk Dry Ingredients: In a medium bowl, whisk together the 3 cups all-purpose flour, 1 tablespoon baking powder, 1/2 teaspoon baking soda, and 1/2 teaspoon salt. Whisking ensures these ingredients are evenly distributed, which is key for a consistent rise. Beginner Tip: When measuring flour, spoon it into your measuring cup and then level it off with a straight edge (like a knife). Don’t scoop directly from the bag, as this compacts the flour and you’ll end up with too much, leading to a dry cake.
- Cream Butter and Sugar: In a large mixing bowl, using an electric mixer (stand mixer with paddle attachment or hand mixer), beat the 1 cup softened unsalted butter and 2 cups granulated sugar on medium-high speed until light and fluffy, about 3-5 minutes. This process, called “creaming,” incorporates air, which contributes to the cake’s light texture.
- Add Eggs and Vanilla: Beat in the 4 large eggs one at a time, mixing well after each addition. Scrape down the sides of the bowl as needed. Stir in the 2 teaspoons vanilla extract. The batter might look a little curdled at this point, but don’t worry, it will come together once the dry ingredients are added.
- Alternate Wet and Dry: In a separate small bowl or measuring cup, whisk together the 1 cup sour cream and 1/2 cup buttermilk. Now, with the mixer on low speed, gradually add the dry ingredients to the wet ingredients in three additions, alternating with the sour cream/buttermilk mixture in two additions. Begin and end with the dry ingredients. For example: dry, wet, dry, wet, dry. Do not overmix! Mix just until combined. Overmixing develops the gluten in the flour too much, resulting in a tough, dense cake.
- Divide and Bake: Divide the batter evenly among the three prepared cake pans. Smooth the tops with a spatula. Bake for 25-30 minutes, or until a wooden skewer or toothpick inserted into the center comes out clean.
- Cool the Cakes: Let the cake layers cool in the pans on wire racks for 10-15 minutes. Then, carefully invert them onto the wire racks to cool completely. This usually takes at least 1-2 hours. Common Mistake: Trying to remove warm cakes from pans too soon often leads to breakage. Patience is a virtue here!
- Wrap and Chill: Once completely cool, individually wrap each cake layer tightly in plastic wrap. You can then place them in an airtight container or simply in the refrigerator. This step is crucial for the 3-day method. Chilling the layers makes them firmer and easier to handle, and allows the flavors to deepen. Refrigerate overnight.
Day 2: Prepare the Coconut Filling & Frosting
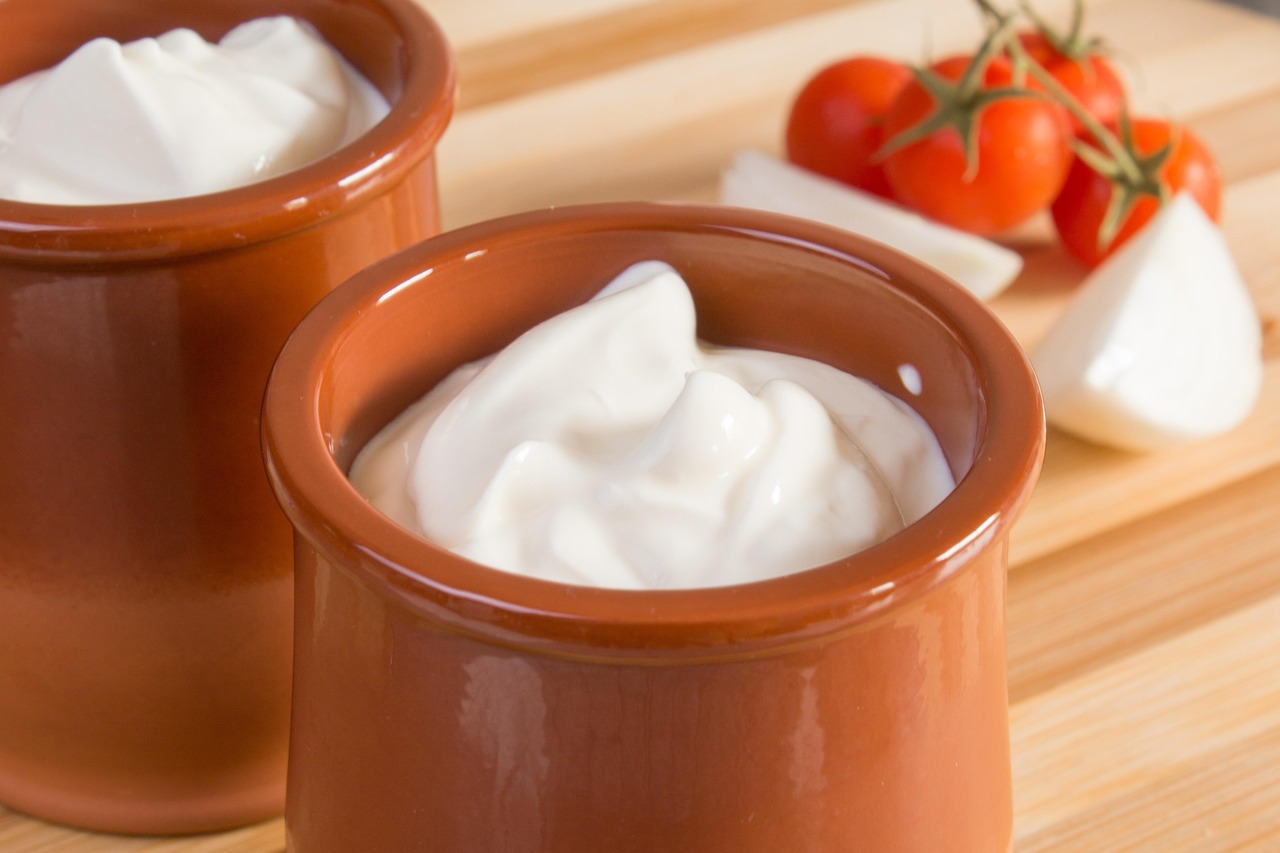
- Make the Coconut Filling: In a medium saucepan, combine the 2 cups sweetened shredded coconut, 1/2 cup granulated sugar, 3 large egg yolks, 1/2 cup whole milk, and 1/4 cup unsalted butter. Cook over medium-low heat, stirring constantly, until the mixture thickens to a pudding-like consistency, about 8-10 minutes. Beginner Tip: Keep stirring to prevent the egg yolks from scrambling and sticking to the bottom of the pan. The mixture should be thick enough to coat the back of a spoon.
- Cool the Filling: Remove from heat and stir in the 1 teaspoon vanilla extract. Transfer the filling to a bowl, cover it with plastic wrap pressed directly onto the surface (to prevent a skin from forming), and let it cool completely. Once cool, refrigerate until ready to assemble, ideally overnight.
- Prepare the Cream Cheese Frosting: In a large mixing bowl, using an electric mixer, beat the 16 ounces softened cream cheese and 1/2 cup softened unsalted butter together until smooth and creamy, about 2-3 minutes. Make sure there are no lumps of cream cheese.
- Add Powdered Sugar and Vanilla: Gradually add the 4-5 cups powdered sugar, one cup at a time, beating on low speed until incorporated, then increasing to medium speed. Add the 1 tablespoon vanilla extract. If the frosting is too thick, add 1-2 tablespoons of milk or heavy cream until it reaches your desired spreading consistency. If it’s too thin, add a bit more powdered sugar. Common Mistake: Adding all the powdered sugar at once will create a sugar cloud in your kitchen! Add it gradually.
- Chill the Frosting: Cover the frosting bowl with plastic wrap and refrigerate overnight. Chilling the frosting makes it firmer and easier to spread, especially for a tiered cake, and also helps prevent it from melting too quickly.
Day 3: Assemble and Decorate!
- Level the Cake Layers (Optional but Recommended): If your cake layers have domed tops, you can use a serrated knife or a cake leveler to gently slice off the domes, creating flat layers. This ensures a stable and professional-looking cake.
- First Layer & Filling: Place one cake layer on your serving plate or cake stand. Spread about half of the chilled coconut filling evenly over the top, leaving a small border around the edge.
- Second Layer & Filling: Carefully place the second cake layer on top of the filling. Spread the remaining half of the coconut filling over this layer.
- Third Layer & Crumb Coat: Place the third cake layer on top. Now, apply a thin layer of cream cheese frosting all over the cake – top and sides. This is called a “crumb coat” and its purpose is to trap any loose crumbs, preventing them from showing up in your final frosting layer.
- Chill Crumb Coat: Refrigerate the cake for 20-30 minutes (or freeze for 10-15 minutes) to set the crumb coat. This makes the final frosting much easier and cleaner.
- Final Frosting: Once the crumb coat is set, remove the cake from the refrigerator. Apply the remaining cream cheese frosting generously over the entire cake, smoothing it with an offset spatula or bench scraper. Take your time to get it as smooth as you like.
- Decorate with Coconut: Gently press the extra sweetened shredded coconut onto the sides and top of the cake. You can cup your hand and pat it onto the sides, or sprinkle it over the top.
- Final Chill & Serve: Refrigerate the finished cake for at least 1 hour to allow the frosting to firm up. This also gives the flavors more time to meld. Slice and serve!
Tips & Tricks for Beginner Bakers
- Room Temperature Ingredients are Key: For both the cake batter and the frosting, ensure your butter, eggs, cream cheese, and sour cream are at room temperature. This allows them to emulsify properly, creating a smooth, consistent batter and frosting without lumps, leading to a lighter, more uniform texture.
- Accurate Measuring: Baking is a science! Use proper measuring cups and spoons. For dry ingredients like flour, spoon it into the measuring cup and level it off. For liquids, use clear liquid measuring cups and read at eye level.
- Don’t Overmix: After adding flour to your cake batter, mix only until just combined. Overmixing develops gluten, which can make your cake tough and dry. A few small lumps are okay!
- Oven Temperature Matters: Ovens can vary. Consider investing in an inexpensive oven thermometer to ensure your oven is truly at the temperature you set. An inaccurate oven can lead to under or over-baked cakes.
- Patience with Chilling: The 3-day method relies on chilling. Don’t rush it! Chilling cake layers makes them easier to handle, and chilling the frosting makes it firmer and less prone to melting while you’re decorating. Plus, the flavors develop more deeply over time.
- Grease and Flour Your Pans Properly: This is a simple step that prevents heartbreak. You can also line the bottoms with parchment paper for extra security.
- Read the Entire Recipe First: Before you start, read through the entire recipe from beginning to end. This helps you understand the process, gather all your ingredients and tools, and anticipate upcoming steps.
Essential Baking Tools
Having the right tools makes all the difference, especially when you’re starting out!
- Mixing Bowl Set: Essential for combining ingredients.
- Whisk: For aerating dry ingredients and combining wet ones.
- 9-Inch Round Cake Pans (Set of 3): Crucial for baking even cake layers.
- Measuring Cups and Spoons Set: For precise ingredient measurements.
- Rubber Spatula: For scraping bowls and folding ingredients.
- Electric Mixer (Handheld or Stand Mixer): Makes creaming butter and sugar, and whipping frosting, much easier.
- Wire Cooling Racks: Allows air circulation for even cooling.
- Parchment Paper: For lining cake pans.
- Offset Spatula: Great for spreading frosting smoothly.
Nutrition Information (Estimated Per Serving)
Please note: These values are estimated and can vary based on specific ingredients and portion sizes. This recipe yields approximately 12-16 servings.
| Nutrient | Per Serving |
|---|---|
| Calories | ~550-650 kcal |
| Carbohydrates | ~70-85 g |
| Protein | ~6-8 g |
| Fat | ~30-40 g |
| Fiber | ~1-2 g |
| Sugar | ~50-65 g |
Frequently Asked Questions (FAQs)
- Q: Why is this a “3 Day” recipe? Can I make it faster?
- A: The 3-day method is designed to enhance flavor, moisture, and make the baking process less stressful. Chilling the cake layers makes them firmer and easier to handle (less likely to break!), and allows the flavors to deepen. Chilling the filling and frosting also makes them easier to work with. While you could condense it to 2 days (bake cakes Day 1, make filling/frosting and assemble Day 2), the 3-day approach yields the best results and is more beginner-friendly.
- Q: My cake turned out dry. What went wrong?
- A: A dry cake is often caused by overmixing the batter (developing too much gluten) or overbaking. Ensure you mix only until the ingredients are just combined after adding flour, and always check for doneness with a toothpick. Also, accurately measuring flour (spooning and leveling) is crucial to avoid adding too much.
- Q: Can I use a different size pan?
- A: This recipe is developed for three 9-inch round cake pans. If you use different sizes, you’ll need to adjust baking times and potentially the number of layers. For instance, two 9-inch pans would mean thicker layers and longer baking times. Always monitor closely and use the toothpick test.
- Q: What does “room temperature” mean for baking ingredients?
- A: Room temperature usually means between 68-72°F (20-22°C). For butter, it should be soft enough to indent easily with your finger but still hold its shape, not melted. Eggs can be quickly brought to room temp by placing them in a bowl of warm water for 5-10 minutes. This ensures ingredients emulsify properly for a smooth batter.
- Q: How do I store leftover Sour Cream Coconut Cake?
- A: Store the cake in an airtight container in the refrigerator for up to 3-4 days. For longer storage, you can freeze individual slices (well-wrapped) for up to 1-2 months. Thaw in the refrigerator overnight before serving.
- Q: My cream cheese frosting is too runny/too stiff. How can I fix it?
- A: If your frosting is too runny, it’s likely due to warm butter or cream cheese, or not enough powdered sugar. Try chilling it for 30 minutes, then re-whipping, or add more powdered sugar a tablespoon at a time. If it’s too stiff, add milk or heavy cream, 1 teaspoon at a time, until it reaches your desired consistency.
Enjoy Your Delicious Creation!
And there you have it – a magnificent Sour Cream Coconut Cake Recipe 3 Day that’s sure to impress! We know that baking can sometimes feel daunting, especially for beginners, but remember that every successful baker started somewhere. This detailed guide is designed to empower you with the knowledge and confidence to create something truly delicious. Don’t be afraid to get your hands a little messy, follow the steps patiently, and most importantly, have fun in the kitchen!
We can’t wait to see your beautiful coconut cake creations. Share your baking journey and results with us in the comments below. Happy baking!