Get ready to whip up a light, airy, and utterly delicious sponge cake that’s naturally gluten-free and compliant with Passover dietary laws. No fancy equipment or expert skills required – just a little patience and a whole lot of love. Let’s get baking!
Ingredients You’ll Need
Gathering your ingredients before you start is one of the best baking tips for beginners. It ensures a smooth and stress-free baking experience. For this Passover-friendly sponge cake, we’ll be using matzo cake meal and potato starch to achieve that beautiful, light texture.
| Quantity | Unit | Ingredient |
|---|---|---|
| 8 | large | Eggs, separated (whites and yolks) |
| 1 ½ | cups | Granulated Sugar, divided |
| ½ | cup | Matzo Cake Meal |
| ¼ | cup | Potato Starch |
| 1 | teaspoon | Vanilla Extract (ensure Kosher for Passover) |
| 1 | tablespoon | Fresh Lemon Juice (or zest of 1 lemon for extra flavor) |
| ¼ | teaspoon | Salt |
Step-by-Step Instructions: Your Path to a Perfect Sponge Cake
Follow these detailed steps carefully, and you’ll be amazed at what you can create!
Step 1: Prepare Your Pan and Preheat Oven
- Preheat your oven: Set your oven to 325°F (160°C). This ensures the oven is at the correct temperature when your batter is ready, which is crucial for even baking.
- Prepare your pan: For a sponge cake, we typically use an ungreased 10-inch tube pan (also known as an angel food cake pan). Why ungreased? The batter needs to cling to the sides of the pan to climb and get its characteristic height. If it’s greased, the cake might slip down after baking. If your pan has a removable bottom, make sure it’s securely latched.
Step 2: Separate Your Eggs (The Delicate Art)
- Separate eggs: Carefully separate the egg whites from the yolks into two separate, very clean bowls. It’s incredibly important that NO yolk gets into the egg whites. Even a tiny speck of fat (from the yolk) can prevent the whites from whipping up properly.
- Beginner Tip: Crack each egg over a small bowl first, separate it, then transfer the white to your main “whites” bowl and the yolk to your “yolks” bowl. This way, if you accidentally break a yolk, it only contaminates one egg, not your entire batch of whites!
- Common Mistake: Rushing this step and getting yolk in the whites. If this happens, start over with fresh whites.
- Room temperature eggs: Eggs separate more easily when cold, but egg whites whip to a greater volume when at room temperature. If your eggs are cold, separate them and let the whites sit out for 20-30 minutes before whipping.
Step 3: Whip the Egg Whites to Stiff Peaks
- Add salt: To the bowl with the egg whites, add the ¼ teaspoon of salt. This helps stabilize the whites.
- Whip whites: Using an electric mixer (stand mixer or hand mixer) on medium-high speed, begin to whip the egg whites. They will first become foamy, then soft peaks will form.
- Gradually add sugar: Once soft peaks form (when you lift the whisk, the peaks flop over), gradually add ½ cup of the granulated sugar, about a tablespoon at a time, while continuing to whip. This creates a stable meringue.
- Whip to stiff, glossy peaks: Continue whipping until the egg whites are stiff, glossy, and hold their shape when you lift the whisk. The peaks should stand straight up and not flop over. Don’t overmix, or they can become dry and crumbly.
- Why this is important: The whipped egg whites are the primary leavening agent for a sponge cake, providing all the lift and airy texture. This step is critical!
- Set aside: Transfer the whipped egg whites to a separate large bowl and set aside. No need to clean the mixer beaters just yet.
Step 4: Prepare the Egg Yolk Mixture
- Beat yolks and sugar: In the bowl with the egg yolks, add the remaining 1 cup of granulated sugar and the vanilla extract. Using the same mixer beaters (no need to wash them), beat on high speed until the mixture is pale yellow, thick, and creamy. This can take about 3-5 minutes. The mixture should form a “ribbon” when you lift the beaters, slowly dissolving back into the bowl.
- Add lemon juice/zest: Stir in the fresh lemon juice or lemon zest. This adds a lovely brightness and helps cut through the sweetness.
Step 5: Fold in Dry Ingredients
- Sift dry ingredients: In a small bowl, whisk together the matzo cake meal and potato starch. Sifting isn’t strictly necessary but helps prevent lumps and aerates the mixture.
- Fold into yolks: Gradually add the matzo cake meal and potato starch mixture to the egg yolk mixture, folding gently with a spatula until just combined. Be careful not to overmix; overmixing can develop gluten in the matzo cake meal (though minimal) and make the cake tough.
- Alternative: If you prefer a very smooth batter, you can add the dry ingredients in two additions, alternating with a small portion of the egg whites to loosen the batter first. However, for beginners, just gently folding them into the yolk mixture works perfectly fine.
Step 6: Gently Fold in the Egg Whites
- Lighten the batter: Take about one-third of the whipped egg whites and gently fold them into the egg yolk and matzo meal mixture. This step is called “lightening the batter” and makes it easier to incorporate the remaining whites without deflating them.
- Fold in remaining whites: Add the rest of the whipped egg whites to the batter. Using a large spatula, gently fold them in using a “cut and fold” motion. Go down the middle of the bowl, sweep across the bottom, and fold the batter over the top. Rotate the bowl and repeat.
- Crucial Beginner Tip: This is the most important step for a light sponge cake! Do NOT stir or beat the mixture. You want to preserve as much air as possible in the egg whites. Stop folding as soon as no streaks of white remain. Overfolding will deflate the batter, resulting in a dense, flat cake.
- Common Mistake: Overfolding the egg whites. This is the primary reason sponge cakes turn out dense.
Step 7: Bake Your Sponge Cake
- Pour into pan: Gently pour the batter into your prepared ungreased tube pan. Smooth the top lightly with your spatula.
- Bake: Place the pan in the preheated oven. Bake for 50-60 minutes, or until the top is golden brown, springs back when lightly touched, and a wooden skewer inserted into the center comes out clean.
- Do not open oven door: Resist the urge to open the oven door during the first 40 minutes of baking, as this can cause the cake to collapse.
Step 8: Cool Upside Down (The Secret to Preventing Collapse)
- Invert immediately: As soon as you remove the cake from the oven, immediately invert the pan over the neck of a bottle (like a wine bottle) or onto the legs of the tube pan if it has them.
- Why this is important: Cooling upside down prevents the delicate structure of the sponge cake from collapsing under its own weight as it cools. This ensures your cake stays tall and airy.
- Cool completely: Let the cake cool completely upside down for at least 1.5 to 2 hours, or even longer, until it’s entirely cool to the touch. Patience is key here!
Step 9: Release and Serve
- Release from pan: Once completely cool, use a thin knife or offset spatula to carefully loosen the cake from the sides of the pan. Then, gently push up the bottom of the pan (if it’s a two-piece tube pan) to release the cake. Finally, carefully loosen the cake from the bottom of the pan.
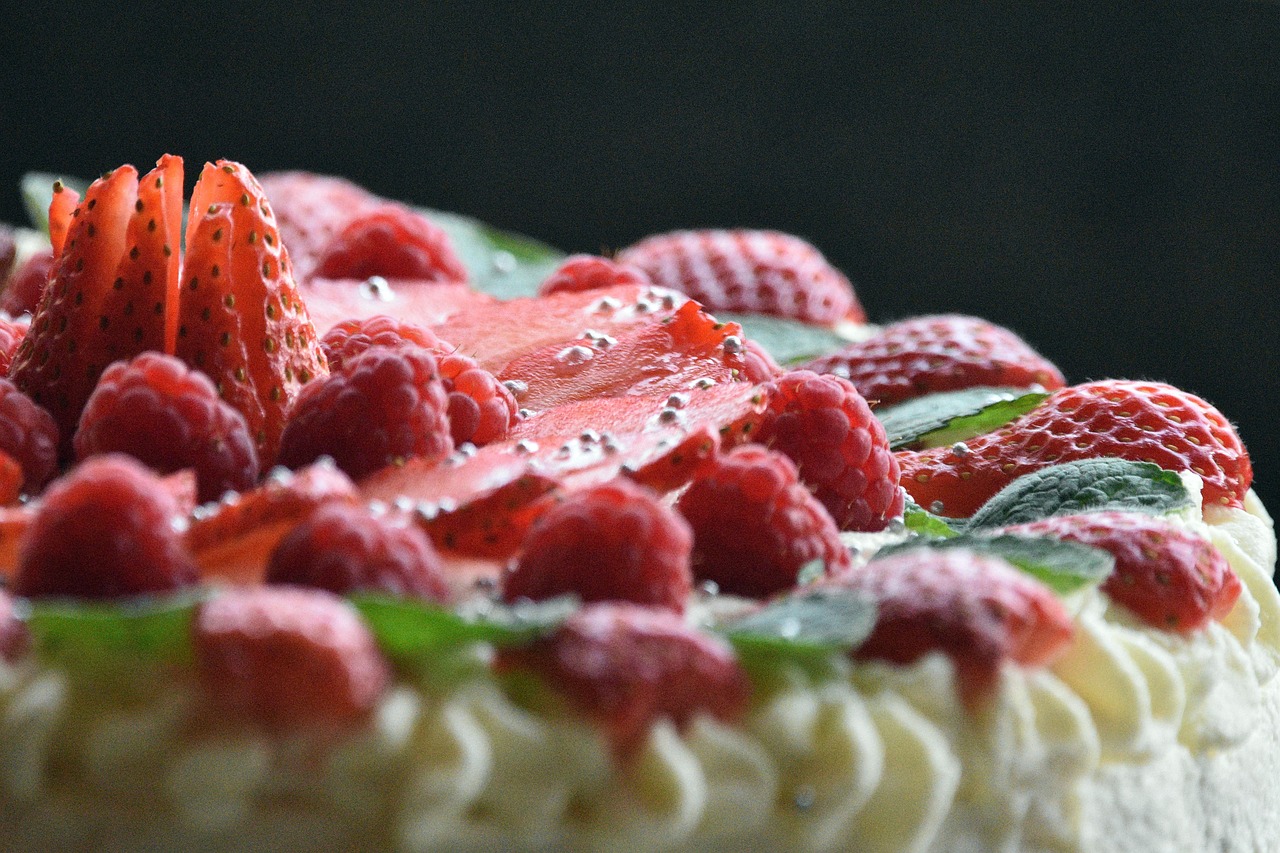
- Serve: Slice and serve plain, dusted with powdered sugar (ensure Kosher for Passover), or with fresh berries and whipped cream (dairy or non-dairy, depending on your meal). Enjoy your magnificent homemade Passover sponge cake!
Pro Baking Tips & Tricks for Beginners
Mastering a sponge cake, especially for Passover, is a rewarding experience. Here are some extra **baking tips for beginners** to ensure your success:
- Cleanliness is Key for Egg Whites: Emphasizing again: any trace of fat (from yolks, oily bowls, or even greasy hands) will prevent egg whites from whipping properly. Use glass or metal bowls, not plastic, as plastic can retain grease. Wash and dry your bowls and beaters meticulously.
- Don’t Overmix the Batter: The air incorporated into the egg whites is your cake’s lift. Overmixing at any stage after the whites are folded in will deflate that precious air, leading to a dense cake. Fold gently until just combined.
- Patience with Cooling: Resist the urge to remove the cake from the pan before it’s completely cool. This is vital for maintaining its structure and preventing it from shrinking or collapsing. The inverted cooling step is non-negotiable for a tall sponge cake.
- Know Your Oven: Ovens can vary. If you notice your cake browning too quickly, you might need to slightly adjust your oven temperature next time or rotate the pan halfway through baking. An oven thermometer can be a great investment for accurate temperatures.
- Use Fresh Ingredients: Especially eggs! Fresher eggs tend to whip better and give a more stable meringue. Ensure your matzo cake meal and potato starch aren’t expired.
- Flavor Variations: While lemon is classic, you can experiment! Try adding orange zest instead of lemon, or a touch of almond extract (ensure Kosher for Passover) for a different twist.
Essential Baking Tools
Having the right tools makes all the difference! Here are some basics you’ll want to have on hand:
- Mixing Bowl (several sizes)
- Whisk (or an electric mixer for ease)
- 10-inch Tube Pan (Angel Food Cake Pan)
- Measuring Cups & Measuring Spoons
- Rubber Spatula (for folding)
- Small bowls (for separating eggs)
- Fine-mesh sieve (optional, for sifting dry ingredients)
Nutrition Information (Estimated Per Serving)
This information is an estimate based on 12 servings per cake and may vary depending on specific brands and exact measurements.
| Nutrient | Amount |
|---|---|
| Calories | 200 kcal |
| Carbohydrates | 40 g |
| Protein | 6 g |
| Fat | 3 g |
| Fiber | 0 g |
| Sugar | 30 g |
Frequently Asked Questions (FAQs)
Q: My cake sank in the middle! What went wrong?
A: The most common reasons for a sponge cake sinking are overfolding the egg whites (which deflates the air), opening the oven door too early, or not cooling the cake upside down immediately after baking. Ensure your egg whites are stiff but not dry, and be extra gentle when folding.
Q: Can I make this cake ahead of time? How do I store it?
A: Yes, sponge cake is excellent for making ahead! Once completely cooled, you can store it uncovered (or very loosely covered) at room temperature for up to 2-3 days. For longer storage, wrap it tightly in plastic wrap and then foil, and freeze for up to a month. Thaw at room temperature.
Q: Do I really need to use matzo cake meal and potato starch, or can I use regular flour?
A: For this specific **Sponge Cake Recipe For Passover**, matzo cake meal and potato starch are essential to make it Kosher for Passover. Regular all-purpose flour is not permitted during Passover. These substitutes also contribute to the unique light texture of this cake.
Q: How do I know when the cake is fully baked?
A: A fully baked sponge cake will be golden brown on top, and when you gently press the center, it should spring back. You can also insert a wooden skewer or toothpick into the center; if it comes out clean with no wet batter, your cake is ready!
Q: Can I add chocolate to this recipe?
A: Absolutely! For a chocolate version, you can carefully fold in ¼ cup of unsweetened cocoa powder (ensure Kosher for Passover) along with the matzo cake meal and potato starch. This will give it a delicious chocolatey twist!
Your Passover Baking Adventure Starts Now!
And there you have it! A comprehensive, beginner-friendly Sponge Cake Recipe For Passover that promises to be a highlight of your holiday table. Don’t be intimidated; baking is a skill that improves with practice, and every perfect cake starts with a first attempt. Remember all the baking tips for beginners we covered, take your time, and enjoy the process.
Imagine the smiles as you serve this beautiful, airy cake, knowing you made it yourself! We’re confident that with this guide, you’ll create a dessert that’s not only delicious but also a source of pride. Happy baking, and Chag Sameach.