
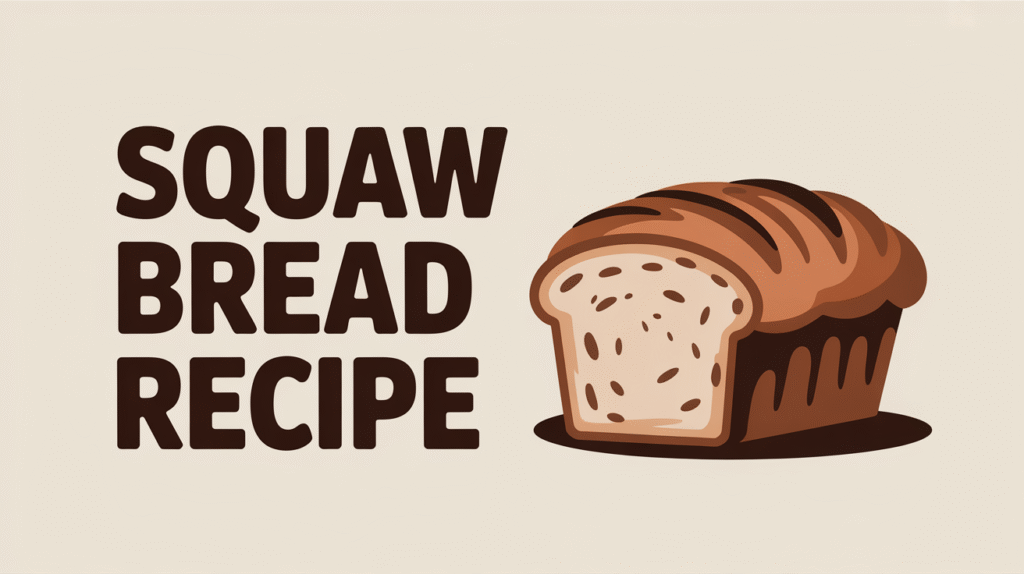
Welcome, aspiring bakers! Are you ready to embark on a delicious journey into the world of homemade bread? There’s nothing quite like the aroma of freshly baked bread filling your kitchen, and with our squaw bread recipe, you’re in for a real treat. Often known for its unique dark color, slightly sweet flavor, and wonderfully soft texture, squaw bread is a comforting classic that’s surprisingly approachable, even if you’re new to baking. Forget intimidating techniques; we’re breaking down every step to make this one of your most successful squaw bread recipe. This comprehensive guide is packed with squaw bread recipe, ensuring your first loaf (and many more!) turns out perfect. Get ready to impress yourself and your loved ones with this hearty, wholesome bread!
Ingredients You’ll Need
Gather your ingredients! Precision is key in baking, so make sure to measure everything carefully.
| Ingredient | Quantity | Unit |
|---|---|---|
| Warm Water (105-115°F / 40-46°C) | 1 ½ | cups |
| Active Dry Yeast | 2 ¼ | teaspoons (1 standard packet) |
| Granulated Sugar | 1 | tablespoon |
| Molasses | ½ | cup |
| Vegetable Oil (or melted butter) | ¼ | cup |
| Unsweetened Cocoa Powder | 2 | tablespoons |
| Salt | 1 ½ | teaspoons |
| All-Purpose Flour | 2 ½ – 3 | cups |
| Dark Rye Flour | 1 ½ | cups |
| Cornmeal (for dusting) | 2 | tablespoons (optional) |
Step-by-Step Instructions: Your Path to Perfect Squaw Bread
Follow these detailed steps carefully, and you’ll be enjoying warm, homemade squaw bread in no time!
Step 1: Activate Your Yeast – The Spark of Life!
- In a large mixing bowl (or the bowl of a stand mixer), combine the **warm water** (105-115°F / 40-46°C) and **granulated sugar**.
- Sprinkle the **active dry yeast** evenly over the surface of the water. Do not stir it in yet!
- Let this mixture sit undisturbed for 5-10 minutes. You’ll know your yeast is active and healthy when it becomes foamy and bubbly on top. This is crucial for your bread to rise!
- Beginner Tip: The water temperature is vital! Too hot, and it will kill the yeast; too cold, and it won’t activate. A kitchen thermometer is your best friend here.
Step 2: Mix the Wet Ingredients
- Once your yeast is foamy, add the molasses, vegetable oil, unsweetened cocoa powder, and salt to the yeast mixture.
- Whisk everything together until well combined. The cocoa powder contributes to the bread’s characteristic dark color, not necessarily its flavor profile in a strong way.
- Common Mistake: Forgetting to add salt here can result in bland bread. Salt also helps control yeast activity and strengthens the gluten.
Step 3: Gradually Add the Flours
- Add the **dark rye flour** to the wet ingredients and mix until just combined. Rye flour is denser and provides that distinct hearty texture.
- Next, gradually add the **all-purpose flour**, about ½ cup at a time, mixing after each addition. You might not need all of the flour; the amount can vary based on humidity and how accurately you’ve measured your other ingredients.
- Continue adding flour until the dough starts to pull away from the sides of the bowl and forms a shaggy, somewhat sticky ball. It should feel slightly tacky but not excessively sticky.
- Beginner Tip: Always ‘spoon and level’ your flour. Use a spoon to scoop flour into your measuring cup, then level it off with a straight edge. Don’t pack it down or scoop directly from the bag, as this can add too much flour and result in a dense, dry bread.
Step 4: Knead the Dough – Building Structure!
- Lightly flour a clean work surface. Turn the dough out onto the floured surface.
- If kneading by hand: Begin kneading the dough. Fold the dough over itself, push down with the heel of your hand, turn it a quarter turn, and repeat. Continue kneading for 8-10 minutes. The dough will start off sticky but will become smoother, more elastic, and less sticky as you knead.
- If using a stand mixer: Attach the dough hook. Knead on medium-low speed for 6-8 minutes. The dough should gather around the hook and clean the sides of the bowl.
- You’ll know the dough is properly kneaded when it passes the “windowpane test.” Pinch off a small piece of dough and gently stretch it. If you can stretch it thin enough to see light through it without tearing, your gluten is well developed.
- Common Mistake: Under-kneading results in a dense, crumbly bread. Over-kneading is less common by hand but can happen with a mixer, leading to a tough texture. Aim for smooth and elastic.
Step 5: First Rise (Bulk Fermentation)
- Lightly grease a large clean bowl with a little vegetable oil. Place the kneaded dough into the bowl, turning it once to coat the top with oil. This prevents it from drying out.
- Cover the bowl tightly with plastic wrap or a clean kitchen towel.
- Place the bowl in a warm, draft-free spot. A slightly warm oven (turned off, with just the light on) or a sunny spot are great options.
- Let the dough rise for 1 to 1 ½ hours, or until it has doubled in size.
- Beginner Tip: The time it takes for dough to rise depends heavily on the ambient temperature. Don’t rush it! If your kitchen is cool, it might take longer. The “poke test” can help: gently press two fingers into the dough. If the indentations remain, it’s ready. If they spring back quickly, it needs more time.
Step 6: Shape the Loaf
- Once the dough has doubled, gently punch it down to release the air. This is called “degassing” and helps to create an even crumb.
- Turn the dough out onto a lightly floured surface.
- Gently shape the dough into a loaf. For a classic loaf shape, flatten the dough into a rectangle, then fold the top third down to the middle, and the bottom third up over the top. Pinch the seams to seal. Turn the dough seam-side down and gently tuck the ends under to create a smooth, taut surface.
- Alternative: You can also divide the dough into two smaller loaves, or even shape it into rolls. Adjust baking time accordingly.
Step 7: Second Rise (Proofing)
- Lightly grease a 9×5-inch loaf pan or dust it with **cornmeal** (if using). Place the shaped loaf seam-side down into the prepared pan.
- Cover the loaf pan loosely with plastic wrap or a clean kitchen towel.
- Let it rise again in a warm, draft-free spot for another 30-45 minutes, or until it has almost doubled in size and looks puffy.
- Beginner Tip: This second rise is crucial for the final texture and lightness of your bread. Don’t let it over-proof (get too big and airy), as it can collapse in the oven. It should look noticeably larger but not excessively airy.
Step 8: Bake Your Masterpiece!
- Preheat your oven to 375°F (190°C) about 15-20 minutes before the second rise is complete.
- Carefully place the loaf pan into the preheated oven.
- Bake for 30-40 minutes, or until the crust is a deep golden brown and the internal temperature reaches 200-210°F (93-99°C) when measured with an instant-read thermometer.
- If the top is browning too quickly, you can loosely tent it with aluminum foil.
- Beginner Tip: A good way to check for doneness without a thermometer is to tap the bottom of the loaf; it should sound hollow.
Step 9: Cool and Enjoy!
- Once baked, immediately remove the loaf from the pan and place it on a wire cooling rack.
- Let the bread cool completely (at least 1-2 hours) before slicing. This allows the internal structure to set and prevents a gummy texture.
- Slice, slather with butter, and enjoy your delicious, homemade squaw bread!
- Important: Resist the urge to cut into it while it’s still hot! Cooling is part of the baking process.
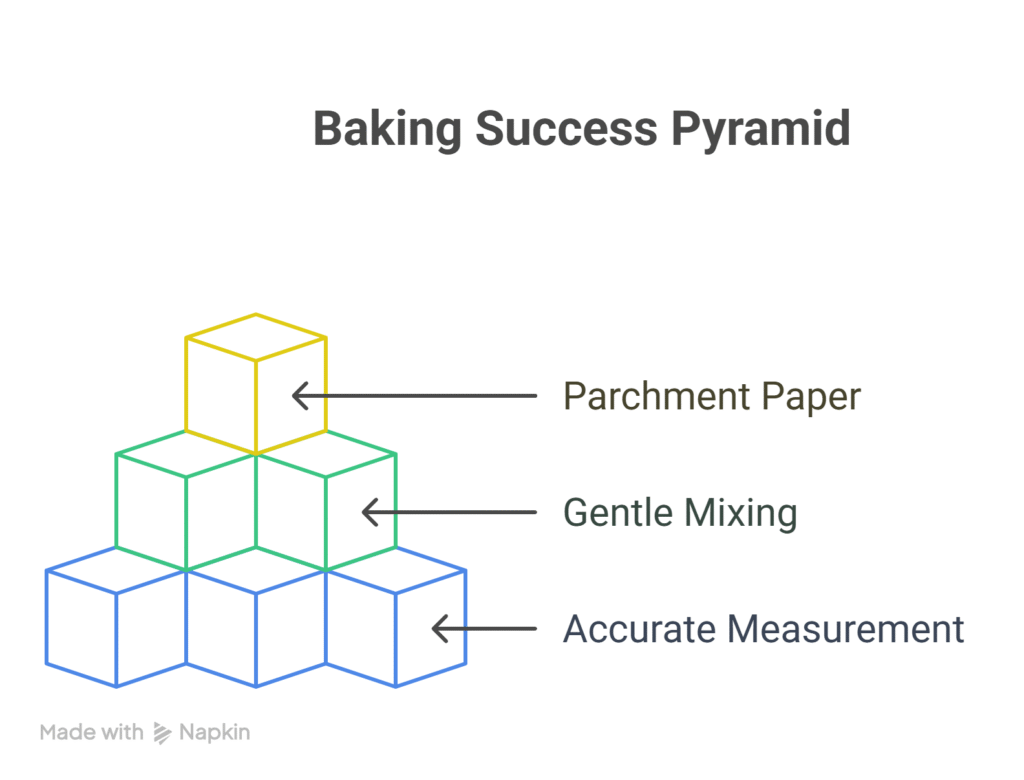
Tips & Tricks for Baking Success
Even with detailed instructions, a few extra pointers can make all the difference, especially for beginners!
- Mastering Flour Measurement: As mentioned, **spoon and level** is crucial. Too much flour is the most common reason for dense, dry bread. If your dough feels too sticky, add flour *one tablespoon at a time* until it reaches the right consistency.
- Room Temperature Matters: Ensure your ingredients (especially water for yeast) are at the correct temperature. A warm kitchen encourages a faster, more even rise. If your kitchen is cold, consider placing your rising dough in a slightly warmed (but turned off!) oven with the light on.
- Don’t Rush the Rise: Patience is a virtue in bread making. The rise times are estimates; always go by how the dough looks and feels (doubled in size, passes the poke test) rather than strictly by the clock. Under-proofing leads to dense bread, while over-proofing can cause it to collapse.
- Check Your Yeast: Always use fresh yeast. If your yeast doesn’t foam up in Step 1, it’s likely dead, and your bread won’t rise. It’s better to start over with new yeast than waste all your ingredients.
- Storage Secrets: Once completely cooled, store your squaw bread in an airtight container or a bread bag at room temperature for up to 3-4 days. For longer storage, slice the bread and freeze it in a freezer-safe bag for up to 3 months. Thaw slices as needed.
- Experiment with Toppings: Before baking, you can brush the top of your loaf with an egg wash (one egg beaten with a tablespoon of water) and sprinkle with sesame seeds or rolled oats for extra texture and visual appeal.
Essential Baking Tools
Having the right tools makes baking much easier and more enjoyable. Here are a few essentials:
- Mixing Bowl
- Whisk
- Baking Pan (9×5 inch loaf pan)
- Measuring Cups & Measuring Spoons
- Spatula (or dough scraper)
- Kitchen Scale (highly recommended for accurate flour measurement)
- Instant-Read Thermometer (for water and bread internal temperature)
Nutrition Information (Estimated per slice, 12 slices per loaf)
Please note that these are approximate values and can vary based on specific ingredient brands and preparation.
| Nutrient | Amount |
|---|---|
| Calories | 220 kcal |
| Carbohydrates | 45g |
| Protein | 6g |
| Fat | 4g |
| Fiber | 3g |
| Sugar | 15g |
Frequently Asked Questions (FAQs) for Beginner Bakers
Q1: My dough isn’t rising. What went wrong?
A: This is a common issue for beginners! The most likely culprits are dead yeast (check if it foamed up in Step 1) or water that was too hot or too cold when activating the yeast. Ensure your yeast is fresh, and use a thermometer for precise water temperature (105-115°F / 40-46°C). A cold environment can also slow down the rise; try a warmer spot.
Q2: Can I use instant yeast instead of active dry yeast?
A: Yes, you can!squaw bread recipe Instant yeast (also called rapid rise or bread machine yeast) is more potent and doesn’t require proofing in water first. You can typically mix it directly with the dry ingredients. However, for beginners, activating active dry yeast in water (as in Step 1) is a great way to confirm your yeast is alive and well before committing to the full recipe.
Q3: My bread came out dense and heavy. Why?
A: A dense loaf usually points to either too much flour, under-kneading, or under-proofing (not letting the dough rise enough). Make sure to measure flour correctly (spoon and level!), knead until the dough is smooth and elastic (passes the windowpane test), and allow sufficient time for both rises until the dough has doubled in size.
Q4: What if I don’t have dark rye flour? Can I substitute it?
A: While dark rye flour gives squaw bread its distinctive flavor and texture, you can experiment with substitutions. For a similar dark color and slightly earthy flavor, you could try a mix of whole wheat flour and a touch more cocoa powder. However, expect a slightly different texture and taste profile. For the most authentic squaw bread, rye flour is recommended.
Q5: How do I know when the bread is fully baked?
A: The best way is to use an instant-read thermometer. Insert it into the center of the loaf; it should read between 200-210°F (93-99°C). If you don’t have a thermometer, tap the bottom of the loaf – squaw bread recipe it should sound hollow. The crust should also be a deep golden brown.
You Did It! Enjoy Your Homemade Squaw Bread!
Congratulations, baker! You’ve successfully made your very own loaf of delicious squaw bread. We hope this detailed guide made the process enjoyable and straightforward. Baking bread from scratch is a rewarding experience, and each loaf you make will build your confidence and skill. Don’t be afraid to experiment, learn from any mistakes, and most importantly, savor the incredible taste and aroma of your homemade creation. Share it with friends, enjoy it with dinner, or simply toast a slice for breakfast. Happy baking, and we can’t wait to see what you create next!