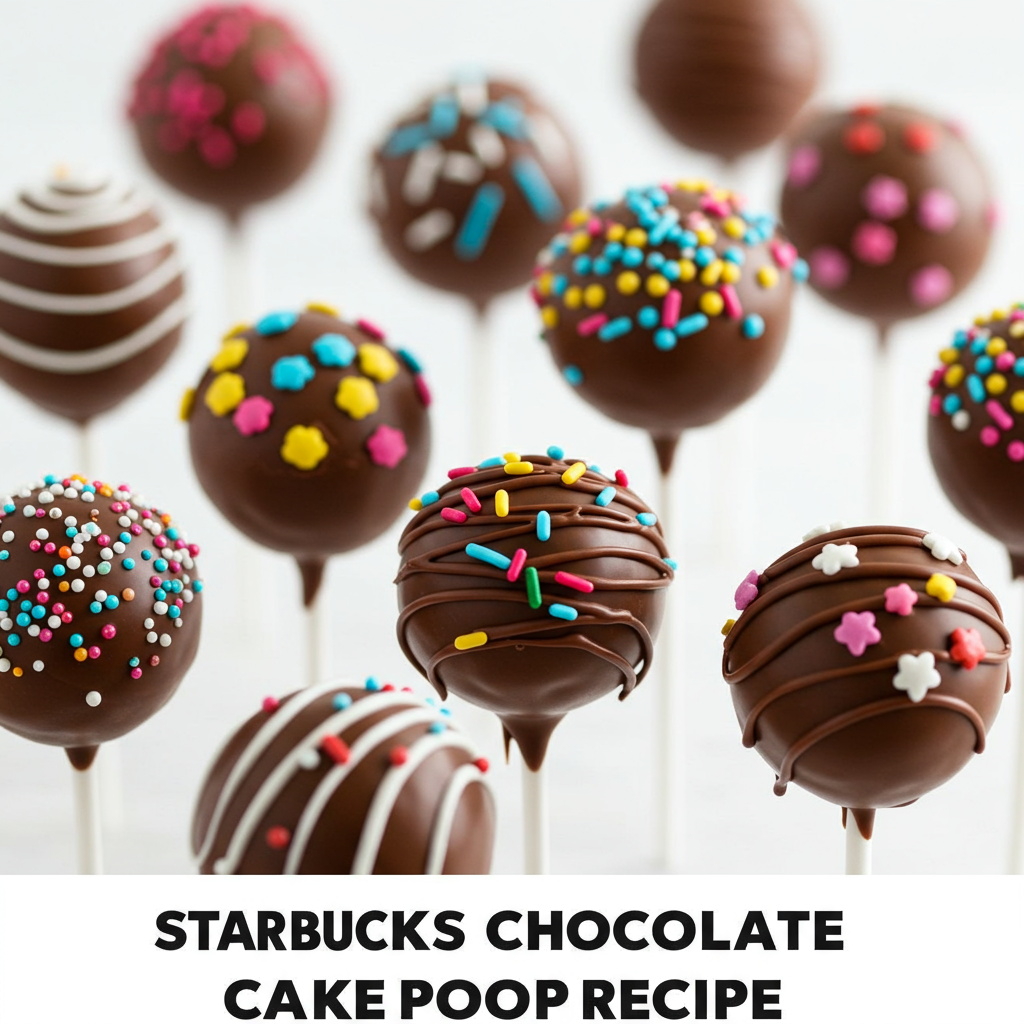
Have you ever walked into a Starbucks and been mesmerized by those perfectly round, delightfully decorated cake pops? They’re little bites of pure joy, and now you can bring that magic right into your own kitchen! This Starbucks Chocolate Cake Pop Recipe is designed specifically for you, whether you’re a seasoned baker or just starting your journey into easy baking recipes.
We’ll walk you through every single step, ensuring your first attempt is a delicious success. Forget complicated techniques; we’re focusing on simplicity and incredible flavor. Get ready to impress your friends and family (or just treat yourself!) with these adorable, fudgy, and utterly irresistible chocolate cake pops. We’ll even share essential baking tips for beginners to make sure you feel confident and capable throughout the process. Let’s get baking!
Ingredients List
Gathering your ingredients is the first step to baking success. Here’s everything you’ll need for these delightful cake pops:
| Ingredient | Quantity | Unit |
|---|---|---|
| Boxed Chocolate Cake Mix | 1 | (15.25 oz) box |
| Eggs | 3 | large |
| Water | 1 1/4 | cups |
| Vegetable Oil | 1/2 | cup |
| Canned Chocolate Frosting | 1 | (16 oz) can |
| Chocolate Melting Wafers | 12-16 | oz |
| White Melting Wafers (for drizzle, optional) | 4-6 | oz |
| Sprinkles | 1/4 | cup |
| Lollipop Sticks | 30-40 | count |
Step-by-Step Instructions: Creating Your Perfect Cake Pops
Follow these detailed steps carefully, and you’ll be enjoying homemade Starbucks-style cake pops in no time. Don’t worry, we’ve included plenty of tips for beginners!
Step 1: Bake the Cake
First things first, let’s get that cake baked! This is the foundation of our cake pops.
- Preheat Oven & Prepare Pan: Preheat your oven to the temperature specified on your chocolate cake mix box (usually 350°F / 175°C). Lightly grease and flour a 9×13 inch baking pan, or line it with parchment paper for easy removal.
- Mix Ingredients: In a large mixing bowl, combine the boxed chocolate cake mix, eggs, water, and vegetable oil. Use an electric mixer on low speed to moisten the ingredients, then increase to medium speed and beat for 2 minutes. Make sure to scrape down the sides of the bowl with a spatula to ensure everything is well combined.
- Bake: Pour the batter into your prepared baking pan and spread it evenly. Bake according to the package directions, typically 28-33 minutes.
- Check for Doneness: To check if your cake is done, insert a toothpick into the center. If it comes out clean, your cake is ready! If there’s wet batter, bake for a few more minutes and check again.
- Cool Completely: This step is CRUCIAL for cake pops. Remove the cake from the oven and let it cool in the pan for about 10-15 minutes before inverting it onto a wire rack to cool completely. Beginner Tip: Do not rush this! A warm cake will make your cake pop mixture too soft and messy. It should be room temperature or even slightly cool to the touch.
Step 2: Crumble the Cake
Now for the fun part – getting our cake ready for its new form!
- Break it Down: Once your cake is completely cool, transfer it to a large mixing bowl. Using your hands, begin to crumble the cake into very fine crumbs. You want to break up any large chunks until it resembles coarse sand or fine dirt. The finer the crumbs, the smoother your cake pops will be.
- Common Mistake & Solution: If your cake isn’t crumbled finely enough, your cake pops will have a lumpy texture. Take your time here! You can even use a fork or a potato masher to help break down larger pieces if needed.
Step 3: Mix with Frosting
This is where the magic happens and your cake crumbs transform into a moldable dough!
- Add Frosting Gradually: Open your can of chocolate frosting. Add about half of the can (approximately 8 oz) to your crumbled cake.
- Mix Thoroughly: Using your hands (the best tools for this!), start mixing the frosting into the cake crumbs. Squeeze and knead the mixture until it comes together like a thick, moldable dough, similar to play-doh.
- Adjust Consistency: If the mixture still feels too dry and crumbly to form a ball, add a little more frosting, about a tablespoon at a time, and continue mixing. Beginner Tip: Be careful not to add too much frosting! This is a common mistake. Too much frosting will make your cake pops too wet, soft, and difficult to handle, causing them to fall off the sticks. The mixture should be firm enough to hold its shape when rolled into a ball without being sticky.
Step 4: Form the Balls
Let’s shape our cake pop masterpieces!
- Scoop & Roll: Use a cookie scoop (about 1.5 tablespoons in size) to portion out uniform amounts of the cake mixture. This helps ensure all your cake pops are roughly the same size and cook evenly.
- Roll Smoothly: Roll each portion between your palms to form a smooth, compact ball. Place the formed cake balls onto a baking sheet lined with parchment paper.
- Yield: You should get between 30-40 cake pops from this recipe, depending on their size.
Step 5: Chill the Balls
Don’t skip this step! Chilling is essential for sturdy cake pops.
- Refrigerate: Place the baking sheet with your formed cake balls into the refrigerator for at least 30 minutes, or in the freezer for 15 minutes.
- Why Chill? This chilling time helps the cake balls firm up, making them much easier to dip without falling apart or getting too soft in the warm coating. It also helps them stay securely on the lollipop sticks.
Step 6: Prepare the Coating
Now for the delicious outer shell!
- Melt Wafers: Place your chocolate melting wafers into a microwave-safe bowl. Microwave in 30-second intervals, stirring well after each interval, until completely melted and smooth. Be careful not to overheat, as this can cause the chocolate to seize or burn.
- Beginner Tip for Melting: If you don’t have a microwave, you can use a double boiler method. Place a heat-proof bowl over a saucepan of simmering water (make sure the bowl doesn’t touch the water). Stir constantly until melted. This method gives you more control and reduces the risk of burning.
- Consistency Check: The melted coating should be smooth and fluid. If it’s too thick, you can add a tiny bit of vegetable oil (1/4 teaspoon at a time) and stir until it reaches the right consistency.
Step 7: Dip and Decorate
This is where your cake pops come to life!
- Secure the Stick: Take one chilled cake ball and one lollipop stick. Dip about 1/2 inch of the lollipop stick into the melted chocolate coating, then immediately insert the coated end of the stick about halfway into the cake ball. The melted chocolate acts as “glue” to secure the stick.
- Chill Again (briefly): Place the cake balls with sticks back into the refrigerator or freezer for 5-10 minutes to allow the “glue” to set. This prevents your cake pops from falling off the stick during the final dip.
- Dip the Cake Pop: Once the sticks are set, take one cake pop at a time. Dip the entire cake pop into the melted chocolate coating. Gently tap the stick against the edge of the bowl to allow any excess chocolate to drip off. Rotate the cake pop slowly as it drips to ensure an even, smooth coat. Common Mistake & Solution: Not letting enough excess drip off will create a “foot” of chocolate at the bottom of your cake pop. Tap patiently!
- Add Sprinkles: Immediately after dipping (while the chocolate is still wet!), apply your desired sprinkles. If you wait too long, the chocolate will set, and the sprinkles won’t stick.
- Set to Dry: Carefully insert the stick into a piece of styrofoam, an upside-down colander, or even a cardboard box with holes poked in it. You can also lay them on parchment paper, but they might develop a flat spot.
- Optional Drizzle: If using white melting wafers for a drizzle, melt them in a separate bowl. Use a spoon or a piping bag with a very small snip in the corner to drizzle lines over the set chocolate cake pops. Let this set as well.
Step 8: Final Chill
Almost there!
- Let Them Set: Allow the cake pops to sit at room temperature or in the refrigerator until the chocolate coating is completely hardened, which usually takes about 15-30 minutes.
Congratulations! You’ve just made your very own Starbucks-style Chocolate Cake Pops!
Tips & Tricks for Perfect Cake Pops
Achieving perfect cake pops can be a bit of an art, but these tips will help you master it:
- Cooling is Non-Negotiable: Always ensure your cake is completely cool before crumbling. Warm cake will make your mixture too soft and difficult to work with, leading to a sticky mess.
- Don’t Over-Frost: When mixing the cake crumbs with frosting, add the frosting gradually. You want just enough to bind the crumbs into a firm, moldable dough. Too much frosting will make the cake pops too soft, causing them to fall off the sticks or sag.
- Chill, Chill, Chill: Chilling your cake balls at every stage (after rolling, after inserting sticks) is crucial. Cold cake balls are firm, less likely to crumble, and easier to dip, preventing them from melting into your warm coating.
- Use Melting Wafers: While chocolate chips can work, melting wafers (also known as candy melts or confectionery coating) are specifically designed for dipping. They melt smoothly, set quickly, and provide a crisp, even shell without tempering.
- Perfect Dipping Technique: When dipping, immerse the cake pop completely. Lift it out, and gently tap the stick against the side of the bowl, rotating the pop, to allow excess coating to drip off. This prevents puddles at the base.
- Temperature Control for Coating: Keep your melted coating warm but not hot. If it cools too much, it will become too thick to dip smoothly. If it’s too hot, it can cause your cake pops to crack or melt. Reheat in short bursts if needed.
- Add Decorations Quickly: Sprinkles, drizzles, or other decorations should be applied immediately after dipping, while the coating is still wet. Once it sets, nothing will stick!
- Storage: Store finished cake pops in an airtight container in the refrigerator for up to one week. You can also freeze them for up to a month, just let them thaw in the fridge before serving.
Essential Baking Tools
Having the right tools makes all the difference, especially when you’re just starting out. Here are some essential items you’ll need for this recipe:
- Mixing Bowl
- Whisk (or electric mixer)
- Baking Pan (9×13 inch)
- Measuring Cups & Spoons
- Spatula
- Parchment Paper
- Cookie Scoop (optional, but highly recommended for uniform size)
- Lollipop Sticks
- Styrofoam block or similar for drying (optional, but very helpful)
Nutrition Info (Estimated per Cake Pop)
Please note that these are estimates based on standard ingredients and yield. Actual values may vary.
| Nutrient | Amount (per cake pop) |
|---|---|
| Calories | 195 kcal |
| Carbohydrates | 28 g |
| Protein | 1.5 g |
| Fat | 11 g |
| Fiber | 0.5 g |
| Sugar | 22 g |
Frequently Asked Questions (FAQs)
Q: My cake pops are falling off the stick, what went wrong?
A: This is a common issue for beginners! There are a few likely culprits: 1) Your cake balls weren’t chilled enough before dipping. 2) You didn’t “glue” the stick in with a bit of melted chocolate first, or didn’t let that glue set. 3) Your cake pop mixture might have too much frosting, making it too soft. Ensure your cake balls are firm and cold, and always use that dab of melted chocolate to secure the stick!
Q: How do I get a smooth coating without lumps or streaks?
A: The key here is properly melted coating wafers (not chocolate chips, which are harder to work with) and careful dipping. Melt your wafers slowly and stir frequently to ensure they’re smooth. When dipping, immerse the cake pop completely, then gently tap and rotate the stick against the edge of the bowl to let excess drip off. Avoid re-dipping if possible, as this can create streaks.
Q: Can I use homemade cake and frosting instead of boxed and canned?
A: Absolutely! This recipe uses boxed and canned ingredients to be beginner-friendly and quick, but homemade cake and buttercream frosting will also work beautifully. Just ensure your homemade cake is completely cooled and crumbled finely, and add the buttercream gradually until you reach that moldable, dough-like consistency.
Q: How long do cake pops last and how should I store them?
A: Cake pops will last for about 5-7 days when stored in an airtight container in the refrigerator. You can also freeze them for up to a month! Just be sure to let them thaw in the fridge for a few hours before serving. Bring them to room temperature for the best texture and flavor.
Q: Why are my cake pops cracking after the chocolate sets?
A: Cracking usually occurs due to a sudden temperature change. If your cake balls are too cold (straight from the freezer, for example) and the melted chocolate coating is too warm, the rapid expansion and contraction can cause the chocolate shell to crack. Try letting your cake balls sit out for 5-10 minutes to take off the extreme chill before dipping, and ensure your chocolate isn’t overheated.
Conclusion
And there you have it – your very own batch of delightful Starbucks Chocolate Cake Pops! We hope this detailed, beginner-friendly guide has demystified the process and shown you just how achievable these sweet treats are. Baking doesn’t have to be intimidating; it’s a journey of delicious discovery, and every cake pop you make is a step in that journey.

Don’t worry if your first few aren’t absolutely perfect – practice makes progress, and they’ll taste amazing no matter what! So go ahead, share these little bundles of joy with loved ones, or simply savor them yourself. We’d love to hear how your cake pops turn out, so feel free to share your creations and experiences in the comments below. Happy baking!