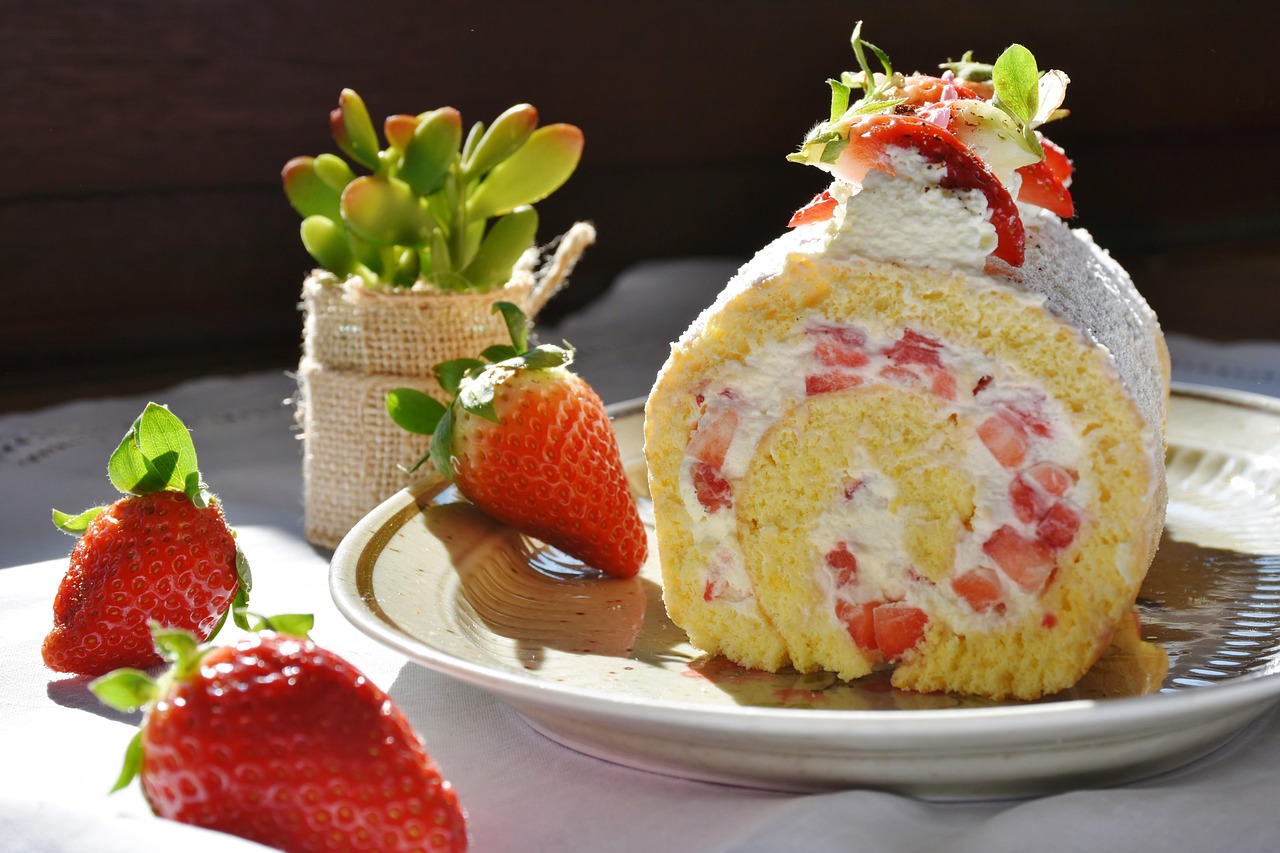

fluffy cake bursting with fresh strawberry flavor. Get ready to impress yourself and your loved ones with a dessert that tastes like a dream and looks like it came straight from a professional bakery! Let’s get baking!
Gather Your Ingredients: What You’ll Need
Before we dive into the delicious details, ensure you have all your ingredients ready and measured. Using room temperature ingredients for the cake and frosting is a game-changer for texture and consistency!
For the Vanilla Cake Layers (Yields Two 8-inch Layers)
| Ingredient | Quantity | Unit |
|---|---|---|
| All-purpose flour | 2 ½ | cups |
| Granulated sugar | 1 ¾ | cups |
| Baking powder | 1 | tablespoon |
| Salt | ½ | teaspoon |
| Unsalted butter (softened) | 1 | cup (2 sticks) |
| Large eggs (room temperature) | 4 | |
| Whole milk (room temperature) | 1 | cup |
| Vanilla extract | 2 | teaspoons |
For the Fresh Strawberry Filling
| Ingredient | Quantity | Unit |
|---|---|---|
| Fresh strawberries (hulled and diced) | 3 | cups |
| Granulated sugar | ½ | cup |
| Cornstarch | 2 | tablespoons |
| Lemon juice (freshly squeezed) | 1 | tablespoon |
For the Vanilla Buttercream Frosting
| Ingredient | Quantity | Unit |
|---|---|---|
| Unsalted butter (softened) | 2 | cups (4 sticks) |
| Powdered sugar (sifted) | 6-8 | cups |
| Whole milk or heavy cream | 4-6 | tablespoons |
| Vanilla extract | 2 | teaspoons |
| Pinch of salt |
Step-by-Step Instructions: Your Path to Cake Perfection
Follow these detailed steps carefully, and you’ll be amazed at what you can create!
Part 1: Baking the Fluffy Vanilla Cake Layers
- Preheat and Prep: Begin by preheating your oven to 350°F (175°C). This is crucial for even baking. Take two 8-inch round baking pans and lightly grease them with butter or baking spray. Then, dust them with a light coating of flour, tapping out any excess. For an extra non-stick guarantee, you can also line the bottoms with parchment paper. Beginner Tip: Don’t skip this step! A well-prepped pan prevents your beautiful cake from sticking.
- Combine Dry Ingredients: In a medium bowl, whisk together the 2 ½ cups of all-purpose flour, 1 tablespoon of baking powder, and ½ teaspoon of salt. Whisking ensures these ingredients are evenly distributed, which is important for the cake’s rise and texture. Set this bowl aside.
- Cream Butter and Sugar: In a large mixing bowl, using an electric mixer (stand mixer with paddle attachment or a hand mixer), beat the 1 cup of softened unsalted butter on medium speed until creamy, about 1-2 minutes. Gradually add the 1 ¾ cups of granulated sugar and continue beating for another 3-5 minutes until the mixture is light and fluffy. This process, called “creaming,” incorporates air, which contributes to a tender cake. Beginner Tip: Ensure your butter is truly softened (not melted!) – it should yield slightly when pressed.
- Add Eggs: Add the 4 large eggs one at a time, beating well after each addition. Make sure each egg is fully incorporated before adding the next. Scrape down the sides of the bowl with a spatula occasionally to ensure everything is mixed evenly.
- Alternate Dry and Wet: With the mixer on low speed, gradually add about one-third of the dry ingredient mixture to the butter-sugar-egg mixture, mixing until just combined. Then, pour in half of the 1 cup of whole milk and mix until just incorporated. Repeat this process: add another third of the dry ingredients, then the remaining milk, and finally the last of the dry ingredients. Mix until everything is just combined and no streaks of flour remain. Crucial Beginner Tip: Do not overmix! Overmixing develops the gluten in the flour, leading to a tough, dense cake. Mix until just combined, then stop.
- Add Vanilla: Stir in the 2 teaspoons of vanilla extract.
- Fill Pans and Bake: Divide the batter evenly between your two prepared 8-inch cake pans. Use a spatula to gently spread the batter to the edges. Bake for 28-35 minutes, or until a wooden skewer or toothpick inserted into the center of the cakes comes out clean. Beginner Tip: Avoid opening the oven door frequently during baking, especially in the first 20 minutes, as this can cause cakes to sink.
- Cooling Process: Once baked, remove the cakes from the oven and let them cool in their pans on a wire rack for about 10-15 minutes. This allows them to firm up slightly. Then, carefully invert them onto the wire rack to cool completely. Important: Do not attempt to frost warm cakes! They will crumble and the frosting will melt. Allow at least 1-2 hours for complete cooling.
Part 2: Crafting the Delicious Strawberry Filling
- Prepare Strawberries: Wash, hull, and dice your 3 cups of fresh strawberries into small, even pieces. Small pieces are easier to spread and eat in a cake.
- Combine Ingredients: In a medium saucepan, combine the diced strawberries, ½ cup of granulated sugar, and 1 tablespoon of lemon juice. The lemon juice brightens the strawberry flavor and helps balance the sweetness.
- Create a Slurry: In a small separate bowl, whisk together the 2 tablespoons of cornstarch with 2 tablespoons of cold water until smooth. This creates a “slurry” that will thicken your filling without lumps.
- Cook the Filling: Place the saucepan over medium heat. Bring the strawberry mixture to a gentle simmer, stirring occasionally. Once simmering, stir in the cornstarch slurry. Continue to cook and stir for 2-3 minutes, or until the mixture has thickened to a jam-like consistency. It should coat the back of a spoon.
- Cool Completely: Remove the filling from the heat and transfer it to a heatproof bowl. Cover it with plastic wrap, pressing the wrap directly onto the surface of the filling to prevent a skin from forming. Let it cool completely in the refrigerator for at least 1-2 hours, or until chilled and firm. Beginner Tip: A warm filling will melt your frosting and make assembly messy. Patience is key!
Part 3: Whipping Up the Silky Vanilla Buttercream Frosting
- Whip the Butter: In a large mixing bowl (using your electric mixer again), beat the 2 cups of softened unsalted butter on medium-high speed for 5-7 minutes, until it’s very light, pale, and fluffy. This aeration makes for a truly luscious frosting. Beginner Tip: This step is critical! Don’t rush it. The butter should almost look white.
- Add Powdered Sugar Gradually: With the mixer on low speed, gradually add the 6-8 cups of sifted powdered sugar, about 1 cup at a time. Mix until each addition is incorporated before adding more. Once all sugar is added, increase speed to medium and beat for another 2-3 minutes. Beginner Tip: Sifting powdered sugar prevents lumps, ensuring a super smooth frosting. If you don’t sift, you’ll feel the sugar granules.
- Add Liquid and Flavor: Pour in the 2 teaspoons of vanilla extract, a pinch of salt, and 4 tablespoons of cold milk or heavy cream. Beat on medium-high speed for 2-3 minutes until the frosting is light and fluffy. If the frosting seems too thick, add the remaining milk/cream (up to 2 tablespoons more), one tablespoon at a time, until you reach your desired consistency. If it’s too thin, add a little more sifted powdered sugar.
- Final Whip: Give the frosting a final whip on medium-high for about 30 seconds to ensure it’s airy and smooth.
Part 4: Assembling Your Masterpiece: The Strawberry Filled Cake
- Level Your Cakes: Once your cake layers are completely cool, use a serrated knife or a cake leveler to carefully level the tops of each cake layer, creating flat surfaces. This ensures your cake stacks evenly. Beginner Tip: You can save the trimmed cake scraps for a little chef’s treat!
- First Layer: Place one leveled cake layer on your serving plate or cake stand. If desired, you can place a few strips of parchment paper under the edges of the cake to keep your serving plate clean during frosting.
- Create a Frosting Dam: Spoon about ¾ cup of buttercream frosting into a piping bag fitted with a round tip (or simply snip off the corner of a Ziploc bag). Pipe a dam (a border) of frosting around the outer edge of the first cake layer. This dam will hold your strawberry filling in place.
- Add Strawberry Filling: Carefully spoon half of the cooled strawberry filling inside the frosting dam on the first cake layer. Spread it evenly.
- Second Layer: Gently place the second leveled cake layer on top of the filling, pressing down lightly to secure it. Repeat the dam and filling process with the remaining strawberry filling.
- Top Layer and Crumb Coat: Place the third (if you made three) or final cake layer on top. Now, apply a thin layer of buttercream all over the entire cake – top and sides. This is called a “crumb coat” and it traps any loose crumbs, preventing them from showing up in your final frosting layer. Crucial Beginner Tip: Don’t worry if it looks messy! This layer isn’t meant to be pretty.
- Chill the Crumb Coat: Place the crumb-coated cake in the refrigerator for 15-20 minutes to allow the frosting to set. This makes applying the final coat much easier.
- Final Frosting: Once the crumb coat is firm, apply the remaining buttercream frosting to the top and sides of the cake. Use an offset spatula or bench scraper to smooth the frosting to your desired finish. Get creative with swirls or smooth edges!
- Decorate (Optional): Garnish with fresh whole or sliced strawberries, or any other decorations you like.
- Serve and Enjoy: Slice and serve your beautiful **Strawberry Filled Cake**! Store any leftovers in an airtight container in the refrigerator for up to 3-4 days.
Tips & Tricks for Baking Success!
Mastering baking is all about understanding a few core principles. Here are some actionable tips to help you on your journey:
- Read the Recipe First: Always read through the entire recipe before you start. This helps you understand the process, gather all necessary ingredients and tools, and avoid surprises mid-bake.
- Measure Accurately: Baking is a science! Use proper measuring cups and spoons. For flour, spoon it into the measuring cup and level it off with a straight edge rather than scooping directly from the bag (which can compact it and lead to too much flour). Even better, use a kitchen scale for precise measurements of dry ingredients.
- Room Temperature Ingredients: For cakes and buttercreams, this is non-negotiable! Room temperature butter creams better with sugar, incorporating more air. Room temperature eggs emulsify more easily, leading to a smoother, more uniform batter. Take them out of the fridge at least 30-60 minutes before you start.
- Don’t Overmix: This is a common beginner mistake! Once you add flour to wet ingredients, mix only until just combined. Overmixing develops gluten, which makes cakes tough and chewy instead of tender and moist.
- Preheat Your Oven: Always preheat your oven for at least 15-20 minutes longer than it takes to reach the set temperature. This ensures the oven is uniformly hot, preventing uneven baking and sunken cakes.
- Cool Cakes Completely: Resist the urge to frost warm cakes! Warm cakes will melt your frosting, turn your cake into a crumbly mess, and ruin your hard work. Patience pays off here.
- Sift Powdered Sugar: For the smoothest buttercream frosting, always sift your powdered sugar. It breaks up any lumps and ensures a silky-smooth texture that’s a joy to spread.
- Patience is a Virtue: Baking takes time and care. Don’t rush steps, especially cooling or chilling. Enjoy the process!
Essential Baking Tools You’ll Love
Having the right tools makes all the difference. Here are a few essentials to get you started:
Nutrition Information (Estimated per Serving)
This information is an estimate based on the ingredients used for 1/12th of the cake.
| Nutrient | Amount |
|---|---|
| Calories | 420 kcal |
| Carbohydrates | 65g |
| Protein | 4g |
| Fat | 18g |
| Fiber | 1g |
| Sugar | 45g |
Frequently Asked Questions (FAQs)
Q1: Can I use frozen strawberries for the filling?
A: Yes, you absolutely can! If using frozen strawberries, there’s no need to thaw them first. They will release more liquid as they cook, so you might need to cook the filling a few minutes longer to achieve the desired thickness, or add an extra ½ tablespoon of cornstarch mixed with water if it’s not thickening enough.
Q2: My cake layers sank in the middle. What went wrong?
A: This is a common issue! It can be caused by several factors: your oven temperature might be too low or too high (get an oven thermometer!), opening the oven door too early, expired baking powder, or overmixing the batter. Ensure your baking powder is fresh and try not to open the oven door during the first 2/3 of the baking time.
Q3: How do I prevent a dry or crumbly cake?
A: The most common culprits for dry cake are overbaking and overmixing. Keep an eye on the baking time and test for doneness with a toothpick – remove the cake as soon as it comes out clean. Also, ensure your ingredients (especially butter and eggs) are at room temperature, as this helps create a more emulsified, moist batter.
Q4: Can I make this cake ahead of time?
A: Definitely! The cake layers can be baked 1-2 days in advance, cooled completely, wrapped tightly in plastic wrap, and stored at room temperature (or frozen for longer). The strawberry filling can be made 2-3 days ahead and stored in an airtight container in the refrigerator. The buttercream can also be made 2-3 days ahead and stored in the fridge, then re-whipped before use. Assemble the cake the day before or day of serving for the freshest taste.
Q5: Why is my buttercream grainy?
A: Grainy buttercream is usually due to undissolved powdered sugar. Always sift your powdered sugar before adding it to the butter. Also, ensure your butter is sufficiently creamed and fluffy before adding the sugar, as this helps it dissolve better. Beating the finished frosting for a few extra minutes can sometimes help smooth it out.
Q6: Can I use a different fruit for the filling?
A: Absolutely! This recipe is versatile. You can easily substitute the strawberries with other berries like raspberries, blueberries, or a mix of berries. Just follow the same filling instructions. You might adjust the sugar slightly depending on the sweetness of the fruit.
Your Delicious Journey Starts Now!
You’ve now got all the knowledge and tools to bake a truly spectacular Strawberry Filled Cake Recipe. Don’t be intimidated; baking is a journey of learning and delicious discovery. Even if your first attempt isn’t perfect, it will still be homemade and full of love – and that’s what truly matters! Each time you bake, you’ll gain more confidence and skill. So, roll up your sleeves, gather your ingredients, and let the delightful aroma of a freshly baked cake fill your kitchen. We can’t wait to hear about your baking success! Happy baking.