Are you craving a slice of something sweet, tangy, and utterly delicious, but without the sugar? You’ve come to the right place! We understand that navigating the world of sugar-free baking can seem daunting, especially for those just starting out. That’s why we’re thrilled to share our incredible Sugar Free Lemon Cake Sliced With Iced Glaze Recipe – a perfect blend of bright lemon flavor and moist, tender cake, topped with a delightful sugar-free glaze. This isn’t just any recipe; it’s one of those Sugar Free Lemon Cake designed specifically with Sugar Free Lemon Cake in mind. Get ready to impress yourself and everyone else with a healthier treat that tastes anything but “sugar-free.” Let’s dive in and make some magic happen in your kitchen!
Ingredients You’ll Need:
Gathering your ingredients before you start is a crucial step for any beginner. This ensures a smooth baking process and prevents last-minute scrambling!
| Ingredient | Quantity | Unit |
|---|---|---|
| For the Sugar-Free Lemon Cake: | ||
| All-Purpose Flour | 2 | cups |
| Baking Powder | 2 | teaspoons |
| Salt | 1/2 | teaspoon |
| Granular Sugar Substitute (e.g., Erythritol/Monk Fruit Blend) | 1 | cup |
| Large Eggs (room temperature) | 3 | |
| Unsweetened Almond Milk (or dairy milk, room temperature) | 1 | cup |
| Vegetable Oil (or melted coconut oil) | 1/2 | cup |
| Lemon Zest (from 2 medium lemons) | 2 | tablespoons |
| Fresh Lemon Juice | 1/4 | cup |
| Vanilla Extract | 1 | teaspoon |
| For the Sugar-Free Iced Glaze: | ||
| Powdered Sugar Substitute (e.g., Erythritol/Monk Fruit Blend) | 1 | cup |
| Fresh Lemon Juice | 2-3 | tablespoons |
| Unsweetened Almond Milk (or water), optional | 1-2 | tablespoons |
Step-by-Step Instructions: Bake Your Perfect Lemon Cake!

Follow these detailed steps carefully. We’ve included beginner tips along the way to ensure your success!
Step 1: Prep Work Makes Dream Work!
Before you even think about mixing, let’s get organized. Preheat your oven to 350°F (175°C). This ensures your oven is at the correct temperature when the cake goes in, preventing uneven baking. Next, prepare a 9×13 inch baking pan. Lightly grease it with butter or cooking spray, then dust it with a little flour, tapping out any excess. This creates a non-stick surface and helps your cake release cleanly. Alternatively, you can line the bottom with parchment paper for extra easy removal – a great trick for beginners!
Beginner Tip: Ensure your eggs and milk are at room temperature. This helps them incorporate better with other ingredients, creating a smoother batter and a more tender cake texture. If you forgot, you can quickly warm eggs by placing them in a bowl of warm (not hot!) water for 5-10 minutes. For milk, microwave it for 15-20 seconds.
Step 2: The Dry Mix Magic
In a large mixing bowl, whisk together the all-purpose flour, baking powder, and salt. Whisking these dry ingredients together thoroughly ensures that the leavening agent (baking powder) is evenly distributed throughout the flour. This is crucial for an even rise and consistent texture in your cake. If you have a fine-mesh sieve, you can even sift these ingredients together for an extra light texture – a pro tip that’s easy for beginners to adopt!
Common Mistake & Fix: Not mixing dry ingredients enough can lead to pockets of baking powder in your cake, resulting in an uneven rise or bitter spots. Take your time with this step!
Step 3: Whisking the Wet Wonders
In a separate, medium-sized bowl, combine your granular sugar substitute, room temperature eggs, unsweetened almond milk, vegetable oil, lemon zest, fresh lemon juice, and vanilla extract. Whisk these ingredients together until they are well combined and the sugar substitute has mostly dissolved. The lemon zest is where a lot of that bright, fresh lemon flavor comes from, so don’t skip it! Use a microplane grater for the best results, grating only the yellow part of the lemon peel.
Beginner Tip: When zesting, make sure to only remove the yellow outer skin, not the bitter white pith underneath. For the lemon juice, always use fresh – it makes a huge difference in flavor compared to bottled!
Step 4: Combining Wet and Dry (The Right Way!)
Now, it’s time to bring the two mixtures together. Gradually pour the wet ingredients into the dry ingredients. Using a rubber spatula or a wooden spoon, gently fold them together until just combined. The key here is not to overmix! Overmixing develops the gluten in the flour too much, which can result in a tough, dense, and dry cake. A few small lumps are perfectly fine and will disappear during baking.
Common Mistake & Fix: Overmixing is one of the most common reasons cakes turn out tough or dry. Stop mixing as soon as you see no more streaks of dry flour. Seriously, stop!
Step 5: Baking to Perfection
Pour your beautifully mixed batter into the prepared 9×13 inch baking pan, spreading it evenly with your spatula. Place the pan in your preheated oven. Bake for approximately 25-30 minutes, or until a wooden skewer or toothpick inserted into the center of the cake comes out clean. This clean toothpick test indicates that your cake is fully cooked through.
Beginner Tip: Avoid opening the oven door too early or too frequently, especially during the first 20 minutes of baking. This can cause the cake to deflate or sink in the middle because the sudden temperature change disrupts the delicate structure as it rises.
Step 6: Cooling Down
Once baked, remove the cake from the oven and let it cool in the pan on a wire rack for about 10-15 minutes. This allows the cake to set and firm up before you attempt to move it. After this initial cooling, carefully invert the cake onto the wire rack to cool completely. Allowing the cake to cool completely before glazing is crucial; otherwise, your glaze will melt right off!
Why it’s important: A cake that is glazed while warm will absorb the glaze, making it disappear, or cause the glaze to become thin and runny. Patience is a virtue in baking!
Step 7: Whisking the Iced Glaze
While your cake is cooling, prepare the vibrant sugar-free iced glaze. In a small bowl, combine the powdered sugar substitute and 2 tablespoons of fresh lemon juice. Whisk until smooth. If the glaze is too thick, add the optional unsweetened almond milk (or water) half a tablespoon at a time until you reach a pourable, yet thick, consistency. You want it to be thick enough to cling to the cake but still spread easily.
Beginner Tip: If your glaze is too thin, add a bit more powdered sugar substitute. If it’s too thick, add a few more drops of lemon juice or milk. Adjust gradually until you get the perfect consistency.
Step 8: Glaze and Slice!
Once your cake is completely cool, drizzle or spread the sugar-free iced glaze evenly over the top. Let the glaze set for about 10-15 minutes at room temperature, or a bit longer if you prefer it firmer. Once set, slice your beautiful Sugar Free Lemon Cake Sliced With Iced Glaze Recipe* into squares or rectangles and serve! Enjoy your healthier, homemade treat!
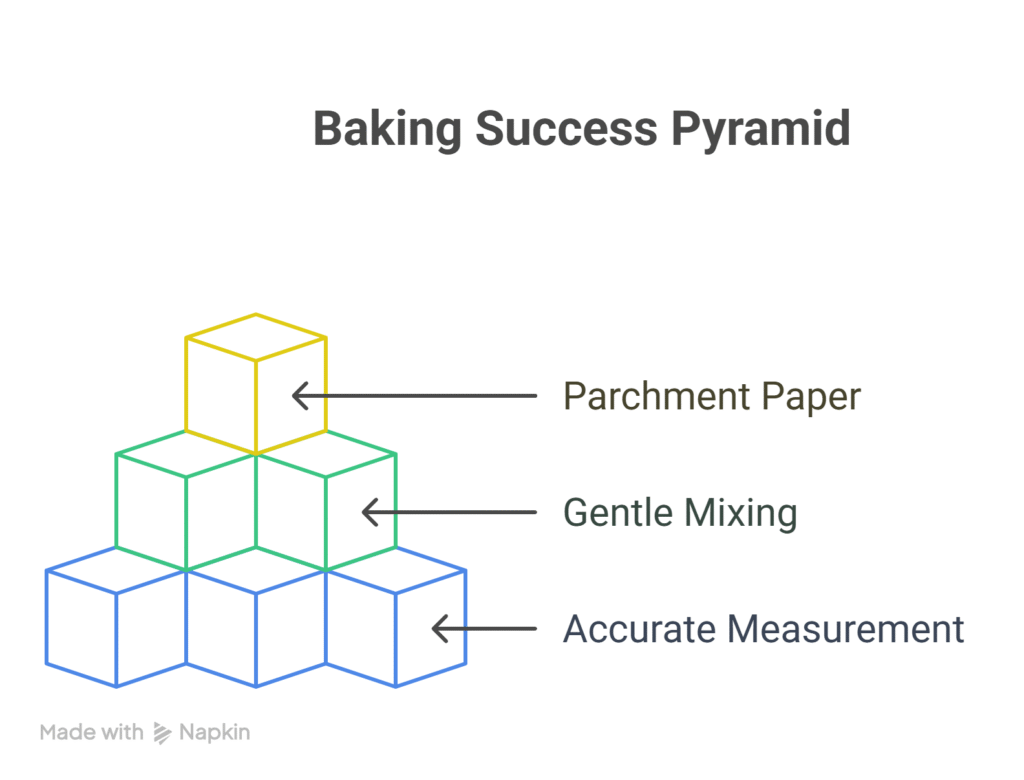
Expert Tips & Tricks for Beginner Bakers
Baking is a science, but with these simple tips, you’ll feel like a pro in no time!
- Room Temperature Ingredients are Key: We mentioned it in the instructions, but it bears repeating! Room temperature ingredients emulsify better, creating a smoother, more uniform batter and a lighter, more tender cake.
- Measure Accurately: Baking is precise! Use proper measuring cups and spoons, and level off dry ingredients with a straight edge. For flour, spoon it into the measuring cup and then level it, rather than scooping directly from the bag (which can compact it and lead to too much flour).
- Don’t Overmix: This is the golden rule for tender cakes. Mix until just combined. Lumps are okay!
- Parchment Paper is Your Friend: Lining your baking pan with parchment paper makes removing the cake incredibly easy and guarantees no sticking. You can cut a piece to fit the bottom of the pan and lightly grease the sides.
- Know Your Oven: Oven temperatures can vary significantly. Investing in an inexpensive oven thermometer can help you ensure your oven is truly at the temperature you set, preventing under or over-baked goods.
- Lemon Zest Technique: For maximum flavor from your lemon zest, rub the zest into the granular sugar substitute with your fingertips before adding wet ingredients. This releases the essential oils and infuses the sugar with intense lemon aroma.
- Storing Your Cake: Store your glazed lemon cake in an airtight container at room temperature for up to 3 days, or in the refrigerator for up to 5 days. If refrigerating, let it come to room temperature before serving for the best texture.
- Adjust Sweetness to Taste: Sugar substitutes vary in their sweetness intensity. Feel free to adjust the amount of granular sweetener in the cake and powdered sweetener in the glaze to suit your personal preference. Always taste a tiny bit of the batter (before adding eggs for safety) or glaze to test sweetness.
Essential Baking Tools for Your Kitchen
Sugar Free Lemon Cake Sliced With Iced Glaze Recipe the right tools makes all the difference, especially when you’re just starting. Here are some basics that will make your baking journey smoother:
- Mixing Bowl (a set with various sizes is very useful!)
- Whisk (both balloon whisk for aerating and flat whisk for mixing)
- Baking Pan (a 9×13 inch pan is versatile for many recipes)
- Measuring Cups (both dry and liquid measuring cups)
- Spatula (rubber spatulas are perfect for scraping bowls and folding)
- Measuring Spoons
- Parchment Paper
- Wire Cooling Rack
- Microplane Grater (for lemon zest)
- Oven Thermometer (optional, but highly recommended for accuracy)
Nutrition Information (Per Slice – Estimated)
Please note: These values are approximate and can vary based on specific brands of ingredients, the type of sugar substitute used, and exact serving size. This estimation is for one of 12 slices from a 9×13 inch cake.
| Nutrient | Amount (Estimated) |
|---|---|
| Calories | 200-220 kcal |
| Total Carbohydrates | 25-30 g |
| Protein | 4-5 g |
| Total Fat | 10-12 g |
| Fiber | 1-2 g |
| Added Sugar | 0 g |
Frequently Asked Questions (FAQs)
Q1: Can I use a different sugar substitute?
Absolutely! You can use your favorite granular sugar substitute. Just be aware that different substitutes have varying sweetness levels and may behave slightly differently in baking. For the glaze, ensure you use a powdered version of your chosen substitute for the best consistency. Always check the conversion ratio on your sweetener’s packaging if it’s not a 1:1 replacement for sugar.
Q2: Why is my cake dry?
A dry cake is often a result of overbaking or using too much flour. Make sure to measure your flour accurately (spoon and level, don’t scoop!) and keep a close eye on the baking time. Start checking for doneness a few minutes before the recommended time. An oven thermometer can also help ensure your oven isn’t running too hot.
Q3: Can I make this cake dairy-free?
Yes, this recipe is already designed to be dairy-free if you use unsweetened almond milk. Just ensure your vegetable oil is dairy-free, and you’re good to go! Most vegetable oils like canola or sunflower are naturally dairy-free.
Q4: How long does the cake last, and how should I store it?
This sugar-free lemon cake will last for about 3 days at room temperature when stored in an airtight container. If you want to extend its freshness, you can store it in the refrigerator for up to 5 days. For the best flavor and texture after refrigeration, allow slices to come to room temperature before serving.
Q5: Do I need to sift the flour?
Sugar Free Lemon Cake Sliced With Iced Glaze Recipe, sifting the flour and other dry ingredients together can lead to a lighter, airier cake texture. It helps to break up any lumps and incorporate air, resulting in a more delicate crumb. If you have a sieve, it’s a simple extra step that can elevate your baking!
Q6: Can I use bottled lemon juice instead of fresh?
We highly recommend using fresh lemon juice for both the cake and the glaze. Fresh lemon juice provides a much brighter, more authentic, and vibrant lemon flavor that bottled juice simply can’t replicate. The difference is truly noticeable and makes the cake sing!
Time to Enjoy Your Masterpiece!
See? Baking a delicious, sugar-free cake doesn’t have to be complicated! You’ve just created a stunning **Sugar Free Lemon Cake Sliced With Iced Glaze Recipe** that’s bursting with flavor and perfect for any occasion – or just a delightful treat for yourself. We hope our detailed steps and **baking tips for beginners** have given you the confidence to dive into the wonderful world of baking. Don’t be afraid to experiment and make this recipe your own!
We’d love to hear how your cake turns out! Share your baking journey and photos in the comments below. Happy baking!
“`
1 thought on “Sugar Free Lemon Cake Sliced With iced Glaze Recipe”