Welcome, fellow food lovers and aspiring bakers! If you’ve ever dreamt of pulling a warm, aromatic loaf of bread from your oven, but felt intimidated by the process, you’re in the right place. This Sun Dried Tomato Bread Recipe is designed specifically for you. Forget complicated techniques and endless steps; we’re going to demystify bread baking and show you just how simple and rewarding it can be.

This isn’t just another one of those easy baking recipes; it’s a journey into creating something truly special with your own hands. We’ll walk you through every stage, providing helpful baking tips for beginners to ensure your success. Get ready to fill your kitchen with the irresistible scent of freshly baked bread, studded with savory sun-dried tomatoes and a hint of olive oil. Let’s bake some magic!
Ingredients You’ll Need
Gather these simple ingredients to create your delicious Sun Dried Tomato Bread. Precision in measuring is key, especially for flour and yeast!
| Ingredient | Quantity | Unit |
|---|---|---|
| Warm Water (105-115°F / 40-46°C) | 1 ½ | cups |
| Active Dry Yeast | 2 ¼ | teaspoons (1 packet) |
| Granulated Sugar | 1 | teaspoon |
| All-Purpose Flour | 3 ½ – 4 | cups |
| Salt | 1 ½ | teaspoons |
| Olive Oil | 2 | tablespoons |
| Sun-Dried Tomatoes (oil-packed, drained & chopped) | ½ | cup |
| Optional: Fresh Rosemary or Thyme (chopped) | 1 | tablespoon |
Step-by-Step Baking Instructions
Follow these detailed steps carefully for a perfect loaf of Sun Dried Tomato Bread. Don’t rush, and enjoy the process!
Step 1: Activate the Yeast (The Magic Begins!)
- In a large mixing bowl (or the bowl of your stand mixer), pour 1 ½ cups of warm water. It’s crucial that the water is between 105-115°F (40-46°C). If it’s too cold, the yeast won’t activate; too hot, and it will kill the yeast. A quick check with a thermometer is ideal, but if you don’t have one, it should feel like a very warm bath – not scalding.
- Sprinkle the 2 ¼ teaspoons of active dry yeast and 1 teaspoon of granulated sugar over the water. The sugar acts as food for the yeast, helping it to activate.
- Gently stir once or twice, then let it sit undisturbed for 5-10 minutes. You’re looking for a foamy, bubbly layer to form on top of the water. This tells you your yeast is alive and ready to work! If you don’t see foam, your yeast might be expired or the water temperature was off. Start over with fresh yeast.
Step 2: Combine Dry Ingredients
- While the yeast is activating, in a separate medium bowl, whisk together 3 ½ cups of all-purpose flour and 1 ½ teaspoons of salt. Whisking helps to evenly distribute the salt and aerate the flour.Beginner Tip: Always ‘spoon and level’ your flour. Use a spoon to scoop flour into your measuring cup, then level off the top with a straight edge (like a knife). Don’t pack the flour down or scoop directly from the bag, as this can add too much flour and result in a dense, dry bread.
Step 3: Mix the Dough
- Once your yeast is foamy, add the 2 tablespoons of olive oil to the yeast mixture.
- Gradually add the flour mixture to the wet ingredients, about a cup at a time, mixing with a sturdy spoon or a dough hook (if using a stand mixer) until a shaggy dough forms. You might not need all 4 cups of flour; the dough should be sticky but pull away from the sides of the bowl.Common Mistake: Adding too much flour too early. A slightly sticky dough is good. You can always add a little more flour during kneading if needed.
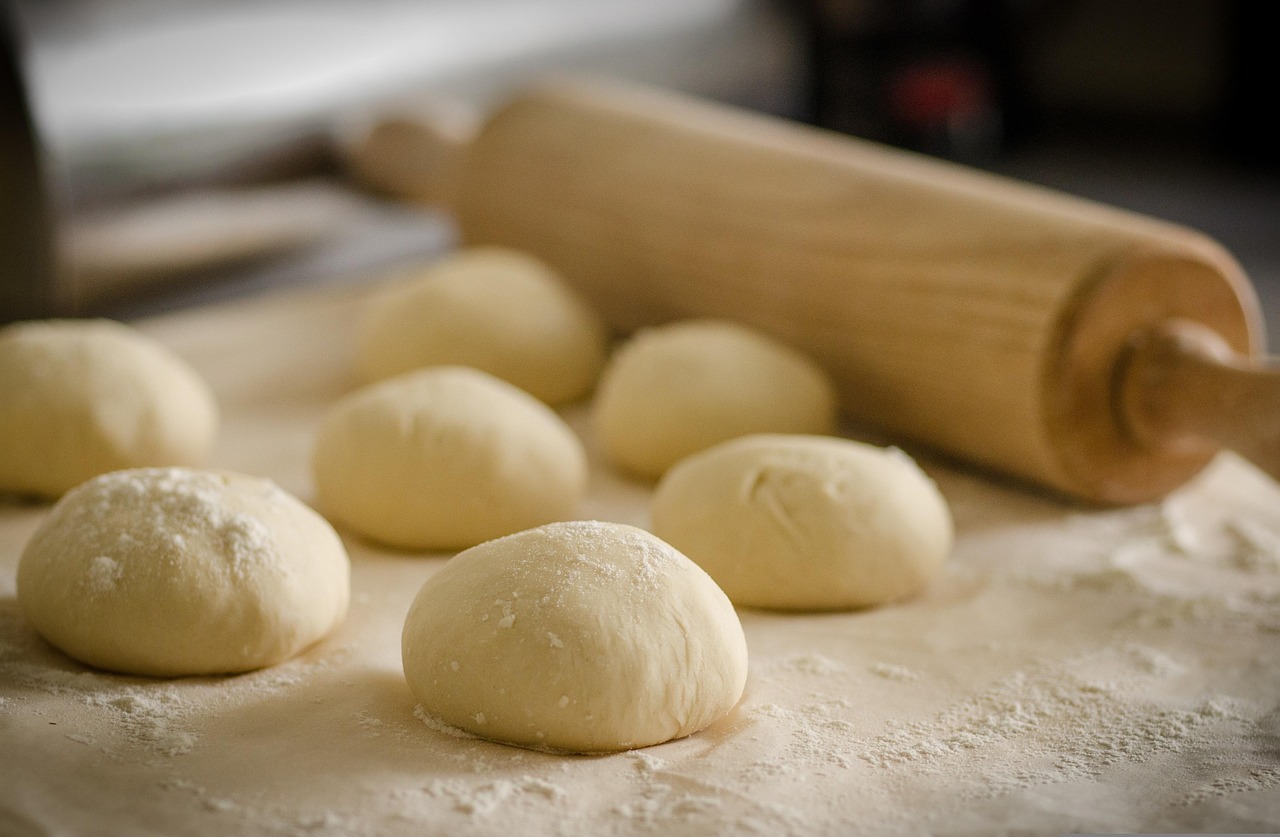
Step 4: Knead the Dough (Develop that Gluten!)
- By Hand: Turn the shaggy dough out onto a lightly floured surface. Begin to knead. This involves pushing the dough away with the heels of your hands, folding it back over, rotating it a quarter turn, and repeating. Continue kneading for 8-10 minutes. The dough should become smooth, elastic, and less sticky.Beginner Tip: Don’t add too much flour while kneading by hand. Just enough to prevent sticking. If the dough feels too wet, add flour a tablespoon at a time. A good test for readiness is the ‘windowpane test’: pull off a small piece of dough and gently stretch it. If you can stretch it thin enough to see light through it without tearing, your gluten is well developed!
- With a Stand Mixer: Attach the dough hook and knead on low speed for 6-8 minutes, or until the dough is smooth, elastic, and clears the sides of the bowl.
Step 5: First Rise (Bulk Fermentation)
- Lightly grease a large clean bowl with a little olive oil. Place the kneaded dough in the bowl, turning it once to coat all sides with oil. This prevents it from drying out.
- Cover the bowl tightly with plastic wrap or a clean kitchen towel.
- Place the bowl in a warm, draft-free spot. A slightly warm oven (turned off, with just the light on) or near a sunny window works well. Let the dough rise for 1 to 1 ½ hours, or until it has doubled in size.Common Mistake: Impatience! The rising time can vary based on your kitchen’s temperature. Don’t rush it. It’s the size, not the clock, that matters.
Step 6: Add the Sun-Dried Tomatoes (and Optional Herbs)
- Once the dough has doubled, gently punch it down to release the air. This step is called “degassing.”
- Turn the dough out onto a lightly floured surface. Flatten it slightly into a rectangle.
- Evenly scatter the ½ cup of chopped sun-dried tomatoes and any optional fresh herbs (like rosemary or thyme) over the dough.
- Fold the dough over itself a few times and knead gently for 1-2 minutes to evenly distribute the tomatoes. Don’t over-knead here, just enough to mix them in.
Step 7: Shape the Loaf
- Lightly grease a 9×5-inch loaf pan.
- Shape the dough into a tight loaf. To do this, gently flatten the dough into a rectangle (about the length of your loaf pan), then roll it up tightly from one of the long sides, pinching the seam closed at the bottom. Tuck the ends under slightly to create a neat shape.
- Place the shaped dough, seam-side down, into the prepared loaf pan.
Step 8: Second Rise (Proofing)
- Cover the loaf pan loosely with plastic wrap or a clean kitchen towel.
- Return the pan to your warm, draft-free spot for another 30-45 minutes, or until the dough has nearly doubled in size again and looks puffy. It should rise about 1 inch above the rim of the pan.Beginner Tip: To test if your dough is ready, gently press a floured finger into the dough. If the indentation springs back slowly, it’s ready. If it springs back immediately, it needs more time. If it collapses, it’s over-proofed (don’t worry, it will still taste good, just be a bit denser).
- Preheat your oven to 375°F (190°C) during the last 15 minutes of the second rise.
Step 9: Bake Your Delicious Bread!
- Once the oven is preheated and the dough has risen, place the loaf pan into the preheated oven.
- Bake for 30-35 minutes, or until the crust is golden brown and the internal temperature of the bread reaches 200-210°F (93-99°C) when measured with an instant-read thermometer.Beginner Tip: If the top is browning too quickly, you can loosely tent it with aluminum foil for the last 10-15 minutes of baking.
Step 10: Cool and Enjoy!
- Once baked