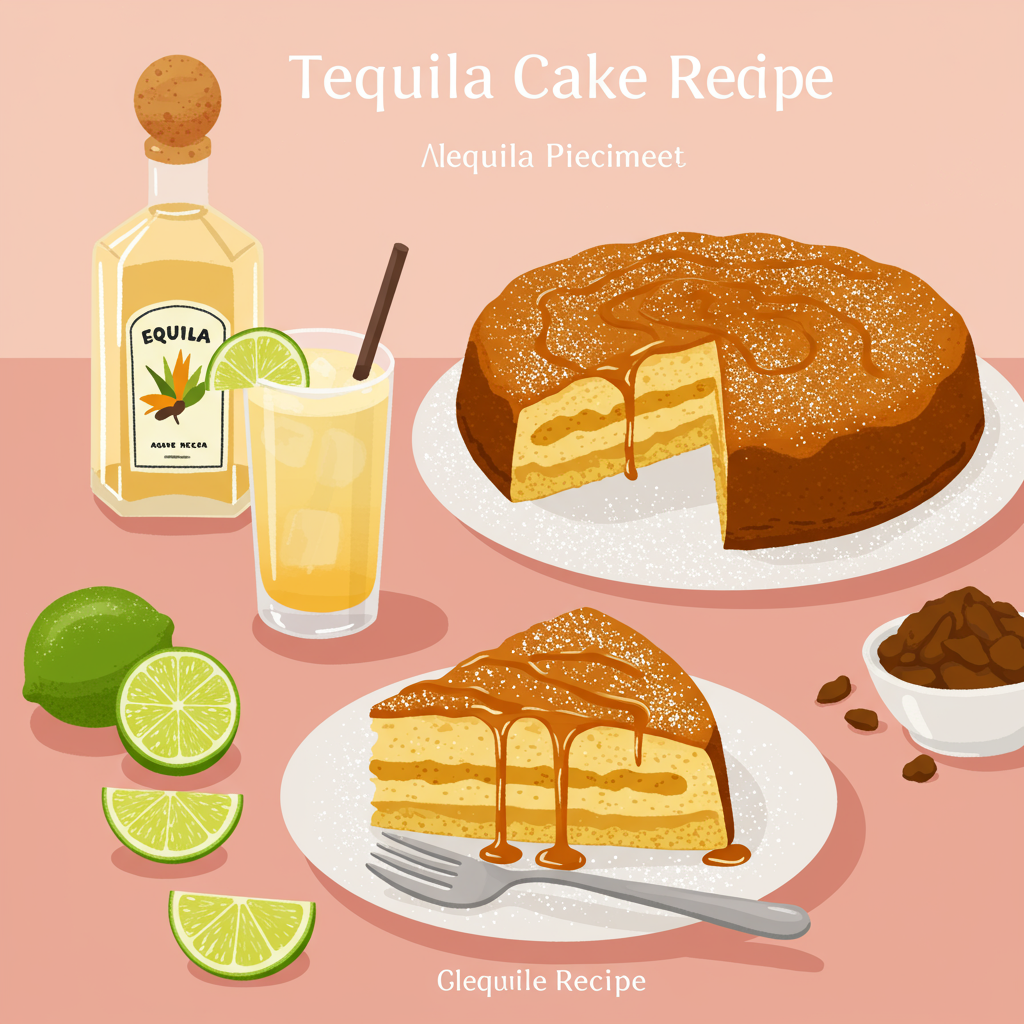
Are you ready to embark on a baking adventure that’s as exciting as it is delicious? Get ready to discover the magic of our Tequila Cake Recipe! This isn’t just any cake; it’s a moist, zesty, and subtly boozy treat that’s surprisingly simple to make, even if you’re just starting your journey into the world of easy baking recipes.
We’ve crafted this guide with baking tips for beginners in mind, ensuring every step is clear, encouraging, and leads to a show-stopping dessert. Forget your fears of complex baking – we’re here to hold your hand through every whisk and pour. Imagine a light, fluffy cake infused with the vibrant notes of lime and a hint of your favorite tequila, all topped with a sweet, tangy glaze. It’s the perfect dessert for parties, special occasions, or just a fun weekend treat. Let’s get baking!
Gather Your Ingredients: What You’ll Need
Before we dive into the fun, let’s make sure you have all your ingredients ready. Having everything measured out and at the right temperature (especially butter and eggs!) makes a huge difference in the final texture of your cake. For best results, use good quality ingredients.
For the Cake:
| Quantity | Unit | Ingredient |
|---|---|---|
| 2 ½ | cups | All-purpose flour (spooned & leveled) |
| 2 | tsp | Baking powder |
| ½ | tsp | Salt |
| 1 | cup | Unsalted butter, softened (2 sticks) |
| 1 ½ | cups | Granulated sugar |
| 4 | large | Eggs, room temperature |
| 1 | tsp | Vanilla extract |
| ½ | cup | Milk, room temperature (any kind) |
| ¼ | cup | Blanco or Reposado Tequila |
| 2 | Tbsp | Fresh lime zest (from 2-3 limes) |
For the Tequila-Lime Soak:
| Quantity | Unit | Ingredient |
|---|---|---|
| ½ | cup | Granulated sugar |
| ½ | cup | Water |
| ¼ | cup | Blanco or Reposado Tequila |
| 2 | Tbsp | Fresh lime juice |
For the Lime Glaze:
| Quantity | Unit | Ingredient |
|---|---|---|
| 1 ½ | cups | Powdered sugar |
| 2-3 | Tbsp | Fresh lime juice |
| 1 | Tbsp | Blanco or Reposado Tequila (optional, for extra kick) |
Step-by-Step Instructions: Bake Your Masterpiece!
Follow these detailed steps carefully, and you’ll have a perfect Tequila Cake in no time. Remember, baking is a science, so precision helps, but don’t be afraid to enjoy the process!
Step 1: Prep for Success (The Foundation!)
- Preheat your oven: Set your oven to 350°F (175°C). It’s crucial for the oven to be at the correct temperature *before* you put your cake in, so it bakes evenly from the start.
- Prepare your baking pan: Take a 9×13 inch baking pan. Lightly grease it with butter or cooking spray, then dust it with flour. Tap out any excess flour. This creates a non-stick barrier and helps your cake release beautifully. Beginner Tip: You can also line the bottom with parchment paper for extra insurance against sticking.
Step 2: Dry Ingredients Unite!
- In a medium bowl, whisk together the flour, baking powder, and salt. Whisking ensures these ingredients are evenly distributed, which is important for the cake’s rise and texture. Beginner Tip: Sifting your dry ingredients is an extra step that makes your cake even lighter and helps prevent lumps.
- Set this bowl aside for now.
Step 3: Creaming the Wet Wonders
- In a large mixing bowl (or the bowl of a stand mixer fitted with the paddle attachment), beat the softened butter and granulated sugar together on medium speed. You want to beat them until the mixture is light, fluffy, and pale yellow, which usually takes about 3-5 minutes. This process, called “creaming,” incorporates air into the batter, making your cake tender.
- Add the eggs: Add the eggs one at a time, beating well after each addition. Make sure each egg is fully incorporated before adding the next. This prevents the batter from curdling and ensures a smooth emulsion.
- Stir in the vanilla extract, lime zest, and ¼ cup Tequila. Mix until just combined. The lime zest adds a wonderful aromatic brightness that complements the tequila perfectly!
Step 4: Alternating for Perfect Texture
- With the mixer on low speed, gradually add about one-third of your dry ingredient mixture to the wet ingredients, mixing until just combined.
- Pour in half of the milk, mixing until just incorporated.
- Repeat this process, adding another third of the dry ingredients, then the remaining milk, and finally the last of the dry ingredients.
- Important for beginners: Mix only until the flour streaks disappear. Do NOT overmix! Overmixing develops the gluten in the flour too much, leading to a tough, dense cake instead of a light, fluffy one. A few small lumps are better than an overmixed batter.
Step 5: Bake Away!
- Pour the cake batter into your prepared 9×13 inch pan and spread it evenly with a spatula.
- Bake for 30-35 minutes, or until a wooden skewer or toothpick inserted into the center comes out clean. Beginner Tip: Avoid opening the oven door too early, especially in the first 20 minutes, as this can cause the cake to sink.
- Once baked, remove the cake from the oven and place it on a wire rack. Let it cool in the pan for about 10-15 minutes.
Step 6: The Tequila-Lime Soak (Flavor Infusion!)
- While the cake is cooling slightly, prepare the soak: In a small saucepan, combine ½ cup granulated sugar and ½ cup water. Bring to a simmer over medium heat, stirring until the sugar dissolves completely.
- Remove from heat and stir in the ¼ cup Tequila and 2 Tbsp fresh lime juice.
- Using the wooden skewer or a fork, poke holes all over the top of the warm cake. These holes will allow the delicious tequila-lime syrup to penetrate deep into the cake, keeping it incredibly moist and flavorful.
- Slowly and evenly pour the warm tequila-lime soak over the entire top of the cake. Let the cake cool completely in the pan on the wire rack. This allows the syrup to fully absorb.
Step 7: The Zesty Lime Glaze
- Once the cake is completely cool (this is important, or your glaze will melt!), prepare the glaze: In a small bowl, whisk together the powdered sugar and 2-3 Tbsp fresh lime juice until smooth. Start with 2 tablespoons of lime juice and add more a tiny bit at a time until you reach your desired consistency – you want it thick enough to coat a spoon, but thin enough to drizzle.
- If you want an extra kick, stir in the optional 1 Tbsp Tequila.
- Drizzle the glaze evenly over the cooled cake. You can use a spoon or a whisk to create pretty drizzles.
- Let the glaze set for about 15-20 minutes before slicing and serving.
Congratulations! You’ve just baked a fantastic Tequila Cake! Slice it up and enjoy your creation.
Tips & Tricks for Beginner Bakers
Baking is an art and a science, and these little nuggets of wisdom will help you achieve perfect results every time, especially as you’re starting out:
- Room Temperature Ingredients are Non-Negotiable: This is arguably the most important tip! Softened butter and room temperature eggs emulsify much better, creating a smoother batter that traps air more efficiently, resulting in a lighter, fluffier cake. Take them out of the fridge at least 30-60 minutes before you start.
- Measure Accurately: Baking relies on precise measurements. For flour, use the “spoon and level” method: spoon flour into your measuring cup until it’s overflowing, then level it off with the back of a knife. Don’t pack it down!
- Don’t Overmix: We said it before, but it bears repeating! Once you add the dry ingredients, mix only until just combined. Overmixing develops gluten, which makes cakes tough and chewy.
- Pan Preparation is Key: Greasing and flouring your pan properly ensures your beautiful cake comes out in one piece. Don’t skip this step!
- Patience, My Friend: Resist the urge to open the oven door frequently, especially during the first two-thirds of baking time, as this can cause the cake to fall. Also, let the cake cool completely before glazing to prevent the glaze from melting into a sticky mess.
- Tequila Type: For a clean, vibrant flavor, use a good quality Blanco (silver) tequila. If you prefer a slightly smoother, aged taste, Reposado works wonderfully too.
- Storage: Store your Tequila Cake in an airtight container at room temperature for up to 3 days, or in the refrigerator for up to 5 days. It actually tastes even better the next day as the flavors meld!
Essential Baking Tools You’ll Need
Having the right tools makes baking much easier and more enjoyable. Here are a few basics we recommend:
- Mixing Bowls (various sizes)
- Whisk
- 9×13 Inch Baking Pan
- Measuring Cups and Spoons
- Rubber Spatula
- Electric Mixer (handheld or stand mixer) – optional but highly recommended!
- Wire Cooling Rack
- Citrus Zester/Grater
Nutrition Information (Approximate per serving)
Please note that these values are estimates and can vary based on specific ingredients and serving size. This recipe yields approximately 12-16 servings.
| Nutrient | Amount |
|---|---|
| Calories | 350-400 kcal |
| Carbohydrates | 50-60 g |
| Protein | 4-5 g |
| Fat | 15-20 g |
| Fiber | 1-2 g |
| Sugar | 30-40 g |
Frequently Asked Questions (FAQs)
Here are some common questions beginners often ask about this recipe:
Q1: Can I make this cake non-alcoholic?
A1: Absolutely! For the cake batter, you can substitute the tequila with an equal amount of milk or orange juice for a different citrus note. For the soak and glaze, replace the tequila with extra lime juice or orange juice. The cake will still be delicious and moist!
Q2: What kind of tequila should I use?
A2: A good quality Blanco (silver) tequila offers a clean, bright flavor that pairs beautifully with lime. Reposado (aged for a short period) can also be used for a slightly smoother, more mellow taste. Avoid “mixto” tequilas that aren’t 100% agave, as they can have a less desirable flavor.
Q3: My cake sank in the middle! What went wrong?
A3: This is a common beginner issue! It’s often due to opening the oven door too early (letting cold air in), overmixing the batter (which creates too much air that then collapses), or an inaccurate oven temperature. Make sure your oven is preheated properly and resist peeking until at least two-thirds of the baking time has passed.
Q4: Can I use a different size pan?
A4: Yes, but you’ll need to adjust baking times. If using two 8 or 9-inch round cake pans, the baking time might be slightly shorter (around 25-30 minutes). For a bundt pan, it might be longer (40-50 minutes). Always use the toothpick test to check for doneness.
Q5: How do I store the Tequila Cake?
A5: Once cooled and glazed, store the cake in an airtight container. It can stay at room temperature for up to 3 days, or in the refrigerator for up to 5 days. Bringing it to room temperature before serving will enhance its flavor and texture.
Conclusion: Your Tequila Cake Journey Begins!
And there you have it – your very own homemade Tequila Cake! We hope this detailed, beginner-friendly guide has demystified the baking process and given you the confidence to create something truly spectacular. Baking is a wonderful skill, and with each attempt, you’ll learn and improve. This cake is not just a dessert; it’s a celebration of flavor, a testament to your newfound baking prowess, and a fantastic conversation starter. Don’t be afraid to experiment, have fun, and most importantly, enjoy every single delicious bite. We can’t wait to hear about your baking success! Happy baking!
“`