Welcome, aspiring bakers! Are you ready to dive into the wonderful world of baking with a recipe that’s as delightful to make as it is to eat? Look no further than this incredible Toto Cake Recipe We know starting out can feel a bit daunting, but we’ve crafted this guide specifically for you. Forget complex techniques and intimidating ingredients; this is one of those truly easy baking recipes that will build your confidence and leave you with a perfectly moist, fluffy, and utterly delicious cake every single time.
Our Toto Cake is a comforting classic – a tender vanilla butter cake topped with a simple, dreamy vanilla buttercream. It’s the perfect canvas for celebrating birthdays, holidays, or just a Tuesday afternoon treat. Follow our detailed baking tips for beginners, and you’ll be a Toto Cake master in no time. Let’s get baking!
Ingredients You’ll Need
Gather your ingredients! Having everything measured and ready before you start is a game-changer for stress-free baking. This is often called “mise en place” in culinary terms, and it’s one of the best habits a beginner baker can adopt!
For the Toto Cake:
| Ingredient | Quantity | Unit |
|---|---|---|
| All-Purpose Flour | 2 | cups |
| Granulated Sugar | 1 ½ | cups |
| Baking Powder | 2 | teaspoons |
| Salt | ½ | teaspoon |
| Unsalted Butter, softened | ½ | cup (1 stick) |
| Large Eggs, room temperature | 2 | |
| Whole Milk, room temperature | 1 | cup |
| Vanilla Extract | 2 | teaspoons |
For the Vanilla Buttercream Frosting:
| Ingredient | Quantity | Unit |
|---|---|---|
| Unsalted Butter, softened | ½ | cup (1 stick) |
| Powdered Sugar (Confectioners’ Sugar) | 3 | cups |
| Whole Milk or Cream | 2-3 | tablespoons |
| Vanilla Extract | 1 | teaspoon |
| Pinch of Salt |
Step-by-Step Instructions: Your Path to a Perfect Toto Cake
Let’s get those hands dirty! Follow these detailed steps, and don’t be afraid to take your time. Baking is a science, but it’s also a joyful process!
Part 1: Preparing the Cake
- Preheat Your Oven & Prep Your Pan: First things first, preheat your oven to 350°F (175°C). This is a crucial step – your oven needs to be at a consistent temperature when the cake goes in. While it’s heating, grab a 9×13 inch baking pan (or two 8-inch round cake pans for a layered cake). Lightly grease the inside of the pan(s) with butter or baking spray. Then, dust it with a little flour, tapping out any excess. This creates a non-stick barrier and ensures your cake slides out beautifully. Beginner Tip: For extra insurance, you can also line the bottom of your pan with parchment paper after greasing.
- Combine Dry Ingredients: In a medium bowl, whisk together the 2 cups of all-purpose flour, 1 ½ cups of granulated sugar, 2 teaspoons of baking powder, and ½ teaspoon of salt. Whisking ensures these ingredients are evenly distributed, which is important for your cake to rise properly. Set this aside.
- Cream Butter and Sugar: In a large mixing bowl, using an electric mixer (or a sturdy whisk and lots of elbow grease!), beat the ½ cup (1 stick) of softened unsalted butter and the remaining ½ cup of granulated sugar together on medium speed. Beat until the mixture is light, fluffy, and pale yellow. This usually takes about 3-5 minutes. This step incorporates air, which is crucial for a light cake texture! Beginner Tip: Ensure your butter is truly softened (not melted!) – it should yield easily to a gentle press. Cold butter won’t cream properly, and melted butter will make your cake dense.
- Add Eggs: Crack your 2 large eggs into the butter mixture, one at a time. Beat well after each addition, scraping down the sides of the bowl with your spatula to make sure everything is incorporated. The mixture might look a little curdled at this point, but don’t worry, that’s normal!
- Alternate Dry and Wet Ingredients: Now it’s time to add the dry ingredients and the wet ingredients (milk and vanilla) in stages. This helps create a smooth batter and prevents overmixing.
- First, add about one-third of your dry ingredient mixture to the butter-egg mixture. Mix on low speed until just combined.
- Next, pour in half of your 1 cup of room temperature whole milk and 2 teaspoons of vanilla extract. Mix on low speed until just combined.
- Repeat: Add another third of the dry ingredients, mix, then the remaining milk, mix.
- Finish: Add the final third of the dry ingredients. Mix on low speed ONLY until just combined and no streaks of flour remain. Crucial Beginner Tip: Do NOT overmix! Overmixing develops the gluten in the flour too much, leading to a tough, dry cake. As soon as the flour disappears, STOP mixing. A few small lumps are better than an overmixed batter.
- Pour and Bake: Pour your beautiful cake batter into your prepared baking pan(s), spreading it evenly with your spatula. Place the pan(s) in the preheated oven.
- For a 9×13 inch pan, bake for 30-35 minutes.
- For two 8-inch round pans, bake for 25-30 minutes.
How to Check for Doneness: The cake is done when a wooden skewer or toothpick inserted into the center comes out clean or with a few moist crumbs attached (but no wet batter!). The top of the cake should be golden brown and spring back lightly when gently touched. Beginner Tip: Resist the urge to open the oven door during the first 20 minutes of baking, as this can cause your cake to sink!
- Cooling Time: Once baked, remove the cake from the oven and let it cool in the pan on a wire rack for about 10-15 minutes. This allows the cake to firm up slightly. Then, carefully invert the cake onto the wire rack to cool completely. It’s essential that the cake is completely cool before you frost it, otherwise, your frosting will melt and slide right off! This can take 1-2 hours.
Part 2: Making the Vanilla Buttercream Frosting
While your cake is cooling, let’s whip up some delicious frosting!
- Cream Butter: In a medium mixing bowl, beat ½ cup (1 stick) of softened unsalted butter with an electric mixer on medium speed until creamy and smooth, about 2 minutes.
- Add Powdered Sugar Gradually: Gradually add the 3 cups of powdered sugar, about ½ cup at a time, mixing on low speed until combined. Once all the sugar is added, increase the speed to medium-high and beat until light and fluffy. This can take 3-5 minutes. Scrape down the sides of the bowl as needed.
- Add Liquid and Flavor: Pour in 1 teaspoon of vanilla extract and a pinch of salt. Now, add the 2-3 tablespoons of whole milk or cream, one tablespoon at a time, until the frosting reaches your desired consistency. You want it to be smooth, spreadable, but not too runny. If it’s too thick, add a tiny bit more milk; if it’s too thin, add a little more powdered sugar.
Part 3: Frosting Your Toto Cake
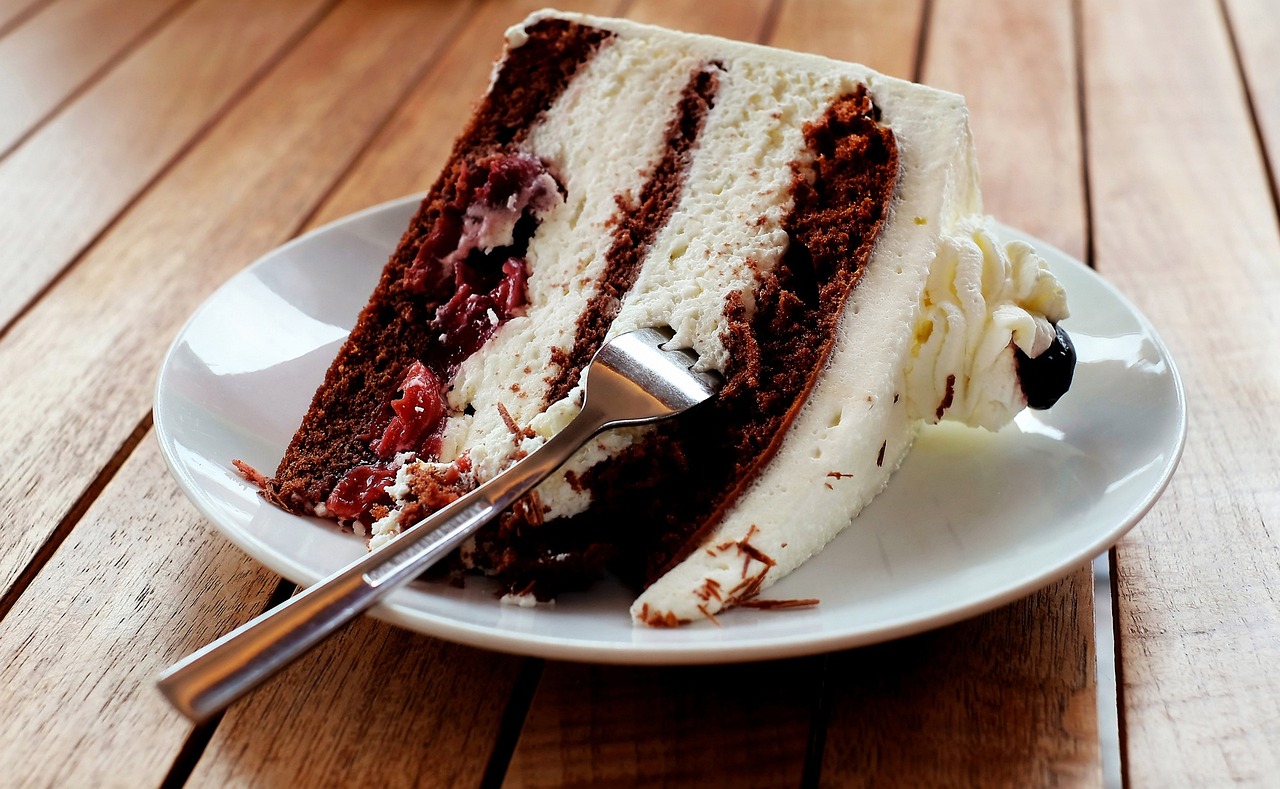
- Frost the Cooled Cake: Once your cake is completely cool, use an offset spatula or a butter knife to spread the vanilla buttercream evenly over the top and sides of the cake. Get creative with your swirls or keep it smooth – it’s your masterpiece!
- Serve and Enjoy!: Slice into your beautiful homemade Toto Cake and enjoy the fruits of your labor!
Tips & Tricks for Beginner Bakers
Baking is a journey, not a race! Here are some extra pointers to help you on your way to becoming a confident baker:
- Room Temperature is Key: For ingredients like butter, eggs, and milk, “room temperature” means they should be between 68-72°F (20-22°C). This allows them to emulsify better, creating a smoother batter and a more uniform texture in your cake. Cold ingredients won’t combine properly, leading to a lumpy batter.
- Measure Accurately: Baking is a science! Use proper measuring cups for dry ingredients (levelled off with a straight edge) and liquid measuring cups for wet ingredients (read at eye level). For even greater accuracy, especially with flour, consider using a kitchen scale.
- Don’t Overmix: We can’t stress this enough! Overmixing develops gluten in the flour, making your cake tough and chewy instead of tender and fluffy. Mix only until the ingredients are just combined.
- Trust Your Oven Thermometer: Oven temperatures can vary wildly from what the dial says. An inexpensive oven thermometer can be a lifesaver, ensuring your oven is truly at the temperature you set, preventing burnt edges or underbaked centers.
- Patience with Cooling: It’s tempting to frost a warm cake, but resist! A completely cooled cake (to the touch, all the way through) is essential for frosting that stays put and doesn’t melt into a sticky mess.
- Read the Entire Recipe First: Before you even get out a single ingredient, read the entire recipe from start to finish. This helps you understand the flow, identify any special equipment, and anticipate upcoming steps, making the whole process much smoother.
Essential Baking Tools
Having the right tools makes all the difference! Here are some basics that will serve you well for this recipe and many more to come:
- Mixing Bowls (a set of various sizes)
- Whisk (for dry ingredients and lighter mixing)
- Electric Hand Mixer (or a stand mixer for ease)
- 9×13 inch Baking Pan (or 2 x 8-inch round cake pans)
- Measuring Cups (dry and liquid)
- Measuring Spoons
- Rubber Spatula (for scraping bowls)
- Wire Cooling Rack
- Offset Spatula (helpful for frosting)
Nutrition Information (Estimated per serving)
This information is an estimate based on 16 servings of the cake with frosting. Actual values may vary.
| Nutrient | Per Serving |
|---|---|
| Calories | 320 kcal |
| Carbohydrates | 50 g |
| Protein | 3 g |
| Fat | 13 g |
| Fiber | 1 g |
| Sugar | 38 g |
Frequently Asked Questions (FAQs)
Q: Can I use oil instead of butter for the cake?
A: While you can technically substitute oil for butter in some cake recipes, it will change the texture and flavor of this Toto Cake. Butter provides a richer flavor and a tender crumb. If you use oil (a neutral-flavored oil like vegetable or canola), your cake might be slightly more moist, but it will lack the classic butter flavor and could be less fluffy. We recommend sticking with butter for the best results in this recipe.
Q: How do I know if my cake is truly done baking?
A: The best way is the toothpick test! Insert a wooden skewer or toothpick into the center of the cake. If it comes out clean or with a few moist crumbs attached (no wet batter), your cake is done. Other signs include the edges pulling away slightly from the pan and the top springing back when gently touched.
Q: Can I make this Toto Cake dairy-free?
A: Yes, with a few substitutions! You can use plant-based butter (like vegan butter sticks) and unsweetened dairy-free milk (such as almond milk or oat milk) for both the cake and the frosting. Ensure your baking powder is aluminum-free if you’re sensitive to that, as some brands can contain dairy derivatives (though most are dairy-free).
Q: How should I store leftover Toto Cake?
A: Store your frosted Toto Cake in an airtight container at room temperature for up to 2-3 days. If you live in a very warm climate or want to extend its freshness, you can store it in the refrigerator for up to 5 days. Just be sure to bring it back to room temperature for about 30 minutes before serving for the best texture and flavor.
Q: My cake sank in the middle! What went wrong?
A: This is a common beginner issue! It usually happens for a few reasons: opening the oven door too early (causing a temperature drop), the oven temperature being too low, using too much leavening (baking powder), or underbaking the cake. Make sure your oven is preheated properly, avoid opening the door during baking, and ensure the cake is fully cooked before removing it.
Conclusion: You Did It!
Congratulations, budding baker! You’ve successfully baked your very own Toto Cake. Wasn’t that a rewarding experience? We hope this detailed guide has demystified the baking process and shown you just how achievable delicious homemade treats can be. Remember, every baker starts somewhere, and practice makes perfect (and even perfectly imperfect cakes are still delicious!).
Don’t be afraid to experiment with different extracts, sprinkles, or even a dash of food coloring in your frosting next time. The kitchen is your playground! Enjoy your fantastic Toto Cake, and keep those aprons on – there are many more delicious adventures ahead!