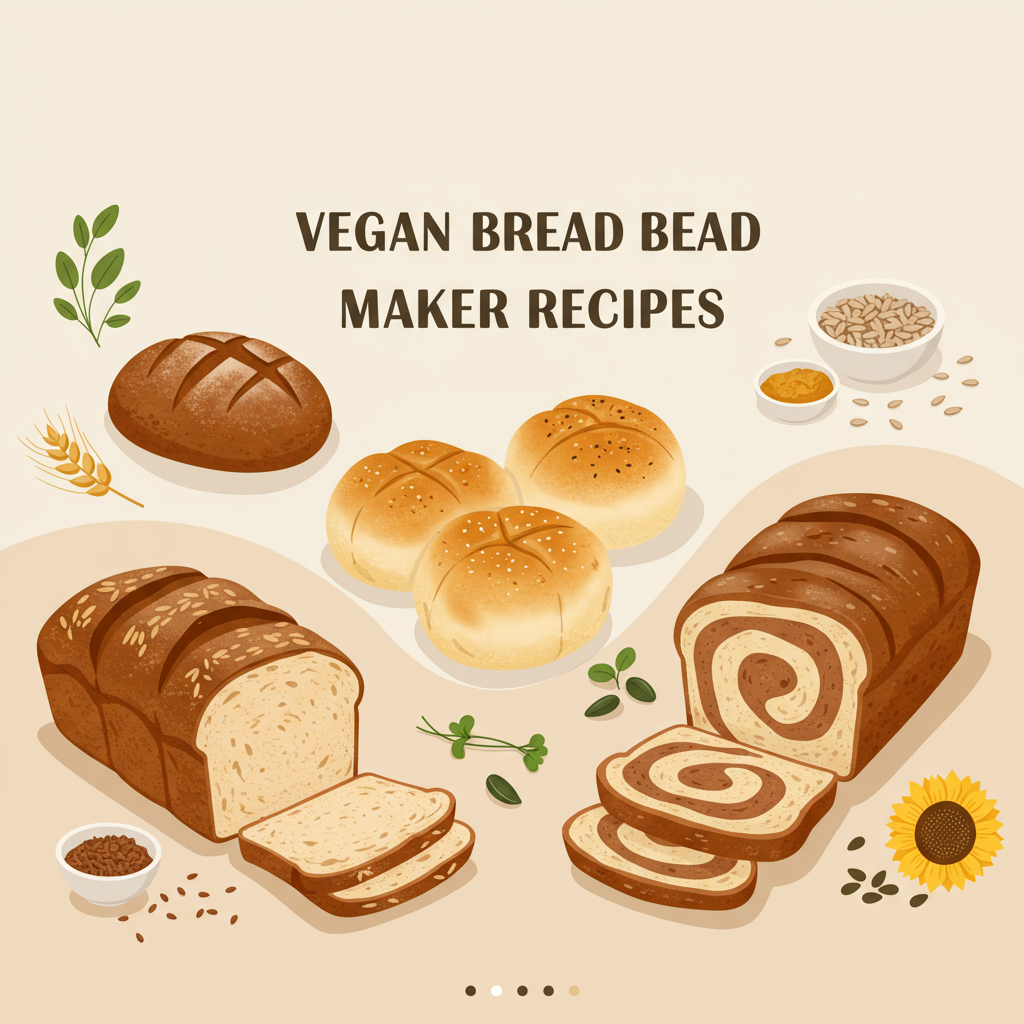
Vegan Bread Maker Recipes: Your Easy Path to Homemade Loaves!
Are you dreaming of waking up to the irresistible aroma of freshly baked bread, but feel intimidated by the thought of kneading, proofing, and baking from scratch? You’re not alone! Many aspiring bakers believe homemade bread is a complex endeavor, especially when navigating dietary preferences like veganism. But what if we told you there’s a simple, foolproof way to enjoy warm, delicious, animal-product-free bread right in your own kitchen? Get ready to discover the magic of **Vegan Bread Maker Recipes**!
This post is specifically designed for beginners, offering **easy baking recipes** that take the guesswork out of bread making. We’ll walk you through every step, providing essential **baking tips for beginners** to ensure your first loaf (and every loaf after!) is a resounding success. Say goodbye to store-bought bread and hello to the incredible satisfaction of baking your own vegan masterpiece with minimal effort. Let’s get started on your delicious journey!
Ingredients List: Simple Vegan White Bread
Precision is key in baking, so make sure to measure your ingredients carefully. These quantities are typically for a 1.5 lb loaf in most standard bread makers.
| Ingredient | Quantity | Unit |
|---|---|---|
| Warm Water (105-115°F / 40-46°C) | 1 ¼ | cups |
| Olive Oil (or other neutral oil like canola) | 2 | tablespoons |
| All-Purpose Flour | 3 | cups |
| Granulated Sugar (ensure vegan) | 2 | tablespoons |
| Salt | 1 ½ | teaspoons |
| Instant Dry Yeast | 2 ¼ | teaspoons |
Step-by-Step Instructions: Your First Vegan Bread Maker Loaf
This recipe is designed to be as straightforward as possible, perfect for those new to baking. Follow these steps for a perfect loaf every time!
Step 1: Gather and Prepare Your Ingredients
Before you even touch your bread maker, ensure all your ingredients are measured out and ready. This is called “mise en place” (everything in its place) and it prevents last-minute scrambling. Remember, baking is a science, so accurate measurements are crucial. Use proper measuring cups and spoons, leveling off dry ingredients with a straight edge like a knife or spatula.
- Warm Water: The temperature of your water is critical for activating the yeast. It should feel warm to the touch, like a baby’s bath, but not hot. Too cold, and the yeast won’t activate; too hot, and it will kill the yeast. Aim for 105-115°F (40-46°C). If you don’t have a thermometer, a quick test is: if you can comfortably keep your finger in it for 10 seconds, it’s probably just right.
- Flour: For bread makers, it’s best to spoon your flour into the measuring cup and then level it off. Don’t scoop directly from the bag, as this can compact the flour and result in too much flour, leading to a dense, dry loaf.
- Yeast: Make sure your yeast is fresh! Old yeast is a common culprit for bread that doesn’t rise. We’ll cover how to test it in the tips section.
Step 2: Load Your Bread Maker Pan (The Right Order Matters!)
The order in which you add ingredients to your bread maker pan is surprisingly important. This prevents the yeast from activating too early or coming into direct contact with salt, which can inhibit its growth. Most bread makers follow this general rule:
- Liquids First: Pour the warm water into the bread maker pan.
- Add Oil: Drizzle the olive oil directly on top of the water.
- Dry Ingredients (Except Yeast): Carefully add the all-purpose flour, making sure it covers the liquid. Then, add the granulated sugar and salt. It’s a good practice to place the salt in one corner of the pan and the sugar in another, creating small “wells” to keep them away from the yeast for a little longer.
- Yeast Last: Make a small indentation or “nest” on top of the flour (away from the salt and sugar) and carefully spoon the instant dry yeast into it. This ensures the yeast stays dry and separate until the mixing cycle begins.
Common Mistake & Fix: If your bread often turns out dense, check your ingredient order. Salt can kill yeast on contact, so keeping them separate until mixing starts is crucial.
Step 3: Select Your Bread Maker Settings
Once your ingredients are loaded, securely place the pan back into your bread maker. Close the lid and select the appropriate settings:
- Cycle: Choose the “Basic” or “White Bread” cycle. This is the standard setting for most common loaves and includes all the necessary kneading, rising, and baking phases.
- Loaf Size: Select the “1.5 lb” setting, as our recipe is scaled for this size.
- Crust Color: Choose your preferred crust color – “Light,” “Medium,” or “Dark.” For your first loaf, “Medium” is usually a good starting point.
Now, simply press “Start” and let your bread maker do all the hard work!
Step 4: Monitor the Dough (Optional but Recommended for Beginners)
Most bread makers have a “knead” cycle. About 5-10 minutes into this cycle (or when you hear it vigorously mixing), you can lift the lid briefly to check the dough’s consistency. This is a great **baking tip for beginners** to learn what properly hydrated dough looks like:
- Perfect Dough: It should form a smooth, round ball that cleans the sides of the pan. It will be slightly sticky to the touch but manageable.
- Too Dry/Crumbly: If the dough looks like a lumpy mess and isn’t forming a ball, it’s too dry. Add water, one teaspoon at a time, allowing it to mix for a minute before adding more, until the desired consistency is reached.
- Too Wet/Sticky: If the dough is very sticky and slumping, clinging to the sides of the pan, it’s too wet. Add flour, one teaspoon at a time, allowing it to mix, until it forms a smooth ball.
Why this check? Humidity, flour type, and exact measurements can sometimes vary. A quick adjustment now can save your loaf!
Step 5: The Waiting Game & The Magical Transformation
Once you’ve set your bread maker and made any necessary adjustments, resist the urge to open the lid again! The machine will now proceed through several phases:
- Kneading: Develops the gluten in the flour, giving bread its structure.
- Rising (Proofing): The yeast produces carbon dioxide, causing the dough to expand and become airy. There are usually 1-2 rise cycles.
- Punch Down: Some cycles include a brief punch down after the first rise to redistribute yeast and gases.
- Baking: The heat transforms the dough into a golden-brown loaf with a delicious crust.
Your kitchen will fill with an amazing aroma – that’s your cue that something wonderful is happening!
Step 6: Remove and Cool Your Loaf
When the bread maker beeps, signaling the end of the cycle, carefully remove the pan. Use oven mitts, as it will be very hot. Immediately invert the pan onto a wire cooling rack and gently shake or tap until the loaf slides out. If the kneading paddle is stuck in the bottom of the loaf, you can carefully remove it once the bread has cooled slightly.
Crucial Step: Let the bread cool completely on the wire rack for at least 1-2 hours before slicing. This is perhaps one of the most important **baking tips for beginners** and often overlooked! While it’s tempting to cut into that warm, fragrant loaf, cooling allows the internal structure of the bread to set and steam to escape. Slicing too early can result in a gummy texture and a denser crumb.
Step 7: Slice, Enjoy, and Store!
Once completely cool, slice your fresh vegan bread with a serrated knife. Enjoy it as toast, sandwiches, or simply with a spread of vegan butter. Store leftover bread in an airtight container or bread bag at room temperature for up to 3-4 days. For longer storage, slice the cooled loaf and freeze the slices in a freezer-safe bag. You can then pop them directly into a toaster!
Tips & Tricks for Bread Maker Success
Mastering your bread maker is easy with a few simple guidelines. Here are some actionable **baking tips for beginners** to elevate your bread-making game:
- Always Measure Accurately: Baking is a science. Use proper measuring cups and spoons, leveling off dry ingredients. A kitchen scale can provide even more accuracy, especially for flour.
- Check Yeast Freshness: If your bread doesn’t rise, old yeast is often the culprit. To test, dissolve 1 teaspoon of sugar in ½ cup of warm water (105-115°F). Stir in 2 ¼ teaspoons of yeast. Let it sit for 5-10 minutes. If it becomes foamy and bubbly, your yeast is active and ready to use!
- Water Temperature is Key: As mentioned, too cold inhibits yeast, too hot kills it. Use a thermometer or the finger test.
- Stick to the Ingredient Order: Follow the liquids, dry (salt/sugar away from yeast), then yeast order. It truly makes a difference.
- Don’t Open the Lid During Rising/Baking: Opening the lid during the rising cycles can cause the dough to collapse due to temperature change. During baking, it can affect the crust and internal temperature.
- Cool Completely: This bears repeating! Patience is a virtue when it comes to cooling bread. It improves texture and flavor significantly.
- Clean Your Bread Maker: Regularly clean the pan and paddle to prevent buildup and ensure smooth operation.
- Experiment (Once You’re Confident!): Once you’ve mastered this basic recipe, feel free to experiment with different vegan flours (e.g., a small portion of whole wheat), seeds (sunflower, flax), or herbs. But for your first few loaves, stick to the recipe!
Essential Baking Tools
While your bread maker does most of the heavy lifting, a few basic tools will make your baking experience even smoother. Here are some essentials, with links to help you find them:
- Mixing Bowl (for prep and testing yeast)
- Whisk (for light mixing or dissolving sugar)
- Wire Cooling Rack (essential for cooling your loaf)
- Measuring Cups (for liquids and dry ingredients)
- Measuring Spoons (for salt, sugar, and yeast)
- Spatula or bench scraper (for leveling flour, or helping dough if needed)
- Kitchen Scale (optional, but highly recommended for accuracy)
- Kitchen Thermometer (for water temperature)
Nutrition Information (per slice, estimated for 16 slices per loaf)
This is an estimation and can vary based on exact ingredients and loaf size. A typical slice of homemade vegan white bread offers a good balance of energy.
| Nutrient | Amount |
|---|---|
| Calories | 110 kcal |
| Carbohydrates | 21 g |
| Protein | 3 g |
| Fat | 2 g |
| Fiber | 1 g |
| Sugar | 1 g |
Frequently Asked Questions (FAQs) for Beginner Bakers
1. What if my dough looks too wet or too dry during the kneading cycle?
Don’t panic! This is a common issue and easily fixable. If it’s too wet (sticky, slumping, clinging to the sides), add flour one teaspoon at a time, allowing it to incorporate before adding more. If it’s too dry (crumbly, not forming a ball), add warm water one teaspoon at a time. Make adjustments slowly, as a little goes a long way!
2. Can I substitute the granulated sugar?
Yes, you can! While granulated sugar helps feed the yeast and contributes to browning, you can use other vegan sweeteners. Agave nectar, maple syrup, or even brown sugar can be used, typically in similar amounts. Keep in mind that liquid sweeteners might slightly alter the dough’s consistency, so you might need to adjust the flour slightly.
3. How long does this homemade bread stay fresh?
Homemade bread, without preservatives, typically stays fresh for about 3-4 days when stored in an airtight container or bread bag at room temperature. For longer storage, you can slice the cooled bread and freeze it for up to 2-3 months. Just pop a slice directly into the toaster when you’re ready to enjoy!
4. My bread didn’t rise, what went wrong?
Several factors can cause a lack of rise. The most common culprits are old or inactive yeast, water that was too hot (killing the yeast) or too cold (not activating it), or an incorrect measurement of salt coming into direct contact with the yeast. Always check your yeast’s freshness and ensure water temperature is correct.
5. Do I really need to let it cool completely before slicing?
Absolutely, yes! This is one of the most important **baking tips for beginners**. When bread comes out of the oven, it’s still cooking internally, and steam is trapped inside. Cooling allows this steam to dissipate, the internal structure to set, and the starches to firm up. Slicing hot bread often results in a gummy, doughy texture inside and can make it harder to slice cleanly.
Conclusion: Your Delicious Vegan Bread Journey Starts Now!
Congratulations! You’ve just unlocked the secret to effortlessly baking your own delicious, warm, and wholesome vegan bread. Using a bread maker transforms what might seem like a daunting task into a simple, enjoyable process. There’s truly nothing quite like the smell and taste of fresh, homemade bread, and with these **Vegan Bread Maker Recipes**, you’re set for success.
Don’t be afraid to try this recipe. Remember, every baking journey starts with a single loaf, and your bread maker is your best friend in this adventure. We hope these **easy baking recipes** and **baking tips for beginners** empower you to create amazing things in your kitchen. So go ahead, gather your ingredients, set your machine, and prepare to impress yourself and everyone around you with your new baking prowess. Happy baking!
“`