Have you ever found yourself staring at your vanilla extract bottle, wondering, What Happens If I Add Vanilla To A Bread Recipe You’re not alone! It’s a fantastic question that opens the door to a surprisingly delicious and aromatic twist on a classic staple. While vanilla is often associated with sweet treats like cakes and cookies, incorporating it into a savory or lightly sweetened bread can elevate your baking experience to a whole new level. This isn’t about making a dessert bread, but rather infusing your everyday loaf with a subtle warmth and enticing aroma that will make your kitchen smell incredible.
This recipe is designed to be one of those truly easy baking recipes, perfect for anyone just starting their journey into the wonderful world of bread making. We’ll walk through every step, providing valuable baking tips for beginners to ensure your success. Get ready to transform simple ingredients into a fragrant, golden-brown loaf that’s perfect for toast, sandwiches, or simply enjoying fresh from the oven!
Ingredients You’ll Need
Gather your ingredients! Precision is key in baking, so make sure to measure everything accurately.
| Ingredient | Quantity |
|---|---|
| Warm Water (105-115°F / 40-46°C) | 1 ½ cups |
| Active Dry Yeast | 2 ¼ teaspoons (1 packet) |
| Granulated Sugar | 2 tablespoons |
| All-Purpose Flour | 3 ½ – 4 cups |
| Salt | 1 ½ teaspoons |
| Vanilla Extract (pure preferred) | 1 ½ teaspoons |
| Unsalted Butter (melted, for brushing) | 1 tablespoon |
Step-by-Step Instructions for Your Vanilla-Kissed Loaf
Follow these detailed steps carefully, and you’ll be enjoying your homemade vanilla bread in no time!
Step 1: Activate the Yeast (The Foundation of Great Bread!)
- In a large mixing bowl, combine the warm water (ensure it’s not too hot, which can kill the yeast, or too cold, which won’t activate it) and granulated sugar. Stir until the sugar dissolves.
- Sprinkle the active dry yeast over the water. Do not stir it in immediately. Let it sit for 5-10 minutes.
- Beginner Tip: You’ll know your yeast is active if it becomes foamy and bubbly on the surface. If it doesn’t foam, your water might have been too hot or too cold, or your yeast may be old. It’s best to start over with fresh yeast and correct water temperature.
Step 2: Mix Your Dough
- Once the yeast is foamy, add 1 ½ teaspoons of salt and 1 ½ teaspoons of vanilla extract to the bowl. Stir gently to combine.
- Gradually add the all-purpose flour, one cup at a time, mixing with a sturdy spoon or a dough hook on a stand mixer.
- Beginner Tip: Start with 3 ½ cups of flour. The dough might seem sticky at first, which is perfectly normal. Add the remaining ½ cup of flour slowly, only if needed, until the dough comes together and pulls away from the sides of the bowl. It should be soft but not overly sticky.
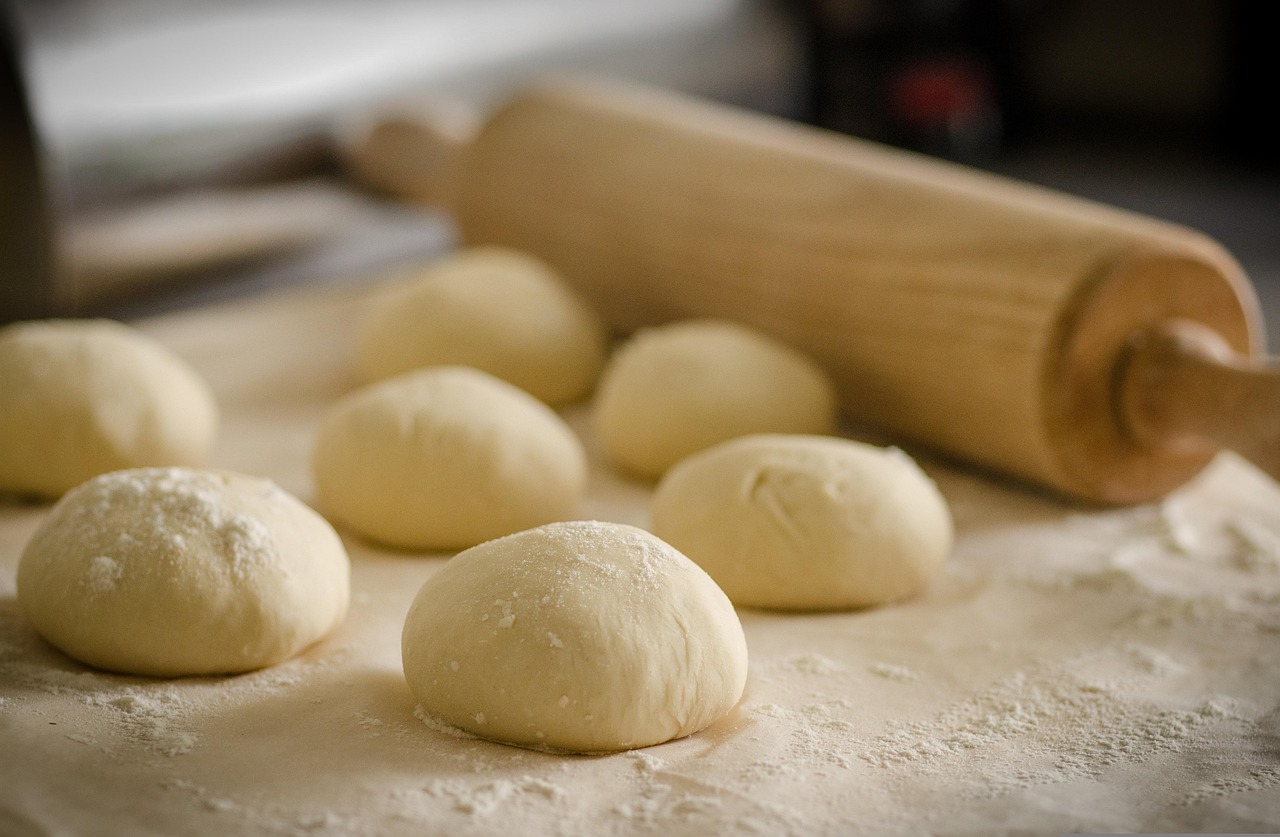
- Once the dough forms, turn it out onto a lightly floured surface.
Step 3: Knead the Dough (The Muscle Work!)
- Knead the dough for 8-10 minutes until it’s smooth and elastic.
- How to Knead: Push the dough away from you with the heels of your hands, fold it back over, turn it a quarter turn, and repeat. If it’s too sticky, lightly flour your hands and the surface, but try not to add too much extra flour, as this can make your bread dry.
- Beginner Tip: The “windowpane test” is a great way to check if your dough is properly kneaded. Pinch off a small piece of dough and gently stretch it. If you can stretch it thin enough to see light through it without tearing, it’s ready!
Step 4: First Rise (The Magic Happens Here!)
- Lightly grease a large bowl with a little oil (vegetable, olive, or canola oil works well).
- Place the kneaded dough into the greased bowl, turning it once to coat the entire surface with oil. This prevents it from drying out.
- Cover the bowl tightly with plastic wrap or a clean kitchen towel.
- Place the bowl in a warm, draft-free spot. A slightly warm oven (turned off, with just the pilot light or after running for a minute and turned off) is ideal.
- Let the dough rise for 1-1 ½ hours, or until it has doubled in size. This is crucial for a light and airy texture.
- Common Mistake & Alternative: If your dough isn’t rising, your yeast might be inactive, or your environment might be too cold. Try moving it to a warmer spot. If it still doesn’t rise after a long time, the yeast may be dead, and you might need to start over.
Step 5: Shape the Loaf
- Once doubled, gently “punch down” the dough to release the air. This isn’t aggressive; just gently deflate it.
- Turn the dough out onto a lightly floured surface.
- Shape the dough into a loaf. For a classic sandwich loaf, flatten the dough into a rectangle, then roll it up tightly from one of the longer sides, pinching the seam closed. Tuck in the ends.
- Lightly grease a 9×5 inch loaf pan.
- Place the shaped dough seam-side down into the prepared loaf pan.
Step 6: Second Rise (Building Structure!)
- Cover the loaf pan loosely with plastic wrap or a clean kitchen towel.
- Return the pan to your warm, draft-free spot.
- Let it rise for another 30-45 minutes, or until the dough has again nearly doubled in size and extends slightly over the rim of the pan.
- Beginner Tip: This second rise is important for the final texture and volume of your bread. Don’t rush it!
Step 7: Bake Your Vanilla Bread!
- While the dough is on its second rise, preheat your oven to 375°F (190°C).
- Once the oven is preheated and the dough has risen, carefully place the loaf pan into the preheated oven.
- Bake for 30-35 minutes, or until the crust is golden brown and the internal temperature reaches 200-210°F (93-99°C) using an instant-read thermometer.
- Beginner Tip: If the top is browning too quickly, you can loosely tent it with aluminum foil for the last 10-15 minutes of baking.
Step 8: Cool and Enjoy!
- Once baked, remove the bread from the oven.
- Immediately brush the top with the melted unsalted butter. This adds a lovely shine and a bit of richness to the crust.
- Let the bread cool in the pan for 5-10 minutes before carefully turning it out onto a wire rack to cool completely.
- Crucial Beginner Tip: It’s tempting, but resist slicing into hot bread! Hot bread is still cooking internally, and slicing it too soon can result in a gummy texture. Let it cool completely for the best texture and flavor.
Tips & Tricks for Baking Success
Baking bread is a rewarding experience, and these extra tips will help you achieve perfect results every time. First and foremost, measure your flour correctly. Don’t scoop directly from the bag; instead, spoon flour into your measuring cup and then level it off with a straight edge. Too much flour is a common culprit for dry, dense bread. Secondly, pay attention to your yeast. Its activity is the heart of your bread. If your yeast doesn’t foam up, it’s best to discard it and start fresh, ensuring your water temperature is just right – warm, but not scalding.
Don’t skip the two rises! Each rise serves a specific purpose, developing flavor and creating the airy texture we love in bread. Be patient and let the dough take its time. For a beautiful golden crust, you can brush the top of your loaf with an egg wash (one egg beaten with a tablespoon of water) before baking. Finally, trust your senses. The bread should sound hollow when tapped on the bottom, and the internal temperature is the most reliable indicator of doneness. Store your cooled bread in an airtight container or bread bag at room temperature for up to 3-4 days, or freeze slices for longer storage.
Essential Baking Tools
Having the right tools makes all the difference in your baking journey!
- Mixing Bowl
- Whisk
- 9×5 inch Loaf Pan
- Measuring Cups and Spoons
- Rubber Spatula (for scraping)
- Instant-Read Thermometer (highly recommended for bread)
- Wire Rack (for cooling)
Nutrition Information (Estimated per slice, 12 slices per loaf)
Please note that these are estimates and can vary based on specific ingredient brands and preparation methods.
| Nutrient | Amount |
|---|---|
| Calories | 160 kcal |
| Carbohydrates | 30 g |
| Protein | 5 g |
| Fat | 2 g |
| Fiber | 1 g |
| Sugar | 3 g |
Frequently Asked Questions (FAQs)
Q1: Can I use vanilla bean paste instead of vanilla extract?
Absolutely! Vanilla bean paste will give you an even richer vanilla flavor and beautiful specks of vanilla bean throughout your bread. Use the same quantity (1 ½ teaspoons) as you would for extract.
Q2: My bread didn’t rise. What went wrong?
The most common reasons for bread not rising are inactive yeast (water was too hot/cold, or yeast is old/expired) or a cold environment for proofing. Ensure your water temperature is between 105-115°F (40-46°C) and find a warm, draft-free spot for your dough to rise.
Q3: How should I store this vanilla bread?
Once completely cooled, store your bread in an airtight container, a bread box, or a large zip-top bag at room temperature for up to 3-4 days. For longer storage, you can slice the bread and freeze individual slices for up to a month, toasting them directly from frozen.
Q4: Can I add other flavors or mix-ins to this vanilla bread?
Definitely! This recipe is a great base for experimentation. You could add a ½ cup of chocolate chips for a sweeter treat, a sprinkle of cinnamon, or even dried cranberries for a festive loaf. Just add them in during the last minute of kneading.
Q5: My bread is very dense. How can I make it lighter and airier?
Density often comes from too much flour (making the dough stiff), not enough kneading (preventing gluten development), or insufficient rising time. Ensure you’re measuring flour correctly, kneading until elastic, and allowing the dough to double in size for both rises.
Conclusion: A Simple Twist, A Delicious Reward!
There you have it! The answer to “What Happens If I Add Vanilla To A Bread Recipe?” is a resounding success! You’ve just created a beautifully aromatic and subtly flavored loaf of bread that stands out from the ordinary. This journey, from simple ingredients to a warm, fragrant loaf, is incredibly satisfying, especially for beginners.
Don’t be afraid to experiment with your newfound baking skills. This vanilla bread is fantastic on its own, toasted with butter and jam, or even accompanying a savory meal where its subtle sweetness provides a delightful contrast. We hope these easy baking recipes and baking tips for beginners have empowered you to step into the kitchen with confidence. Happy baking, and enjoy your delicious creation!