Welcome, aspiring bakers! Are you ready to embark on a truly rewarding culinary adventure? Today, we’re diving into the wonderful world of homemade bread with our fantastic Wheat Berry Bread Recipe. Don’t let the name intimidate you – this isn’t just another complex artisan loaf. This recipe is specifically designed to be one of the most easy baking recipes you’ll ever try, packed with flavor, texture, and wholesome goodness. We’ll guide you through every single step, offering invaluable baking tips for beginners to ensure your first loaf (and every loaf after!) is a resounding success. Get ready to fill your home with the irresistible aroma of freshly baked bread!
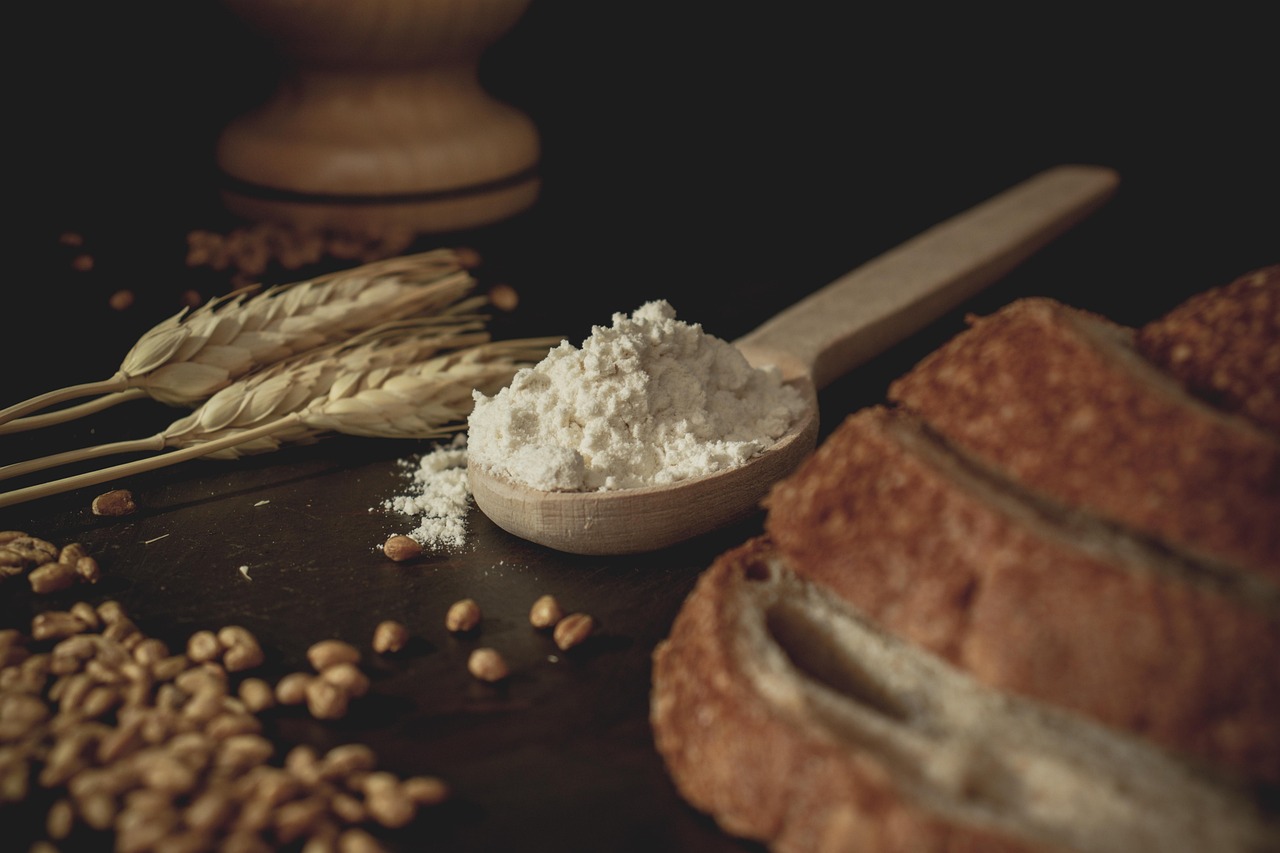
Making bread from scratch is an incredibly satisfying experience, and adding wheat berries elevates it to a whole new level of nutrition and chewiness. These tiny powerhouses are whole, unprocessed wheat kernels, offering a nutty flavor and satisfying bite. So, tie on your apron, gather your ingredients, and let’s create something truly delicious together!
Ingredients List
Here’s everything you’ll need to bake a beautiful loaf of Wheat Berry Bread. Precision in measuring is key for baking, so make sure to use proper measuring cups and spoons!
| Ingredient | Quantity | Unit |
|---|---|---|
| Hard Red Wheat Berries | 1/2 | cup |
| Water (for cooking wheat berries) | 1.5 | cups |
| Warm Water (105-115°F / 40-46°C) | 1.5 | cups |
| Active Dry Yeast | 2.25 | teaspoons (1 standard packet) |
| Granulated Sugar or Honey | 2 | tablespoons |
| Olive Oil (plus extra for greasing) | 2 | tablespoons |
| Salt | 1.5 | teaspoons |
| All-Purpose Flour | 2.5 – 3 | cups |
| Whole Wheat Flour | 1 | cup |
Step-by-Step Instructions: Your Journey to Perfect Wheat Berry Bread
Follow these detailed steps carefully, and don’t be afraid to take your time. Baking is a process that rewards patience!
1. Prepare the Wheat Berries
First things first, let’s get those wheat berries ready. They need to be cooked and cooled before they can be added to our dough.
- Rinse and Cook: In a small saucepan, combine 1/2 cup of hard red wheat berries with 1.5 cups of water. Bring it to a boil, then reduce the heat to low, cover, and simmer for about 45-60 minutes, or until the berries are tender but still have a pleasant chew. They shouldn’t be mushy.
- Drain and Cool: Once cooked, drain any excess water from the wheat berries. Spread them out on a plate or baking sheet to help them cool down completely. This is crucial! Adding hot wheat berries to your dough can kill the yeast. You can even pop them in the fridge for a few minutes to speed up the cooling process.
2. Activate the Yeast (The Proof is in the Pudding!)
This is where we bring our yeast to life! It’s a critical step, especially for active dry yeast.
- Measure Warm Water: In a large mixing bowl, pour 1.5 cups of warm water. The temperature is vital here – it should feel like a warm bath (105-115°F or 40-46°C). Too hot, and it will kill the yeast; too cold, and the yeast won’t activate.
- Add Sweetener and Yeast: Stir in 2 tablespoons of granulated sugar or honey into the warm water. This provides food for the yeast. Then, sprinkle 2.25 teaspoons (one packet) of active dry yeast over the water.
- Let it Bloom: Let the mixture sit undisturbed for 5-10 minutes. You should see a foamy, bubbly layer forming on the surface. This means your yeast is active and ready to work! Beginner Tip: If your yeast doesn’t foam, it’s likely dead (too old, or water was too hot/cold). Don’t proceed; start over with fresh yeast and check your water temperature.
3. Mix the Dough
Now, let’s bring all our ingredients together to form the dough.
- Add Wet Ingredients: To your activated yeast mixture, add 2 tablespoons of olive oil and 1.5 teaspoons of salt. Give it a gentle stir.
- Combine Flours: In a separate bowl, whisk together 2.5 cups of all-purpose flour and 1 cup of whole wheat flour. This helps distribute the flours evenly.
- Gradually Add Flour: Add about half of the flour mixture to the wet ingredients in the large bowl. Mix with a sturdy spoon or a dough whisk until just combined.
- Incorporate Wheat Berries: Stir in your cooled wheat berries.
- Add Remaining Flour: Gradually add the remaining flour, about 1/2 cup at a time, mixing after each addition. The dough will become shaggy and harder to stir. You might not need all the flour – the amount can vary based on humidity and flour type. Stop adding flour when the dough forms a ball and starts to pull away from the sides of the bowl.
4. Knead the Dough (The Heart of Bread Making!)
Kneading develops the gluten, which gives your bread its structure and chewiness. Don’t skip this step!
- Prepare Your Surface: Lightly flour a clean countertop or a large wooden cutting board.
- Turn Out the Dough: Scrape the dough out of the bowl onto your floured surface.
- The Kneading Motion: Begin to knead. This involves pushing the dough away from you with the heels of your hands, folding it back over, rotating it a quarter turn, and repeating. It might feel sticky at first, but resist the urge to add too much flour. A little stickiness is good!
- Knead for 8-10 Minutes: Continue kneading for 8-10 minutes. As you knead, the dough will become smoother, more elastic, and less sticky. It should spring back slowly when you gently poke it with your finger. Beginner Tip: If the dough is too sticky, add a tiny bit more flour, a tablespoon at a time. If it’s too stiff, your initial flour measurement might have been too high, or you can try moistening your hands with water while kneading.
5. First Rise (Proofing)
This is where the yeast does its magic, making the dough light and airy.
- Prepare the Bowl: Lightly grease a large, clean bowl with olive oil.
- Place Dough: Place your kneaded dough ball into the greased bowl, then turn it over once to coat the top with oil. This prevents it from drying out.
- Cover and Rise: Cover the bowl tightly with plastic wrap or a clean kitchen towel. Place it in a warm, draft-free spot. An ideal temperature is around 75-80°F (24-27°C). You can place it in a slightly warm (but turned off!) oven, or near a sunny window.
- Wait for Double: Let the dough rise for 1 to 1.5 hours, or until it has doubled in size. The exact time depends on the warmth of your environment and the activity of your yeast. Beginner Tip: To check if it’s ready, gently poke two fingers into the dough. If the indentations remain, it’s ready. If they spring back quickly, it needs more time.
6. Shape the Loaf
Time to give your dough its bread-like form!
- Punch Down: Gently punch down the risen dough to release the air. This helps create a finer crumb structure.
- Shape: Turn the dough out onto a lightly floured surface. Gently flatten it into a rectangle. Fold the two short ends towards the center, then roll it up tightly from one long end to the other, pinching the seam closed. Place the shaped loaf seam-side down.
- Prepare Loaf Pan: Grease an 8.5 x 4.5 inch (or 9×5 inch) loaf pan with butter or olive oil.
- Transfer: Carefully transfer the shaped dough into the prepared loaf pan.
7. Second Rise
One more rise to achieve that beautiful, lofty texture.
- Cover and Rise Again: Cover the loaf pan loosely with plastic wrap or a kitchen towel. Place it back in your warm, draft-free spot.
- Wait for Almost Double: Let it rise for another 45-60 minutes, or until it has almost doubled in size and the dough crests above the rim of the pan.
- Preheat Oven: About 20 minutes before the end of the second rise, preheat your oven to 375°F (190°C).
8. Bake Your Bread!
The moment of truth! Get ready for that incredible aroma.
- Bake: Place the loaf pan in the preheated oven.
- Bake Time: Bake for 35-45 minutes. The top should be a beautiful golden brown, and the bread should sound hollow when tapped on the bottom.
- Internal Temperature Check: For ultimate certainty, use an instant-read thermometer. The internal temperature of fully baked bread should be between 200-210°F (93-99°C).
- Cool: Once baked, immediately remove the bread from the loaf pan and place it on a wire rack to cool completely. Beginner Tip: Do not cut into hot bread! It needs time to set and finish cooking internally. Cutting it too soon will result in a gummy texture. Let it cool for at least 1-2 hours.
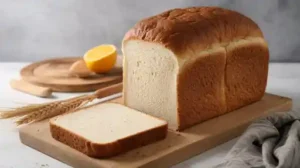
9. Enjoy!
Slice, slather with butter, and savor the incredible taste of your homemade Wheat Berry Bread!
Tips & Tricks for Beginner Bread Bakers
Baking bread is a craft, and these tips will help you master it faster:
- Accurate Measuring: Always use proper measuring cups for dry ingredients (levelled off) and liquid measuring cups for liquids (read at eye level). Don’t scoop flour directly from the bag; spoon it into your measuring cup and then level.
- Water Temperature is Key: Invest in an instant-read thermometer to ensure your water for yeast activation is precisely 105-115°F (40-46°C). This is the most common reason for yeast not activating.
- Patience with Rising: Don’t rush the rising process. If your kitchen is cool, it might take longer than the recipe states. A slow rise often leads to better flavor.
- Don’t Over-Flour: When kneading, resist the urge to add too much extra flour. A slightly sticky dough is often better than a stiff, dry one. Too much flour makes the bread dense and dry.
- Check for Doneness: Tapping the bottom of the loaf and listening for a hollow sound is a good indicator, but an internal temperature of 200-210°F (93-99°C) is foolproof.
- Cool Completely: It’s hard, but let your bread cool completely on a wire rack before slicing. This allows the internal structure to set and prevents a gummy texture.
- Trust Your Senses: Learn to recognize how the dough feels (sticky, elastic, smooth), how it looks (doubled in size, golden brown), and how it smells (yeasty, then wonderfully baked).
Essential Baking Tools
Having the right tools makes the baking process much smoother and more enjoyable. Here are some must-haves:
- Large Mixing Bowls
- Whisk
- Loaf Baking Pan (8.5×4.5 or 9×5 inches)
- Measuring Cups & Spoons
- Rubber Spatula or Dough Scraper
- Instant-Read Thermometer (for water and bread)
- Wire Cooling Rack
Nutrition Information (Estimated per slice, 12 slices per loaf)
Please note: This is an estimated nutritional breakdown and can vary based on exact ingredients and portion sizes.
| Nutrient | Amount |
|---|---|
| Calories | 180-220 kcal |
| Carbohydrates | 35-40 g |
| Protein | 7-9 g |
| Fat | 3-5 g |
| Fiber | 4-6 g |
| Sugar | 2-4 g |
Frequently Asked Questions (FAQs)
Q1: My yeast didn’t foam. What went wrong?
A1: The most common reasons are water temperature being too hot (killing the yeast) or too cold (inhibiting activation), or the yeast being old/inactive. Ensure your water is between 105-115°F (40-46°C) and check the expiry date on your yeast packet. If it doesn’t foam, discard and start again.
Q2: My dough isn’t rising. What should I do?
A2: This usually points back to inactive yeast or a too-cold environment. Make sure your rising spot is warm and draft-free. If your yeast activated properly initially, give it more time. Sometimes, it just needs a little longer. If after a very long time (2-3 hours) it still hasn’t risen significantly, the yeast might be dead, and it’s best to restart.
Q3: Can I use instant yeast instead of active dry yeast?
A3: Yes, you can! Instant yeast doesn’t require proofing. You can add it directly to the flour mixture with the other dry ingredients. However, for beginners, proofing active dry yeast gives you a clear visual confirmation that your yeast is alive and active, which builds confidence.
Q4: How do I store homemade Wheat Berry Bread?
A4: Store cooled bread at room temperature in an airtight container, a bread box, or a sealed plastic bag. It will stay fresh for 3-4 days. For longer storage, slice the bread and freeze it in a freezer-safe bag for up to 2-3 months. Thaw slices as needed or toast directly from frozen.
Q5: Can I substitute other flours?
A5: While this recipe uses a blend for optimal texture and flavor, you can experiment. For a 100% whole wheat loaf, you might need slightly more water as whole wheat flour absorbs more liquid. You could also use bread flour instead of all-purpose for a chewier texture. Always adjust liquid slightly as needed.
Q6: What if I don’t have wheat berries?
A6: If you don’t have wheat berries, you can still make a delicious whole wheat loaf by omitting them. However, the unique texture and added nutrition are a signature of this recipe. You could also try adding other grains like cooked quinoa or steel-cut oats for a similar textural element, though the flavor profile will change.
Ready to Bake Your Own Wholesome Loaf?
There you have it! A comprehensive, step-by-step guide to baking your very own, incredibly satisfying Wheat Berry Bread. We hope this journey, from activating yeast to pulling a golden-brown loaf from the oven, has been both educational and exciting. There’s truly nothing quite like the smell and taste of homemade bread, and knowing you created it from scratch is an accomplishment worth savoring.
Don’t be discouraged if your first loaf isn’t “perfect.” Every baker, no matter how experienced, has had a dense loaf or a deflated rise. The joy is in the process, the learning, and the delicious results that get better with every attempt. So, take a deep breath, trust the process, and enjoy the wonderful experience of baking with yeast.
We’d love to hear about your baking adventures! Share your photos, tips, and any questions you have in the comments below. Happy baking!