Gather Your Ingredients: Simple & Sweet
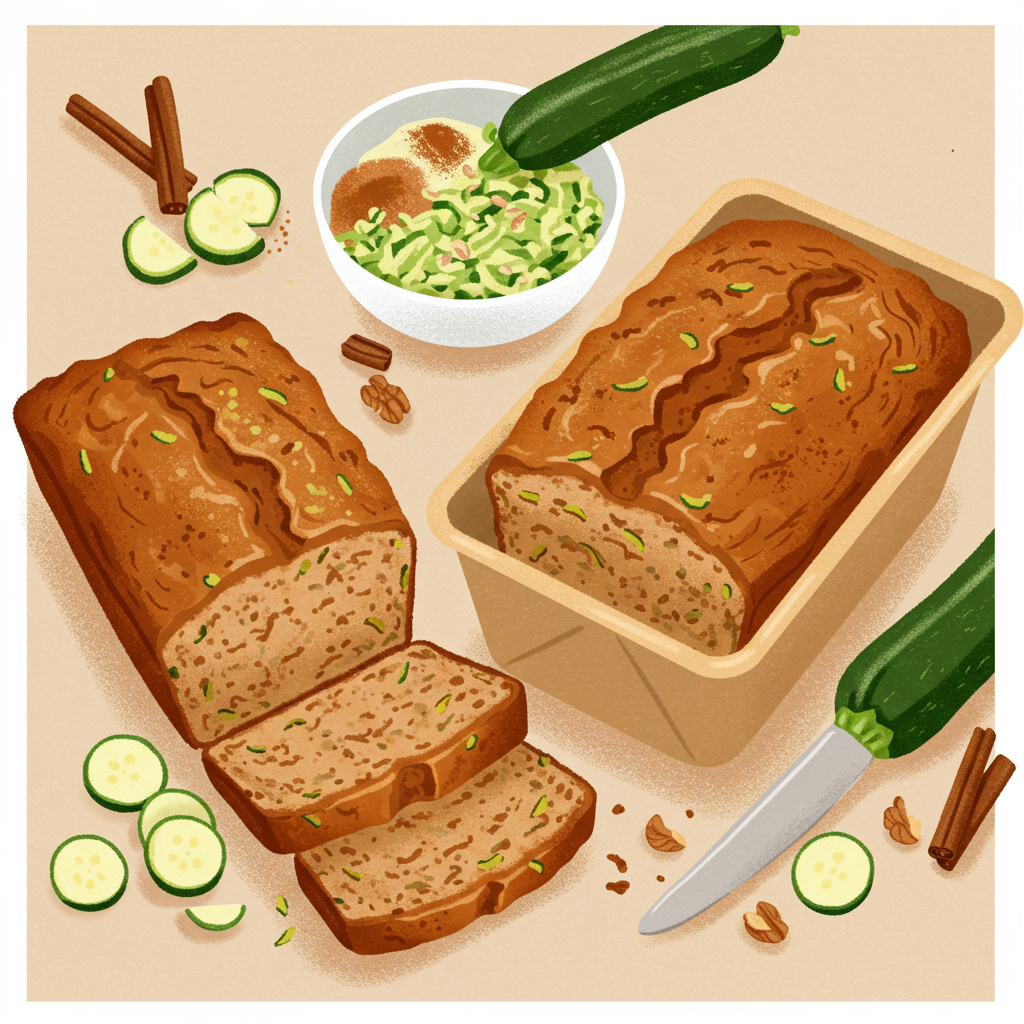
The beauty of this recipe lies in its simplicity. You likely have most of these ingredients in your pantry already! Fresh zucchini is the star, bringing moisture and a subtle sweetness to the bread.

For Your Bread Machine:
| Ingredient | Quantity | Unit |
|---|---|---|
| All-Purpose Flour | 3 | cups |
| Granulated Sugar | 1 | cup |
| Light Brown Sugar (packed) | 1/2 | cup |
| Baking Powder | 1 | teaspoon |
| Baking Soda | 1 | teaspoon |
| Ground Cinnamon | 1 | teaspoon |
| Ground Nutmeg | 1/2 | teaspoon |
| Salt | 1/2 | teaspoon |
| Large Eggs | 2 | |
| Vegetable Oil (or melted coconut oil) | 1/2 | cup |
| Vanilla Extract | 1 | teaspoon |
| Shredded Zucchini (packed, lightly squeezed) | 1.5 – 2 | cups |
| Optional: Chopped Walnuts or Pecans | 1/2 – 1 | cup |
Step-by-Step Instructions: Bread Machine Magic!
This is where your bread machine truly shines! Follow these steps carefully for a perfect loaf every time. Remember, most bread machines recommend adding liquids first, followed by dry ingredients, and then yeast (if applicable). For quick breads, the order is slightly different, but consistency is key!
Preparation is Key:
- Prepare Your Zucchini: Start by washing your zucchini thoroughly. You don’t need to peel it – the skin adds a nice texture and extra nutrients! Grate the zucchini using a box grater or a food processor. Once grated, it’s crucial to **lightly squeeze out any excess moisture**. Place the shredded zucchini in a clean kitchen towel or paper towels and gently press. Too much moisture will result in a gummy bread. Don’t overdo it, though; we still want some moisture for a tender crumb!
- Gather & Measure: Measure all your ingredients precisely. For flour, use the “spoon and level” method: spoon flour into your measuring cup and then level it off with the back of a knife. This prevents overpacking, which can lead to dry bread.
Loading Your Bread Machine:
- Liquid Ingredients First: Open the lid of your bread machine and remove the bread pan. Pour in the vegetable oil, vanilla extract, and crack in the two large eggs.
- Add Dry Ingredients: Now, carefully add the dry ingredients on top of the liquids. Start with the granulated sugar and brown sugar. Then, add the all-purpose flour, making sure it forms a nice layer over the wet ingredients.
- The Leavening & Spices: On top of the flour, add the baking powder, baking soda, ground cinnamon, ground nutmeg, and salt. Try to keep the baking powder and baking soda separate from the wet ingredients for a moment, as this helps with proper activation during the mix cycle.
- Finally, the Zucchini (and Optional Add-ins): Gently spread the lightly squeezed shredded zucchini over the top of the dry ingredients. If you’re using optional chopped walnuts or pecans, add them now.
Baking Time!
- Select Your Setting: Place the bread pan back into your bread machine, ensuring it’s securely locked in place. Close the lid. Select the **”Quick Bread” or “Cake” setting** on your bread machine. If your machine doesn’t have a specific quick bread setting, you might look for a “Rapid Bake” or a custom setting that doesn’t involve a long rise time with yeast. Quick breads rely on baking powder and baking soda for leavening, not yeast.
- Press Start: Start the bread machine! Resist the urge to open the lid during the baking cycle. The consistent temperature is vital for the bread to cook evenly and rise properly. Opening the lid can cause the bread to fall.
- Monitor (Optional but Helpful): During the initial mixing cycle (usually the first 5-10 minutes), you can peek briefly to ensure all ingredients are incorporating well. If some flour is sticking to the sides, you can gently scrape it down with a rubber spatula, but do this quickly and close the lid immediately.
- Finishing the Bake: Once the cycle is complete, the machine will usually beep. Carefully open the lid. The top of the bread should be golden brown, and a wooden skewer or toothpick inserted into the center should come out clean.
- Cooling is Crucial: Immediately remove the bread pan from the machine using oven mitts. Invert the pan onto a wire cooling rack and allow the zucchini bread to cool completely for at least **1-2 hours** before slicing. Slicing too early can make the bread gummy and cause it to crumble. Patience is a virtue here!
- Enjoy! Once cooled, slice with a serrated knife and enjoy your wonderfully moist homemade zucchini bread.
Pro Tips & Tricks for the Best Zucchini Bread
Even with an easy bread machine recipe, a few extra tips can elevate your baking game and ensure consistent success!
- Don’t Over-Squeeze Zucchini: While you want to remove excess water, don’t wring out every last drop. A little moisture is essential for that tender, soft crumb we all love in zucchini bread. Just a gentle press with paper towels is usually enough.
- Accuracy in Measuring: This cannot be stressed enough, especially for beginners. Baking is a science! Use proper measuring cups and spoons, and for flour, remember the “spoon and level” technique to avoid a dense or dry loaf.
- Bread Machine Setting: Always double-check your bread machine’s manual for its specific “Quick Bread” or “Cake” setting. These settings are designed for recipes that use baking powder/soda and don’t require the long proofing times of yeast breads.
- Add-ins Galore: Feel free to customize! Chocolate chips (milk, semi-sweet, or white chocolate), dried cranberries, raisins, or even a dash of orange zest can be wonderful additions. If your bread machine has an “add-in” beep, you can wait for that before adding them.
- Cool Completely: Seriously, resist the urge to slice warm bread! Quick breads need to cool down entirely for their structure to set, preventing a gummy texture and making them much easier to slice neatly.
- Storage Savvy: Store your cooled zucchini bread in an airtight container at room temperature for up to 3-4 days. For longer storage, slice the bread and freeze individual slices in freezer bags for up to 2-3 months. Thaw at room temperature or warm briefly in the microwave.
Essential Baking Tools for Your Kitchen
While your bread machine does most of the heavy lifting, having a few basic tools on hand will make your baking experience even smoother. Here are some essentials (with handy links to check them out on Amazon):
- Mixing Bowl (for preparing ingredients)
- Whisk (for combining dry ingredients)
- Wire Cooling Rack (essential for cooling your bread properly)
- Measuring Cups & Spoons (accuracy is key!)
- Rubber Spatula (for scraping down sides if needed, or removing bread)
- Box Grater or Food Processor (for shredding zucchini)
Nutrition Information (Estimated Per Slice)
This information is an estimate based on approximately 12-16 slices per loaf and can vary depending on specific ingredient brands and quantities. It’s provided for general guidance.
| Nutritional Value | Amount (Estimated) |
|---|---|
| Calories | 270-320 |
| Total Carbohydrates | 45-55 g |
| Protein | 4-6 g |
| Total Fat | 12-17 g |
| Fiber | 1-3 g |
| Total Sugars | 28-38 g |
Frequently Asked Questions for Zucchini Bread Beginners
Don’t worry, every baker starts somewhere! Here are answers to some common questions you might have:
Q: Can I use frozen zucchini for this recipe?
A: Yes, you can! If using frozen shredded zucchini, make sure to thaw it completely and then **squeeze out as much excess water as humanly possible**. Frozen zucchini tends to hold much more water than fresh, so thorough draining is crucial to prevent a soggy loaf.
Q: Why is my zucchini bread gummy or too dense?
A: A gummy or dense texture is usually caused by too much moisture or overmixing. Ensure you’ve squeezed enough water from your shredded zucchini and that you’re accurately measuring your flour (using the spoon and level method). Also, opening the bread machine lid too early can sometimes affect the crumb structure.
Q: What if my bread machine doesn’t have a “Quick Bread” or “Cake” setting?
A: If your machine lacks these specific settings, look for a “Rapid Bake” or a custom setting that has a short or no rise cycle. The key for quick breads is that they don’t use yeast and rely on chemical leavening, so you want a setting that mixes and then bakes without long proofing periods.
Q: Can I add chocolate chips or other mix-ins to this recipe?
A: Absolutely! Chocolate chips, dried cranberries, or other nuts are wonderful additions. If your bread machine has an “add-in” beeper, wait for that signal to add them. Otherwise, you can carefully lift the lid during the first 5-10 minutes of the mixing cycle to toss them in, ensuring they get evenly distributed.
Q: How do I store homemade zucchini bread to keep it fresh?
A: Once your zucchini bread has cooled completely, store it in an airtight container or wrapped tightly in plastic wrap at room temperature for up to 3-4 days. For longer storage, you can freeze individual slices or the whole loaf (well-wrapped) for up to 2-3 months. Thaw at room temperature or warm briefly.